The Callisto Protocol makes you feel every swing of your weapon, but its melee system hides layers that the tutorial never explains. Timing, spacing, and subtle enemy cues separate survival from a swift death – and most players never realize just how much the game is keeping from them.
What follows is a rundown of how melee combat works in The Callisto Protocol, alongside some pointers that’ll help you dodge properly in almost every situation. Bonus: You’ll get some general tips about The Callisto Protocol‘s combat too, coming from a seasoned player who has been killed in dozens of gruesome ways before sitting down to draft this article.
How to dodge properly in The Callisto Protocol
Hold the stick fully to the left or right as an enemy winds up and keep it there until their swing finishes; timing is loose, but you must commit to one side. Alternate directions between consecutive attacks – if you dodged left for the first hit, shift to the right for the next – or you risk getting clipped by follow-ups. Avoid holding back unless you intend to block, since blocking still costs health and can break your rhythm during long strings. Against single enemies, watch their shoulders and weapon arm for the cue, then settle into a left-right pattern that lets you squeeze in baton combos between their swings.
Yes, the dodging mechanic in The Callisto Protocol is explained to you with a quick tutorial screen. But that’s just the theory. In practice, things are a bit more complicated, especially when you’re surrounded by multiple enemies.
If you need a refresher, here are the basics: Every time an enemy is about to hit you, you can hold the analog stick to either the left or right side for a chance to dodge the upcoming punch, kick, or slice. You don’t have to time this in any way – as long as you’re moving to either side, and you’re holding down the stick, it will count. If you hold the stick backward, you’ll block instead, which is an action that can be upgraded in different ways, too.
Yes, it may not always work as intended. It’s hard to know exactly where to move on each occasion, as some enemies will interrupt your action regardless of direction. The strategy I found, if you’re able to actually pay attention to the enemy in front of you before the attack, is to move toward the direction of their strike. So, if the enemy is throwing their arm toward Jacob’s right, dodge to the right as well, accompanying the attack so you can dodge alongside their movement.
The problem with dodging is that you don’t always have all the time nor health in the world to stand around and avoid all enemy hits carefully. While you can learn the patterns of each enemy type after a while, it’s easy to get overwhelmed, and some hits come at you faster than you can react to them. Blocking is a good alternative – depending on the upgrades you’re using, you may only get a few scratches out of a tough encounter. If you’re going against just one enemy, try to practice for a while and see what their patterns look like. If you look at their legs, that’s usually a good indicator of where the attack may come from.
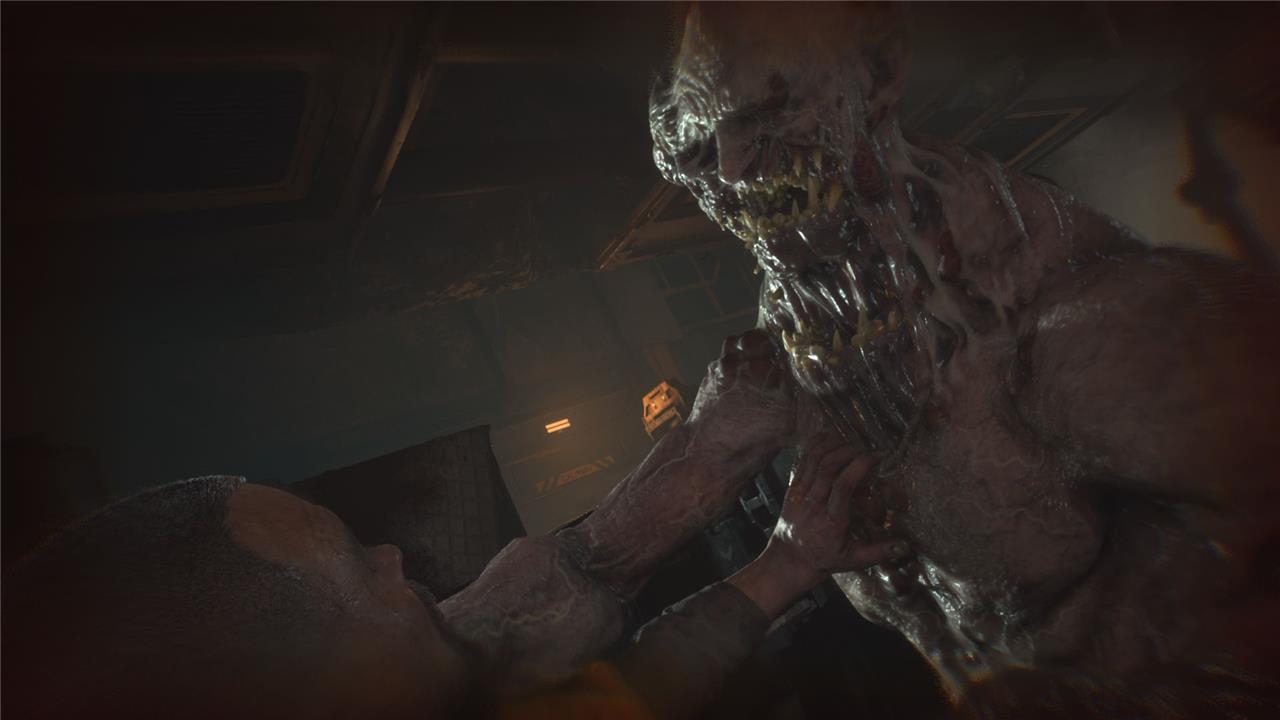
Now, you can also dodge in the opposite direction of an attack, and it almost always makes for a successful avoid maneuver. But if you want to make sure, just follow the enemy attack. That being said, depending on the difficulty you’re on, some foes are really predictable – for the Two-Headed, for example, you can just keep on dodging to the left to avoid all of their attacks. So long as you’re actually facing them when they happen, that is.
With combat, even though fire weapons have a clear advantage, I found that melee is often a great offensive. Going for a heavy attack to an enemy will give you a brief window to chain a few light hits right after, and you can then dodge and repeat the steps, or finish the enemy off with a few shots.
That said, with some foes, you need to keep the distance before going for that powerful but slow heavy attack, as you may leave yourself open to an enemy hit. Sometimes it’s best to wait for the right opportunity, or to start off an encounter by shooting an enemy once before storming in with your baton.
Or. you can just enable an option to dodge automatically
Alternatively, flip on the auto-dodge setting in the options menu. It handles evasion for you during fights, letting you focus on landing hits without timing inputs perfectly. This cuts through the combat’s ambiguity, making encounters smoother from the first try.
If you want a more straightforward method for dodging in The Callisto Protocol, you can opt to always dodge automatically. This option is available in the accessibility menu of the settings screen, and makes it so you’ll always dodge every upcoming attack as long as you’re moving to either side.
It’s not a complete advantage, as you still need to be facing an enemy and holding down the stick to either left or right. But, at the very least, you can rest assured you won’t be harmed when you do so. If you’re stuck in a bad situation with scarce ammo or healing items, activating this option might help – plus, you can switch it on and off at any time, and it won’t affect anything. Listen, the game’s sense of dread is overwhelming enough on its own.
Best GRP combos for multiple enemies
GRP Basics Recap
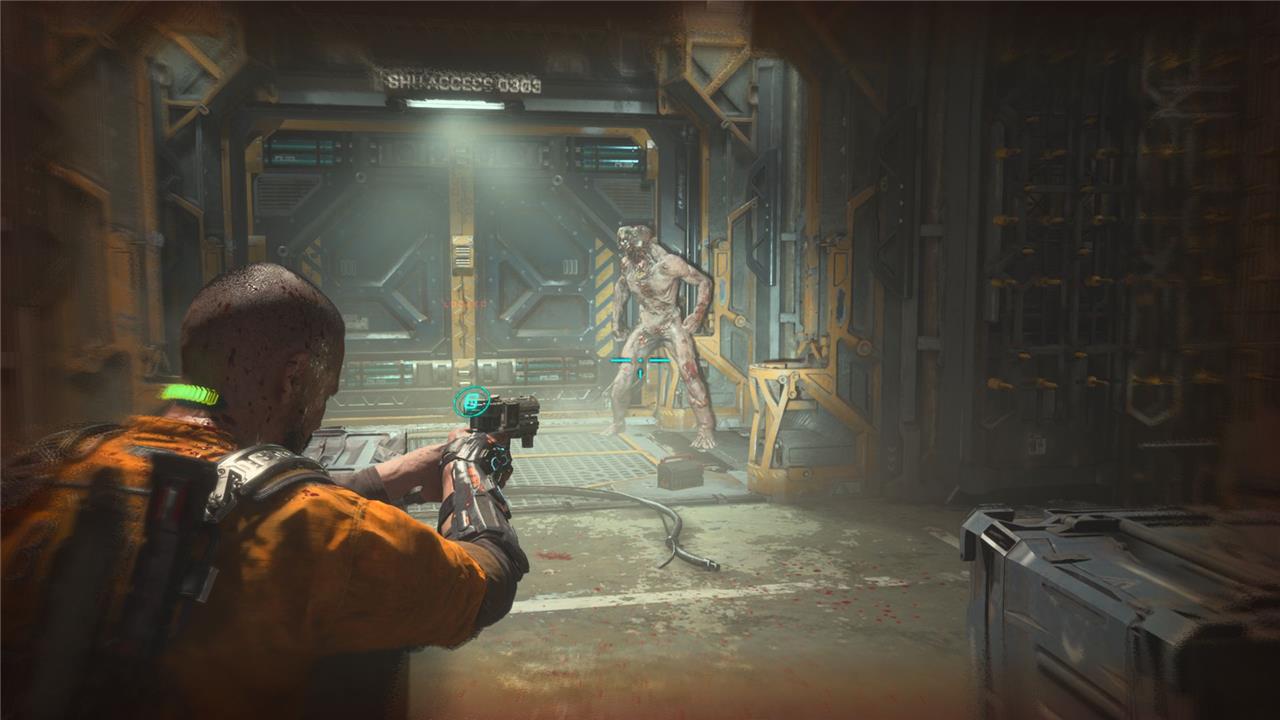
The GRP (Gravity Restraint Projectile) glove in The Callisto Protocol lets you grab enemies (L1 + R2), pull them close, or hurl them away, making it ideal for crowd control against multiple foes by turning 1v3 fights into manageable 1v1s.
Top Combos for Groups
-
Hazard Yeets: Grab one enemy (prioritize flankers), upgrade velocity first for max distance, then slam into spikes, fans, railings, or explosives-GRP at full power kills on impact without wasting melee stamina.
-
Enemy Piling: Yank two attackers into each other or a third foe to stagger the group, follow with a baton heavy attack (R2 uncharged) that hits multiples and knocks them down for quick shots (R1 post-knockdown).
-
Thinning Herds: GRP the closest threat away, melee combo + quick shot the isolated one (3 lights into heavy), repeat while circling to keep foes front-facing-blocks (back on stick) buy time against surrounds.
Pro Tips
Position near hazards early; don’t let enemies flank (strafe constantly). Upgrade GRP velocity/battery alongside baton damage for sustainability-skunk gun blasts clear residual mobs post-GRP setup.
Best GRP upgrades for crowd control
GRP Upgrade Priorities
For crowd control in The Callisto Protocol, prioritize GRP Energy Upgrades (Small, Medium, Max) first-they extend your blue energy bar, letting you grab and hurl multiple enemies without constant recharges, essential for yeeting flankers into hazards repeatedly.
Recharge and Velocity Focus
Next, grab GRP Recharge Speed Upgrades (Small/Medium) to minimize downtime between uses, allowing sustained combos like piling enemies together during swarms. GRP Velocity Upgrades (Small/Medium) boost throw distance and impact damage, perfect for slamming foes into spikes or off ledges from afar to thin groups quickly-max these after energy for optimal hurling.
Build Order
Start with all Small GRP upgrades (300 credits each: Energy, Recharge Speed, Velocity) post-baton basics, aiming for 100% GRP on normal difficulty; on harder modes, cap at Mediums and pivot to Riot Gun explosives for AoE cleanup.