Hidden deep within the icy peaks of the Hebra Mountains, the Miryotanog Shrine challenges players with a puzzling test of physics and precision. Master the balance of motion and timing, and you’ll reveal one of Tears of the Kingdom’s most satisfying shrine solutions.
When you’re done, our shrine locations page or interactive Hyrule map can direct you toward something else to do.
Miryotanog Shrine location
Miryotanog Shrine is located in the northern part of Hyrule, within the Gerudo Highlands region. You can find it near the edge of the desert plateau, southwest of the Gerudo Canyon Skyview Tower. The shrine sits near a rock formation visible from afar, making it easier to spot from elevated terrain. It’s accessible by gliding from nearby cliffs or climbing up from the canyon paths below.
The Miryotanog Shrine is found within the Gerudo Desert region, atop a small dune in the midst of the sweeping, barren sands. The exact coordinates are (-4679, -3086, 0054).
Miryotanog Shrine puzzle solution
Grab basic weapons like a bow, sticks, and fire fruit after entering Miryotanog Shrine, a Proving Grounds: Lure challenge. Jump low lasers and crouch under high ones to reach the main arena, then lure Soldier Constructs into laser-activated fire traps and rolling boulders for quick kills. Use explosives or fused stone weapons on elevated archers, climb via Ascend to drop platforms on foes, and clear the final guard to open the path to a Captain II Blade chest and Light of Blessing.
Miryotanog Shrine is a “Proving Grounds” combat shrine, meaning you’ll be stripped of your gear and armor as soon as you enter. You’ll need to use the weapons and tools you find, as well as your abilities, to get past aggressive Constructs.
The word “Lure” in the puzzle’s name suggests that you should lure the Constructs into traps in order to defeat them. We found it easier to just fight them head-on.
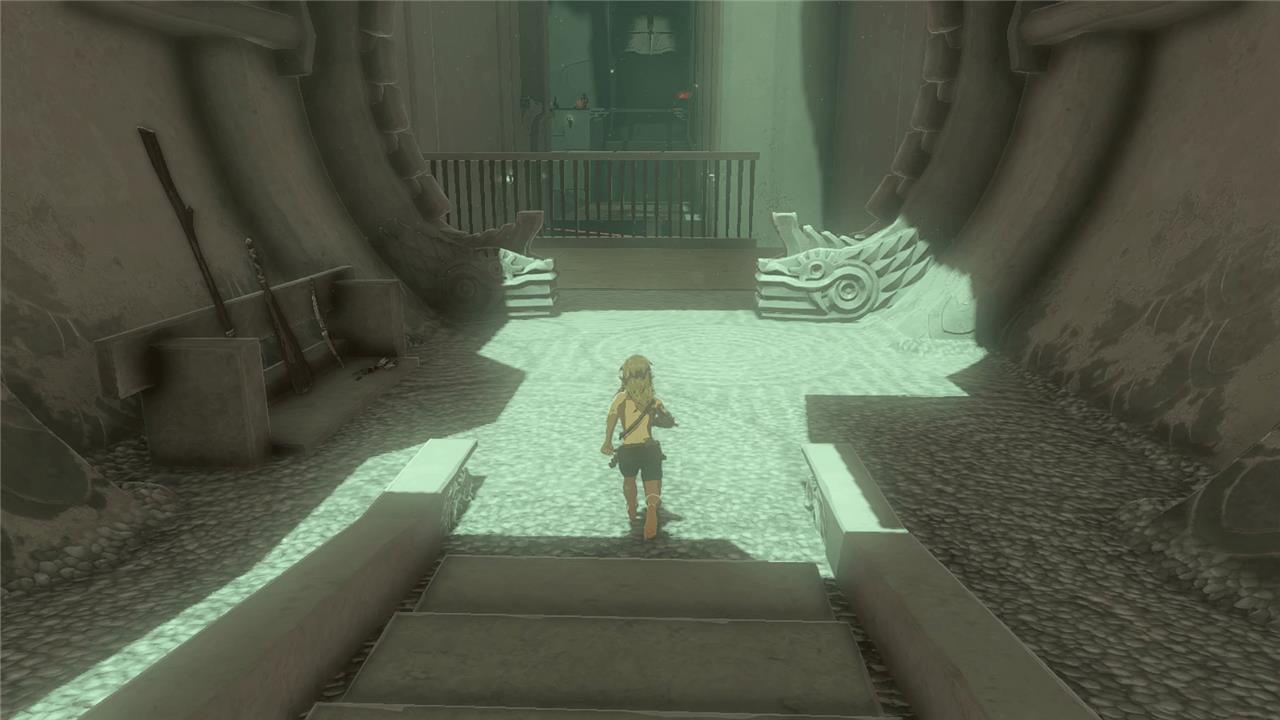
1. Head down a short flight of stairs. On the left side of the room, you’ll find a long stick, a thick stick, an old wooden bow, and a 5-pack of arrows. Pick all of that up.
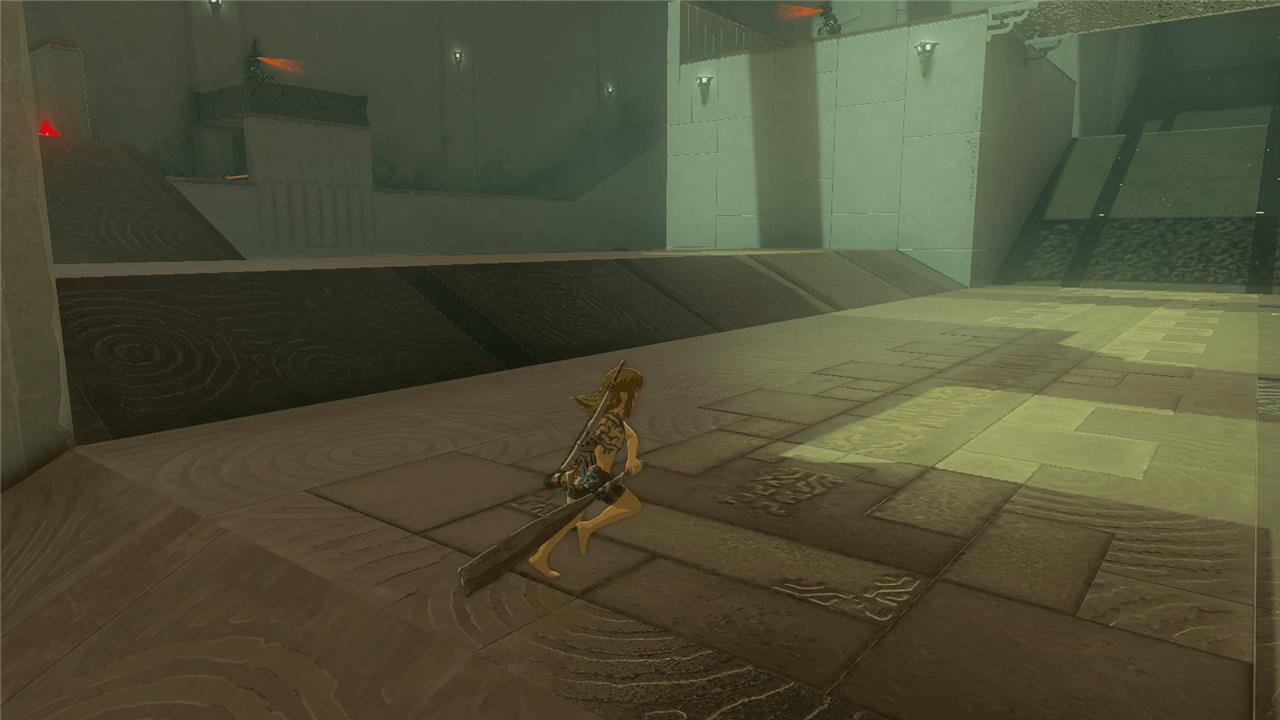
2. Move forward down a ramp into the next chamber. You’ll see three overlapping laser beams in your path, as well as some Constructs on a higher level up ahead. Ignore the Constructs for now and jump (carefully) over the first two laser beams. Don’t go under the third laser beam yet, though.
3. To the left of the path of the third laser beam, there are two wooden boxes. Smash these with your thick stick and grab the three fire fruits hidden back there.
4. Head back to the third laser beam and crouch to get under it. Head into the next chamber, a large room full of ramps, platforms, bridges, and – you guessed it – patrolling Constructs.
5. Turn left and head up the ramp. Hop over the laser beam. There are two bomb barrels up ahead, between you and a patrolling Construct on a platform to your right. Don’t hit them yet.
6. There are also two rocks near the barrels. Fuse your stick weapons to these rocks to make a better weapon.
7. Aim one of your arrows at the Construct up on the platform ahead. This will cause all of the Constructs in the room, including this one, to head toward you and attack. Back up and hit the bomb barrels with arrows to take out the advancing Constructs. Just don’t get caught in the blaze!
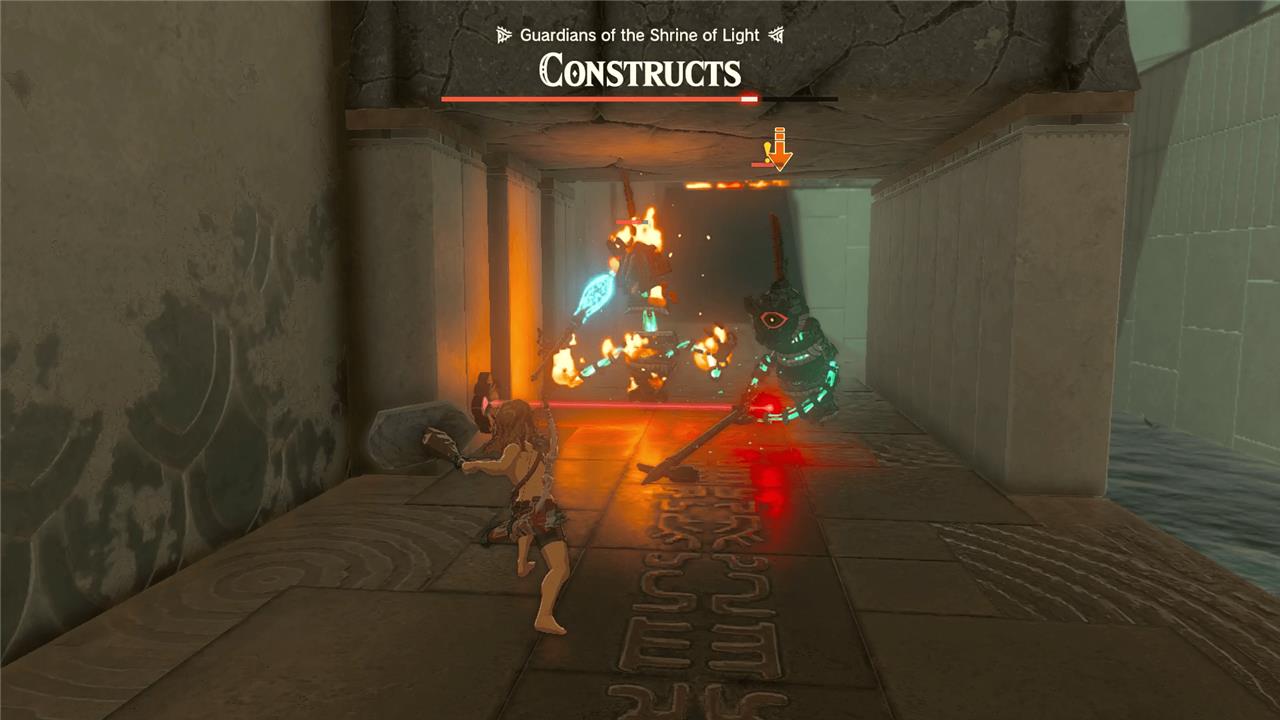
8. Speaking of fire blazes to avoid, note that there is a Zonai flame emitter (and another laser beam) in the pathway underneath the platform that the first Construct had been standing on. As the other Constructs advance on you, they’ll go through that pathway and get hit by a ton of fire damage. If you stand back and play defensively, the Constructs’ health bars should be pretty depleted by the time they reach you.
9. Use your weapons and wits to defeat the Constructs, picking up their superior weapons along the way.
10. Once you’re out of the fray, leap over the laser beam and flame emitter. Continue along the elevated pathway towards the back of the chamber.
11. You’ll head past some wooden boxes that you can break (although we found nothing inside them), plus some spikes you can Fuse to a weapon if you need to. There may still be one Construct left patrolling in front of the barred door at the back of this chamber (if you didn’t already provoke it into battle with your explosive antics earlier).
Where is Miryotanog Shrine in Gerudo Desert
Miryotanog Shrine lies in the Gerudo Desert region of The Legend of Zelda: Tears of the Kingdom, positioned just west of Gerudo Town. Its exact coordinates are -4678, -3087, 0054, south of Toruma Dunes and north of Dragon’s Exile.
Access Challenges
The area features quicksand pits surrounding the shrine, wooden walkways with enemies like Moblins and Bokoblins, and a sandstorm if the Lightning Temple remains uncleared. Visibility improves post-temple, but navigation stays possible earlier.
Travel Methods
Launch from Gerudo Canyon Skyview Tower and glide steadily to avoid disorientation in the sandstorm. Alternatively, climb the Lightning Temple’s north tip and glide down, using drifting planks to cross quicksand safely. Ascend overhangs for final platform access.
How to reach Miryotanog Shrine through quicksand
Miryotanog Shrine sits amid quicksand in the Gerudo Desert, surrounded by hazardous sand pits and elevated wooden walkways guarded by enemies. Reaching it requires careful navigation to avoid sinking.
From Lightning Temple
Climb to the northern tip of the Lightning Temple, then glide directly down toward the shrine’s position at coordinates -4678, -3087, 0054. Use stamina boosts or elixirs for a controlled descent, landing on the outer platforms before entering.
Using Zonai Devices
Start north of the shrine near pillars and a campfire; collect nearby floating wooden boards to build a bridge across quicksand to a central structure. Ascend the structure, fuse a rocket to a shield for propulsion, then glide the short distance to the shrine entrance.
Walkway Strategy
Follow the wooden walkways west from Gerudo Town, defeating Moblins and Bokoblins along the way; clear enemies first to move freely. Cross remaining quicksand gaps by sprint-jumping between stable platforms or using Ascend on overhangs.