Hidden deep within Hyrule’s storm-touched zones lies the Charged Armor set-gear crackling with power that turns every thunderstorm into your greatest ally. Here’s how to track down each piece and harness its electrifying defense.
The Charged Armor is also tied to a main quest in the game, so you will need to pick it up at some point. That said, it’s also one of the best-looking armors, so you may want to get it as soon as you can. No reason for Link to look anything short of fabulous.
In order to get the Charged Armor, you will need to have completed a fair amount of the main quest. Without spoiling anything, after completing the four “Regional Phenomena” quests, there is another quest that will take you to Hyrule Castle. After completing that, the next main quest will be added to the Adventure Log when you speak to Purah in Lookout Landing. Once you have that quest, you can get the Charged Armor.
Charged Armor location
The Charged Shirt sits in a chest inside a Zonai ruin on Dracozu Lake’s eastern shore at coordinates (0972, -2533, 0009); spot the lantern glow from the Popla Foothills Skyview Tower area. The Charged Trousers hide in another ruin along the Dracozu River’s western bank at (0981, -2692, 0007), past Black Lizalfos-clear blocking rocks with a hammer or Bomb Flower. The Charged Headdress waits in a third ruin opposite a dragon statue on the river’s southern bend at (0969, -2802, 0007), behind vines slashed or burned away.
Speak to Paya in Kakariko Village. She will be close to the Ring Ruins, at the coordinates (1816, -0953, 0113).
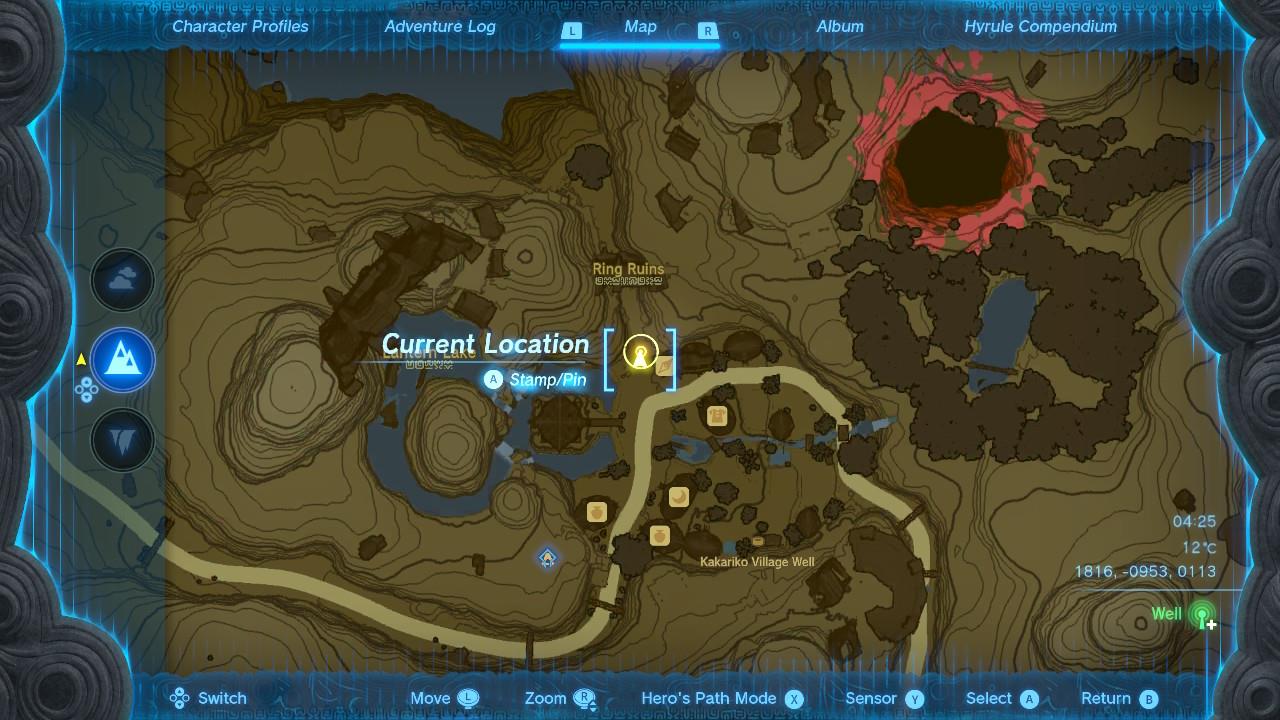
Again, if you’re too early in the main quest, Paya may be here but you won’t be able to progress. She’ll need to open the Ring Ruins for you, which she won’t do until certain story scenes have occurred.
You can progress this quest by Ascending into the ring ruin here and taking a photograph of the text inside, then returning to Tauro. Continuing to follow the quest will send you towards Faron, specifically the Popla Foothills Skyview Tower and then the Dracozu Lake. This last part won’t have a quest marker, so just in case, the coordinates are (0969, -2532, 0008).
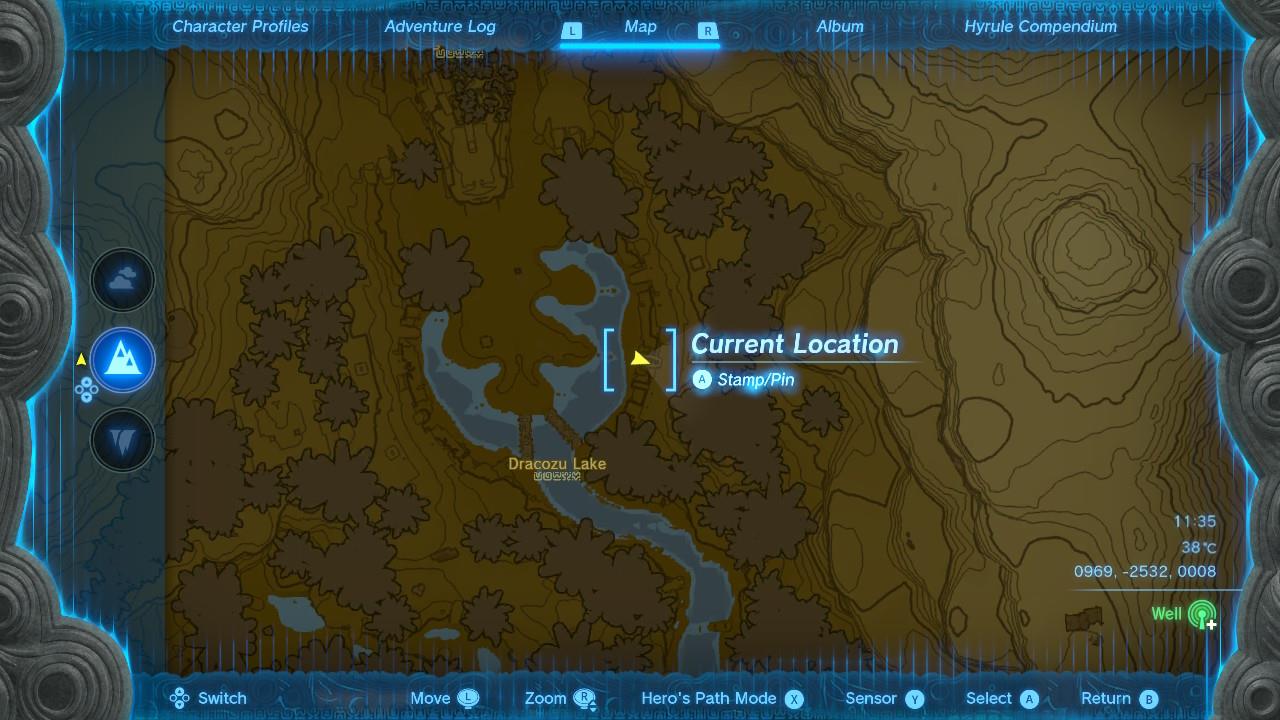
Here, you can find all three parts of the Charged Armor.
Charged Shirt location
The Charged Shirt can be found in the Dracozu Lake area, located in the Faron region southeast of the map. Head to the coordinates (0916, -3357, 0061) where you’ll spot a cave entrance near the lake’s western shore. Inside this cave, you’ll need to defeat several electric Lizalfos guarding a treasure chest. Once you clear out the enemies, open the chest to claim the Charged Shirt. This piece provides shock resistance and works best when paired with the other parts of the Charged Armor set for maximum protection against electric attacks.
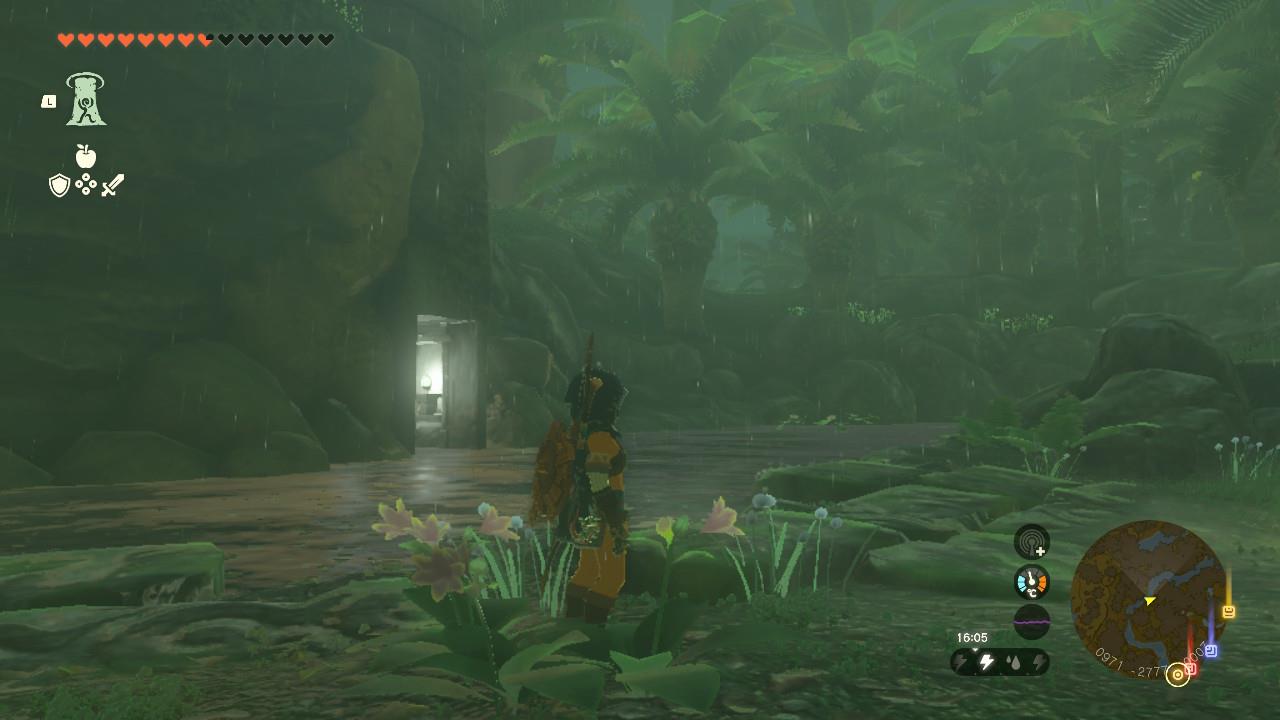
On arriving at Dracozu Lake, look for the campfire and the entrance across from it. (Those coordinates above lead right to the entrance.)
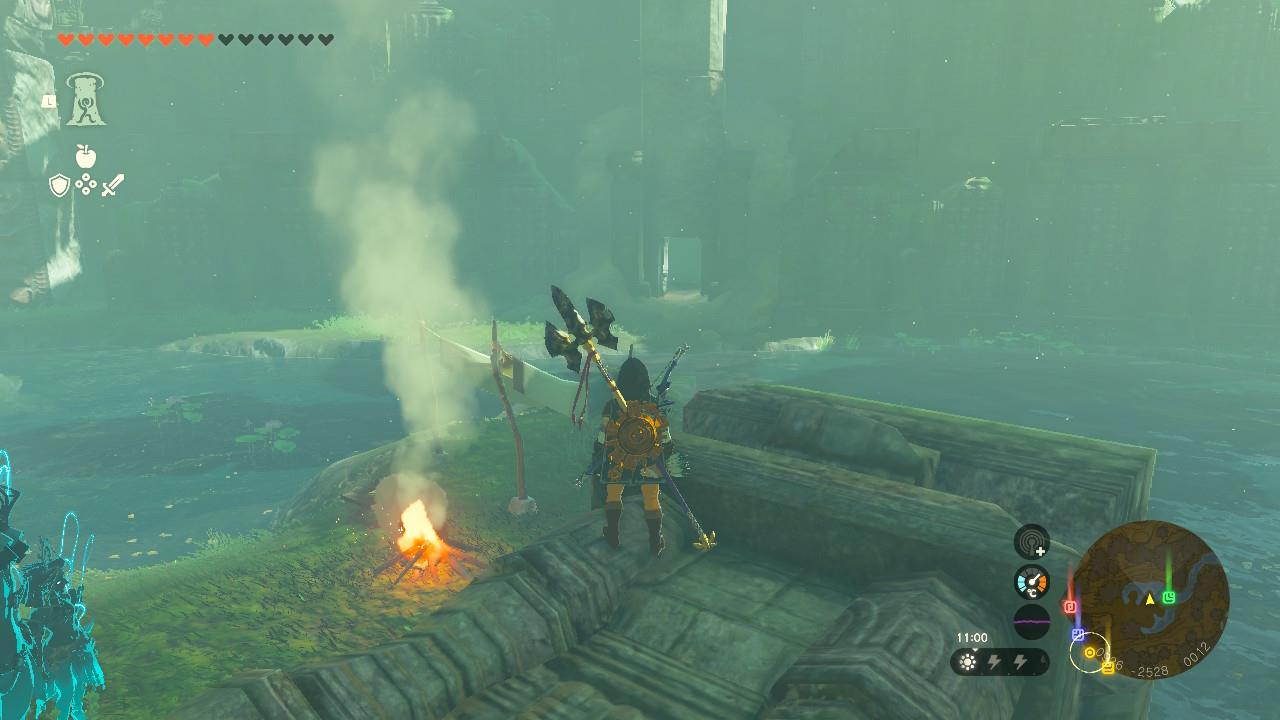
Speak to Tauro and after some exposition he will tell you that he found a chest on the level above. Go and open it to receive the Charged Shirt. This has a base stat of 3 defense, but will also raise your attack during stormy weather.
Charged Trousers location
The Charged Trousers can be found inside the Sarjon Woods Cave, located southwest of Lakeside Stable in the Faron region. Head toward the coordinates roughly around 0595, -2423, 0017, and look for a small cave entrance hidden among the trees. Inside, use weapons or abilities to deal with the Electric ChuChus that guard the area. Continue deeper into the cave until you reach a chest containing the Charged Trousers, part of the Charged Armor set that enhances resistance to electricity.
You’ll need to find the rest of the pieces of this armor set to continue this quest anyway, so head out of this area and around to the left, hugging the wall until you see a white glowing entrance on the other side of the lake.
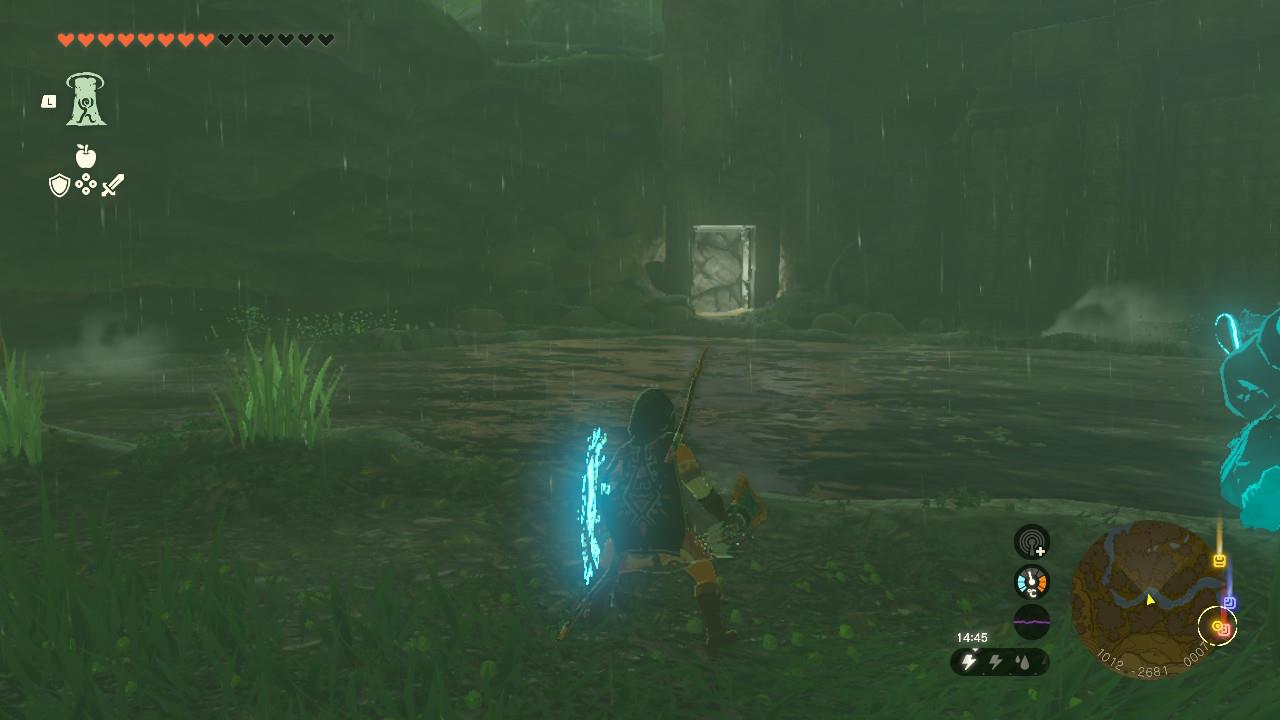
Swim across and destroy the rubble to enter. Open the chest to find the Charged Trousers. Like the chest piece, they have 3 defense and will again boost your attack power in stormy weather.
Charged Headdress location
The Charged Headdress can be obtained inside a chest located at the Sarjon Woods Cave, southeast of Faron. To reach it, enter the cave near the Sarjon Bridge and follow the tunnel while dealing with enemy threats such as Electric ChuChus. The chest rests on a small platform near the end of the cave, and once opened, it grants the Charged Headdress, increasing resistance to electrical attacks and boosting attack power during thunderstorms when the full Charged Armor set is worn.
Exit this area and turn right to continue following the lake. The next entrance is after the bend and you will have to cross back over again.
Destroy the vines here with a slashing weapon to enter. Inside the chest will be the Charged Headdress. Just like the other pieces it has 3 defense and will raise your attack when there’s a storm happening.
You can now head back to Tauro to continue the quest, and enjoy looking great and being extra powerful around lightning!
Charged Armor set upgrade costs, effect, and set bonus
Each piece of the Charged Armor starts at 3 defense and can be upgraded at Great Fairies up to 20 defense per piece, giving the full set a maximum of 60 defense. Upgrading all three pieces to four stars requires a total of 9 Shock Fruit, 9 Thunderwing Butterflies, 15 Electric Lizalfos Horns, 15 Shock Like Stones, 15 Gleeok Thunder Horns, 15 Electric Darners, 24 Large Zonai Charges, 30 Voltfin Trouts, and 2,280 rupees. Each armor piece provides a Stormy Weather Attack effect that boosts attack power during thunderstorms, making charged attacks more damaging in stormy conditions. When all three pieces are worn and upgraded to at least two stars, the set bonus Stormy Weather Charge reduces the time needed to charge attacks and adds an electric burst to charged attacks and some combo finishers during storms.
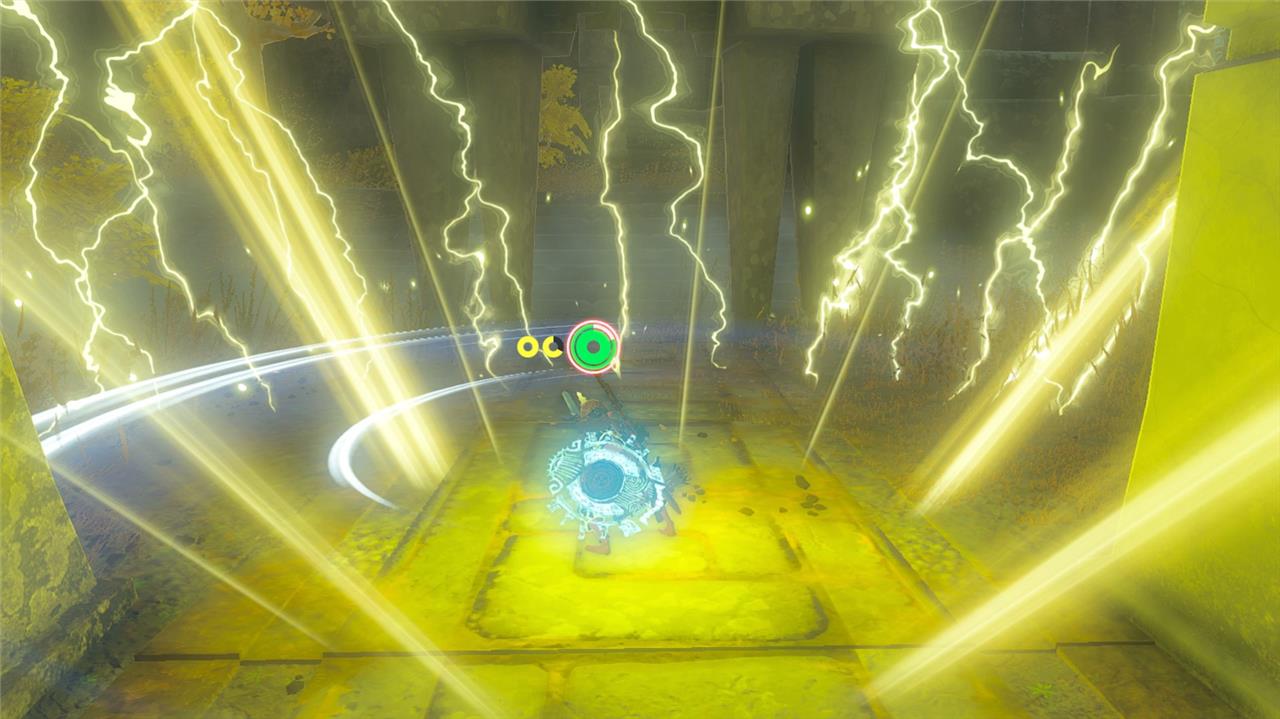
Individually, the Charged Armor pieces give you the stormy weather attack buff, boosting your attack in thunderstorms. When all three pieces are upgraded to two-star or higher and equipped together, you’ll get the Stormy Weather Charge set bonus, allowing you to fire off a circle of lightning when you spin attack.
You’ll be able to upgrade the armor at a Great Fairy Fountain in exchange for the following materials:
- 1-star (5 defense): 3 shock fruit, 10 rupees
- 2-star (8 defense): 5 Electric Lizalfos horns, 3 thunderwing butterflies, 50 rupees
- 3-star (12 defense): 5 Shock Like stones, 5 electric darners, 3 large Zonai charges, 200 rupees
- 4-star (20 defense): 5 Gleeok thunder horns, 10 voltfin trouts, 5 large Zonai charges, 500 rupees
To max out all three pieces of the Charged Armor, you’ll need 9 shock fruit, 15 Electric Lizalfos horns, 15 Shock Like stones, 15 Gleeok thunder horns, 9 thunderwing butterflies, 15 electric darners, 30 voltfin trouts, 24 large Zonai charges, and 2,280 rupees.
How to upgrade Charged Armor at Great Fairies
Charged Armor upgrades require unlocking Great Fairy Fountains and gathering specific materials.
Unlocking Great Fairies
Access upgrades by freeing all four Great Fairies through side quests starting at Lucky Clover Gazette near Rito Village. Each unlocked fairy enables one upgrade level (★ to ★★★★), shared across all fountains. Tera (Woodland Stable), Mija (Snowfield Stable), Kaysa (Gerudo Canyon Stable), and Cotera (Lake Hylia) must be released via musician transport quests.
Charged Armor Materials
Upgrades use shock/electric-themed items; costs scale per piece (Headdress, Shirt, Trousers identical).
| Level | Rupees | Materials | Defense |
|---|---|---|---|
| Base | – | – | |
| ★ | 3x Shock Fruit | 5 | |
| ★★ | 5x Electric Lizalfos Horn, 3x Thunderwing Butterfly | 8 | |
| ★★★ | 5x Shock-Like Stone, 5x Electric Darner, 3x Large Zonai Charge | 12 | |
| ★★★★ | 5x Gleeok Thunder Horn, 10x Voltfin Trout, 5x Large Zonai Charge | 20 |
Upgrade Process
Approach any Great Fairy with the armor equipped or in inventory; select pieces if materials/rupees suffice. Full ★★ set unlocks “Stormy Weather Charge” bonus for faster charges in thunderstorms; max level reaches 20 defense per piece (60 total set). Farm materials from electric enemies, caves, or sky islands.
Materials needed to upgrade Charged Armor pieces
Charged Armor pieces upgrade at Great Fairy Fountains using electric-themed materials.
Per-Piece Upgrade Costs
Each piece (Headdress, Shirt, Trousers) requires identical materials per level.
| Level | Rupees | Materials | Defense |
|---|---|---|---|
| ★ | 3x Shock Fruit | 5 | |
| ★★ | 5x Electric Lizalfos Horn, 3x Thunderwing Butterfly | 8 | |
| ★★★ | 5x Shock Like Stone, 5x Electric Darner, 3x Large Zonai Charge | 12 | |
| ★★★★ | 5x Gleeok Thunder Horn, 10x Voltfin Trout, 5x Large Zonai Charge | 20 |
Full Set Totals (x3 Pieces)
Gather these for maximum upgrades across Headdress, Shirt, and Trousers: 9x Shock Fruit, 15x Electric Lizalfos Horn, 9x Thunderwing Butterfly, 15x Shock Like Stone, 15x Electric Darner, 15x Large Zonai Charge (★ to ★★★), 15x Gleeok Thunder Horn, 30x Voltfin Trout, 15x Large Zonai Charge (★★★★), totaling 2,280 Rupees.