Scaling cliffs in Zelda: Tears of the Kingdom gets much easier once you track down the full Climbing Gear set. Here’s where to find each piece of this sought-after armor-and how to claim it before your stamina runs out.
Bear in mind that you’re likely to hear about the armor naturally during your travels. An NPC shared a hint about one of the pieces, for example, and you may come across treasure maps related to this armor set as well. That said, you can skip the busywork; you don’t need to find such info in-game to open the chests containing the Climbing Gear.
This guide explains where to find the Climbing Gear, Climber’s Bandana, and Climbing Boots in Zelda: Tears of the Kingdom so you can get up to (the highest possible) speed.
Climbing Gear location
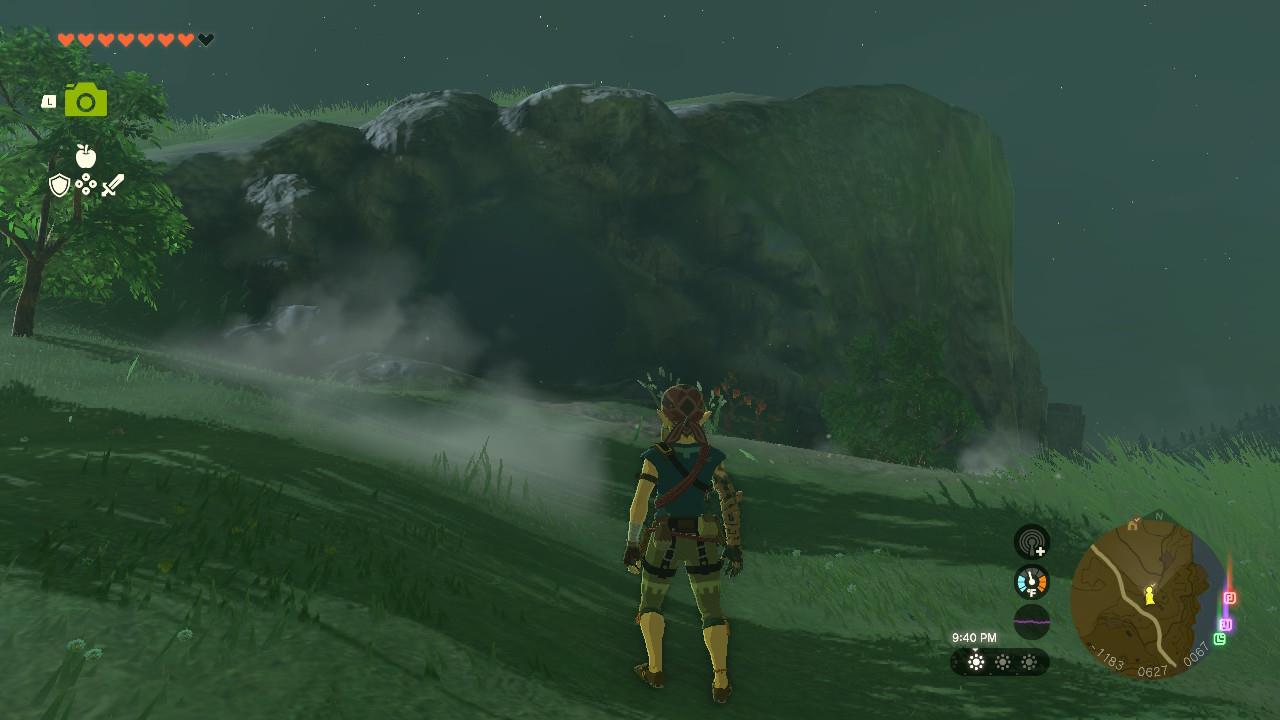
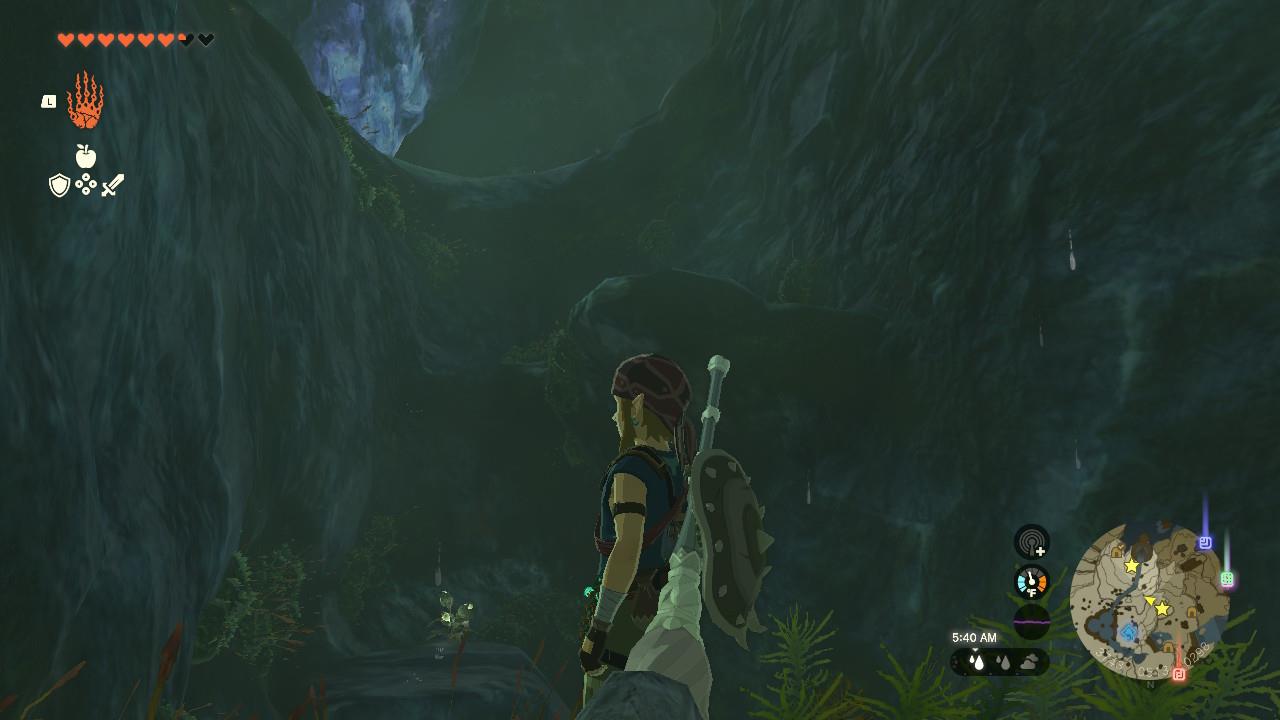
The Climbing Gear piece is located inside the North Hyrule Plain Cave, just west of Hyrule Castle. You can find the cave entrance marked by a small pool and a few breakable rocks near coordinates (-1185, 0638, 0072). Inside, follow the narrow tunnels filled with Sticky Lizards and Keese until you reach a larger chamber with a chest on a ledge. Open it to obtain the Climbing Gear, which enhances Link’s climbing speed when equipped.
You can find the Climbing Gear inside the North Hyrule Plain Cave at the coordinates (-1188, 0646, 0072), which is northwest of Lookout Landing, in between the main road that converges from Carok Bridge to North Hyrule Plain. If you’re heading to New Serenne Stable, take a detour to the right to find the entrance on the side of a hill.
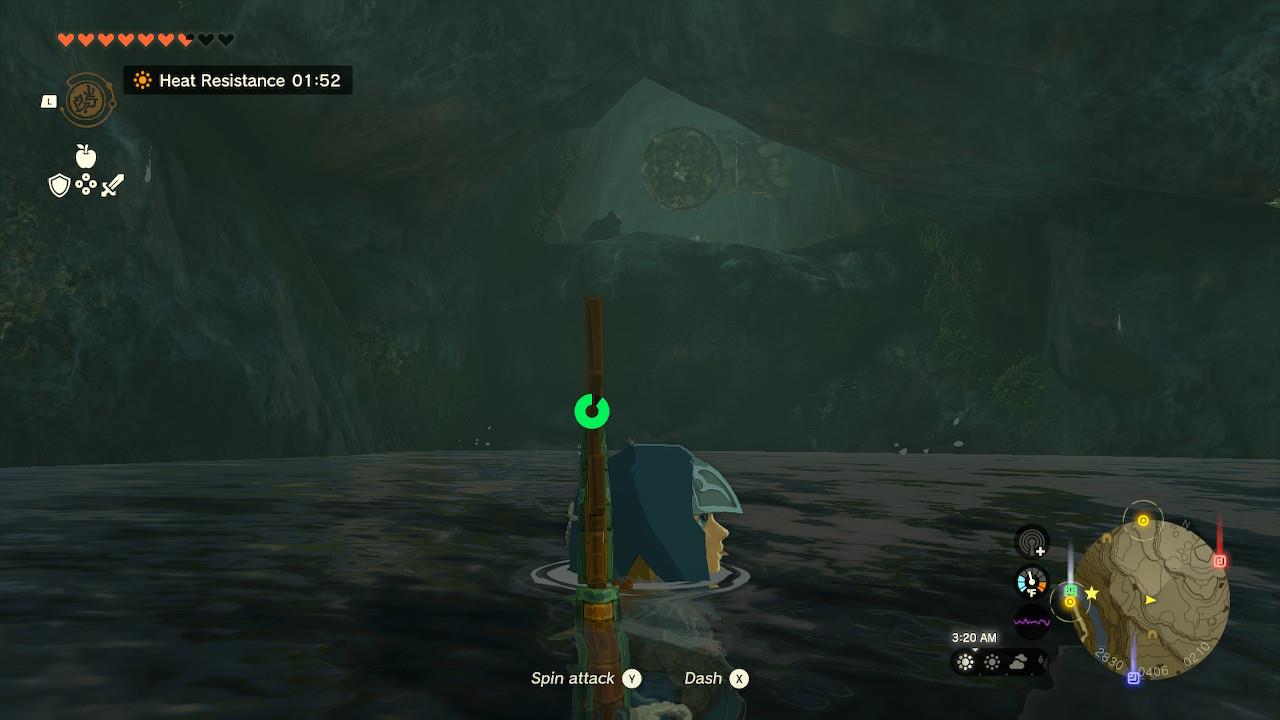
As soon as you hop inside, you’ll be greeted by two Like Likes. Yikes! After you defeat them, you’ll have to climb up. I found the left wall to be a much more approachable – if you get into the water you’ll slip, so you’ll have to rely on your jumps or find a way to dry Link’s clothes (making a campfire can help if you’re really struggling).
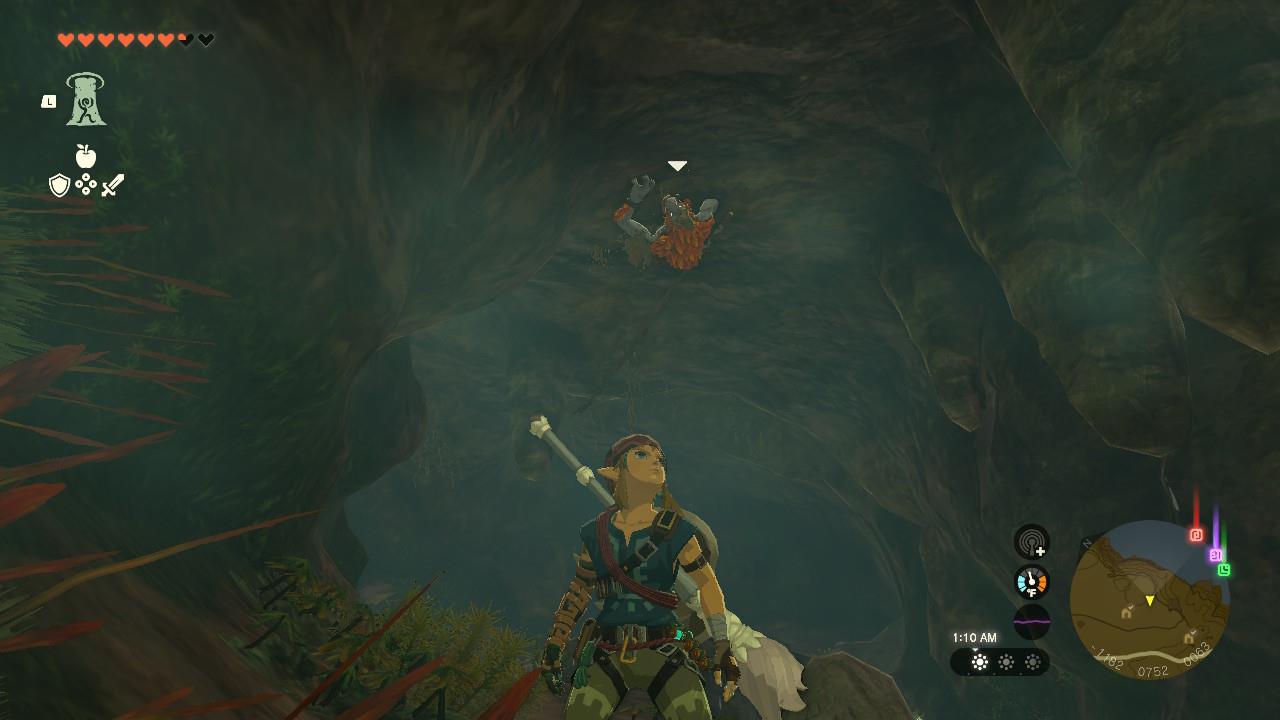
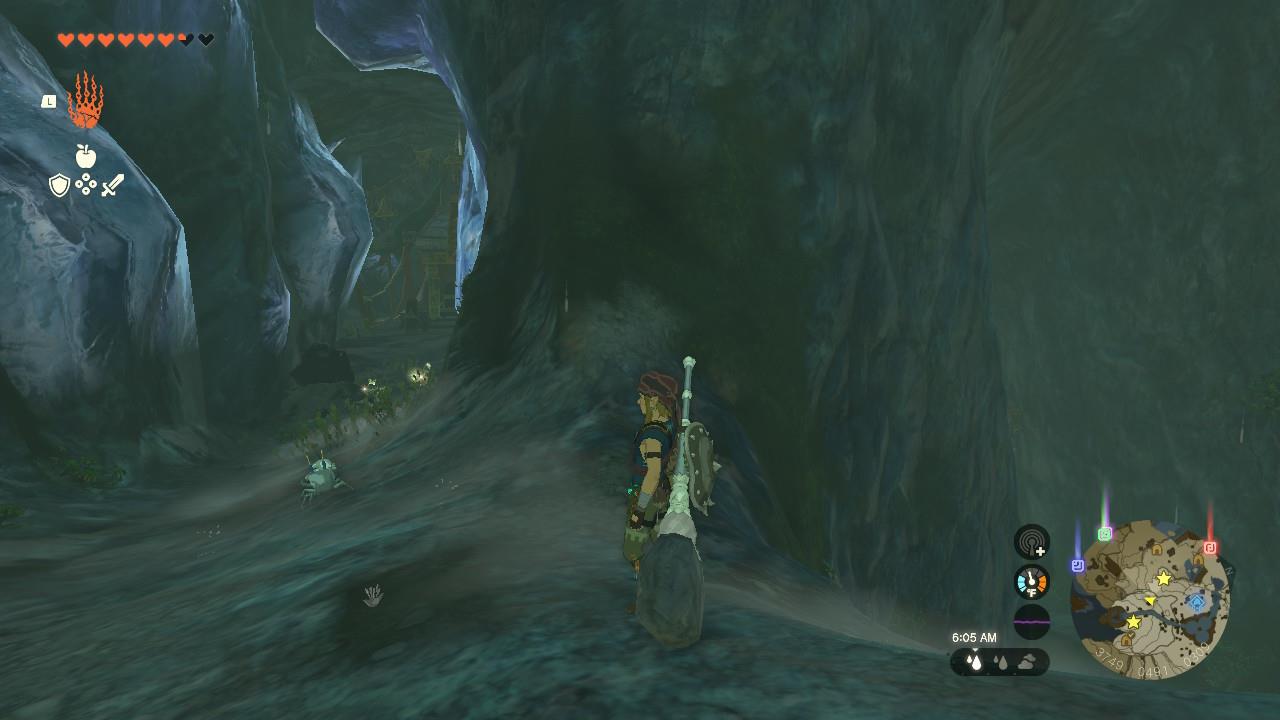
The key is to keep heading upward until you stumble upon two waterfalls. You’ll find a Horriblin – you know what to do. You’ll then end up on a path to the right side of the cave. There are two waterfalls to your left, one at the bottom and one above it.
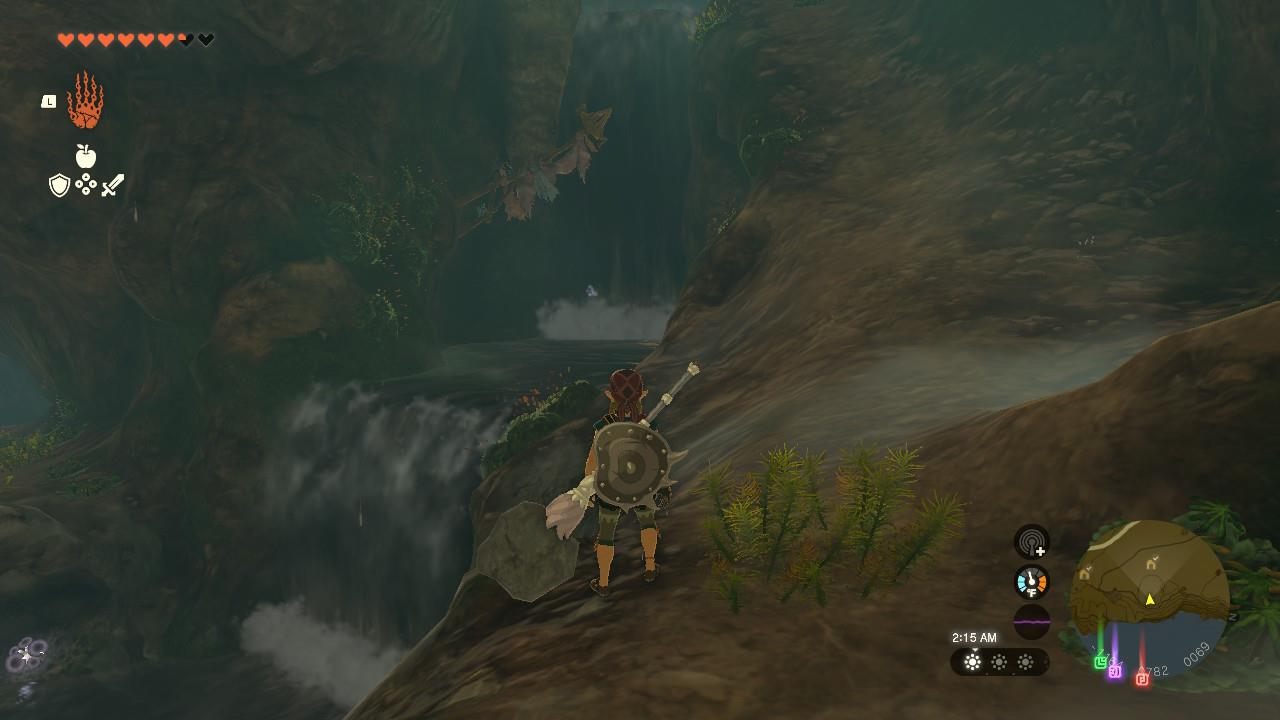
Jump into the water and swim across the waterfall that’s on the top (in the screenshot above), as the chest room is on the other side of it. You can use Ultrahand to scan the environment, too, and you’ll be able to spot the chest.
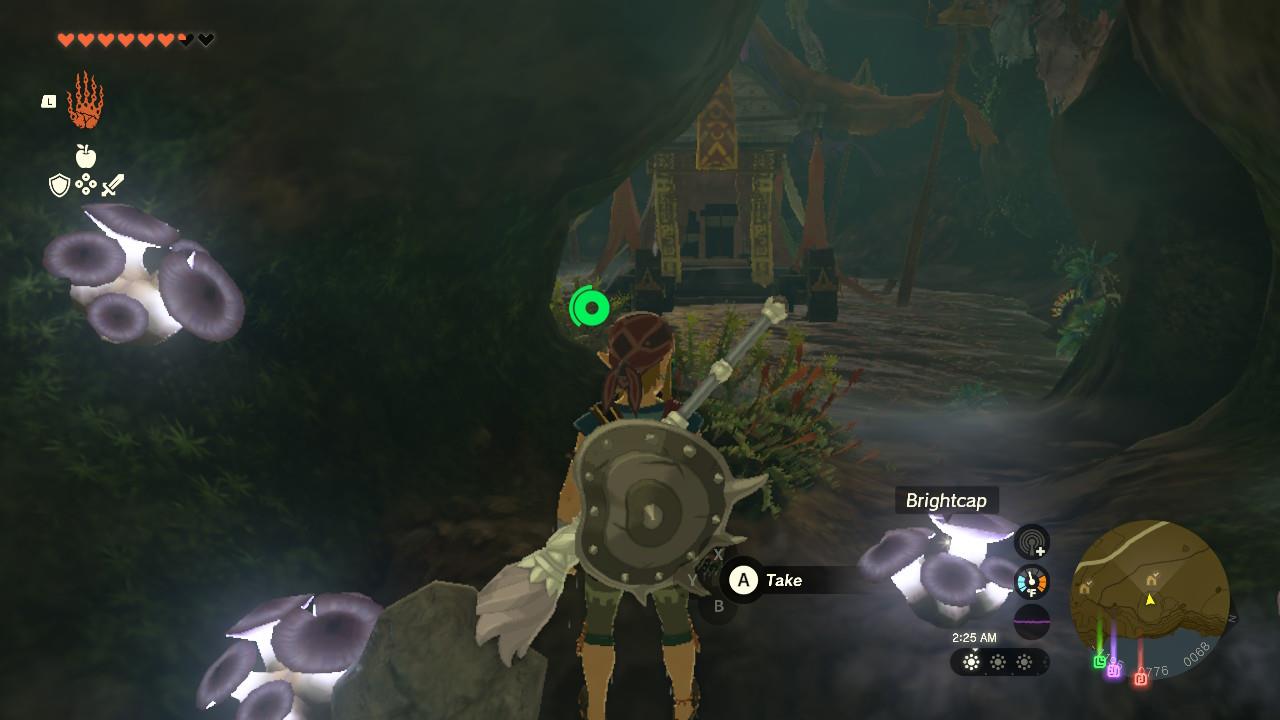
Once on the other side, go ahead and open it to grab the Climbing Gear. This armor piece has 3 defense, and increases your climbing speed.
Climbing Boots location
The Climbing Boots can be found inside the Clastarr Shrine in the Hebra region. To reach it, head west of Hebra North Summit and follow the icy cliffs leading to the cave entrance that hides the shrine. Inside, complete the short puzzle or use Zonai tools to bypass obstacles, then open the chest at the end to obtain the boots. These boots increase climbing speed and complete the Climbing Gear set when paired with the other two pieces.
You can find the Climbing Boots inside Upland Zorana Byroad at the coordinates (2858, 0354, 0227), which is a cave located west of the Zora’s Domain, north of Ralis Pond and east of the Zora River on the map.
This cave can be fairly confusing at first, but here’s the main route toward the armor (you’re then free to explore the rest on your own!). The first large room, which has a small pool of water, converges into two paths.
The one on the left has a Like Like covered in rocks, guarding a passage while hanging from the left wall. The one on the right, which is where we’re heading, has another Like Like covered in rocks, and there’s a gap in the wall from which you can get to it.
Either take the enemy down or continue marching on. You’re going to end up in a path down below with a vine wall on the other end.
If you have any sharp weapon with you, like a sword or an axe, you can just cut your way through. If not, a bomb flower will be of help – if you don’t have any, I spotted a few around the cave. (As mentioned in our beginner’s tips guide, you can use Ultrahand to scan the environment for them!)

Next, you’ll see a flooded room with statues and ruins. It may seem daunting, but the task here is fairly straightforward. Make your way across, either by swimming or by hopping on the ruin structures to stay afloat, and get to the other end.
There, you’ll see a door. Use Ultrahand to grab it, and then slide it upwards.
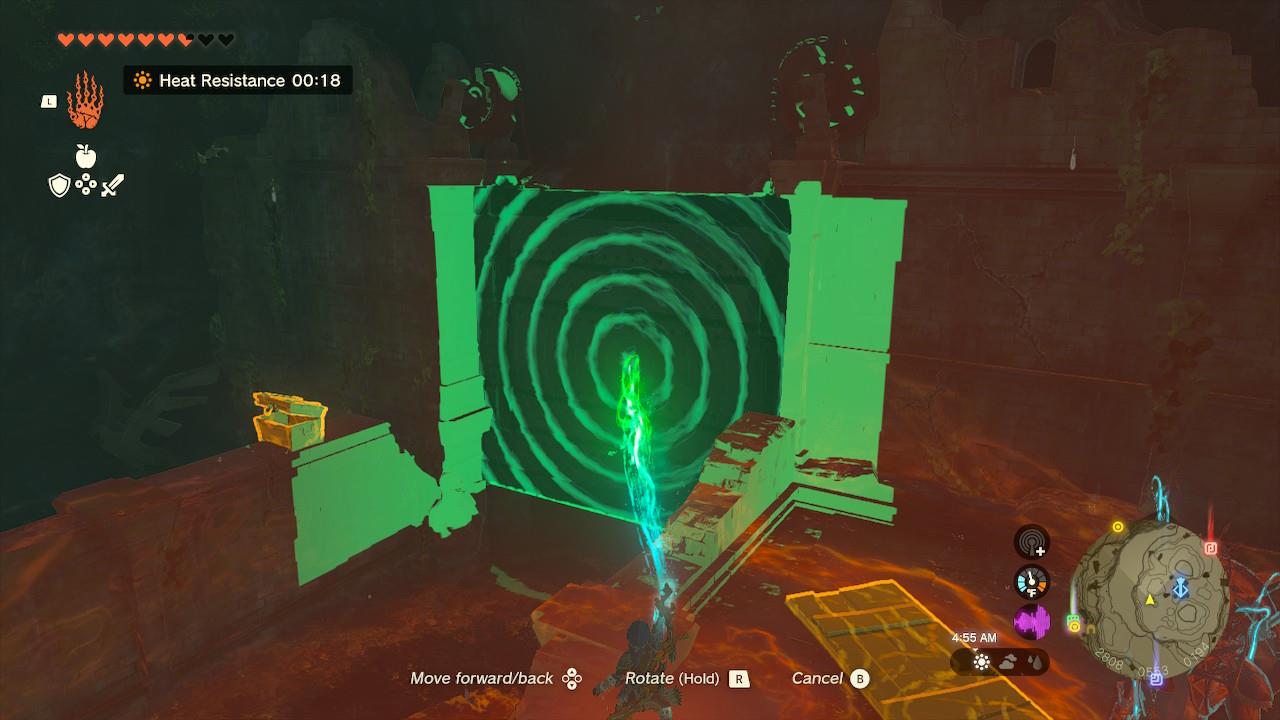
Doing so will empty the room from most of the water. Unlike other similar contraptions in other caves, you don’t need to use Recall in order for the door to stay fixed in place. Hold it upward until the water is gone. You’re free to drop it down again afterward.
From here, you’re free to explore the room and loot whatever you might have missed. There are new doors that you can access now without the flood, and the one with the Climbing Boots chest inside is underneath the staircase to the right side of the door you just lifted.
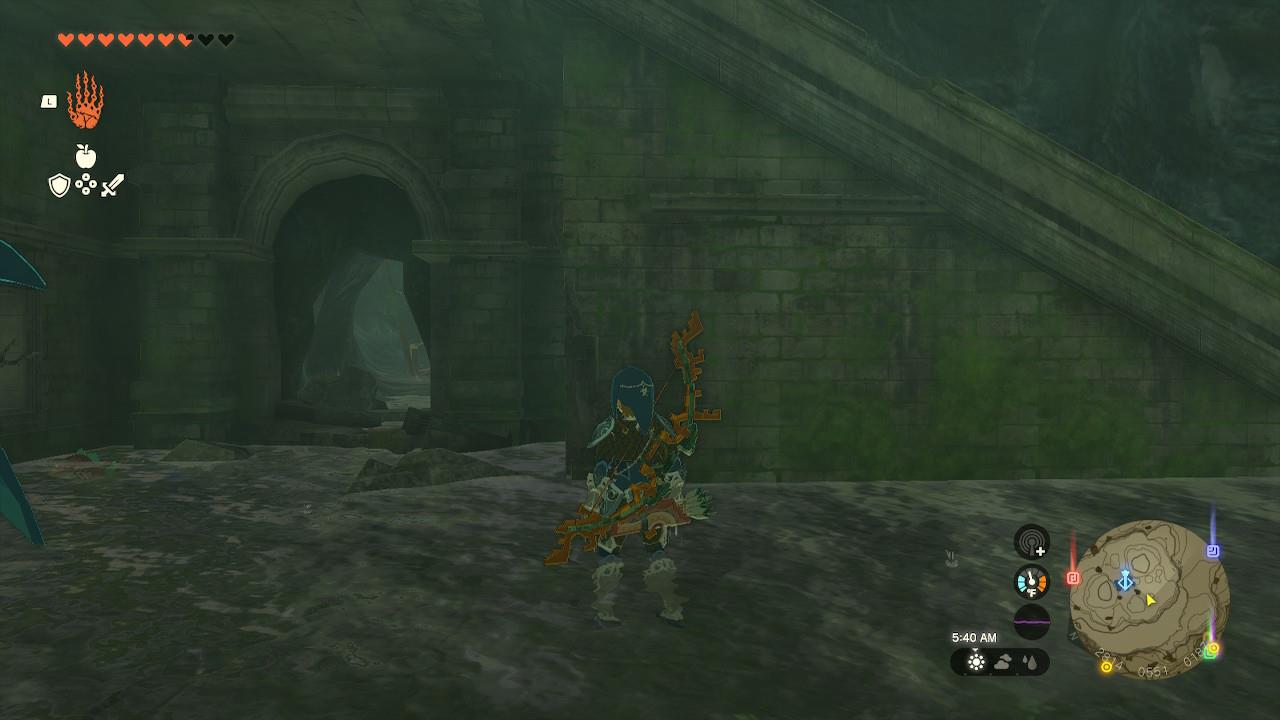
Go through the entrance and into the room, where you’ll find the chest with the Climbing Boots inside. This armor piece has 3 defense, and increases your climbing speed.
Climber’s Bandana location
The Climber’s Bandana can be found inside the North Hyrule Plain Cave, located west of Hyrule Castle. Enter the cave through a small opening along the cliffs and follow the tunnel system while defeating or avoiding the enemies inside. At the end of the cave, climb the slippery walls or use stamina-boosting food to reach a chest resting on a ledge. Open it to obtain the Climber’s Bandana, the first piece of the Climbing Gear set.
You can find the Climber’s Bandana head piece inside Ploymus Mountain Cave at the coordinates (3663, 0539, 0272), which is east of the Zora’s Domain. As you’re climbing toward Mipha Court at the peak, you’ll naturally come across Lulu Lake.
This cave’s layout is simple, but navigating it is quite cumbersome. You’ll have to climb on the multiple surfaces in front of you to get to the other end. Similarly to the caves above, since it’s likely that you’ll be wet from either the rain or the lake nearby, you’re prone to slip during climbing.
As such, I recommend that you leave this head piece for last, as you’ll greatly benefit from have the double boost to climb speed from the Climbing Boots and Climbing Gear. Once you’re equipped with both, it’s a matter of patience.
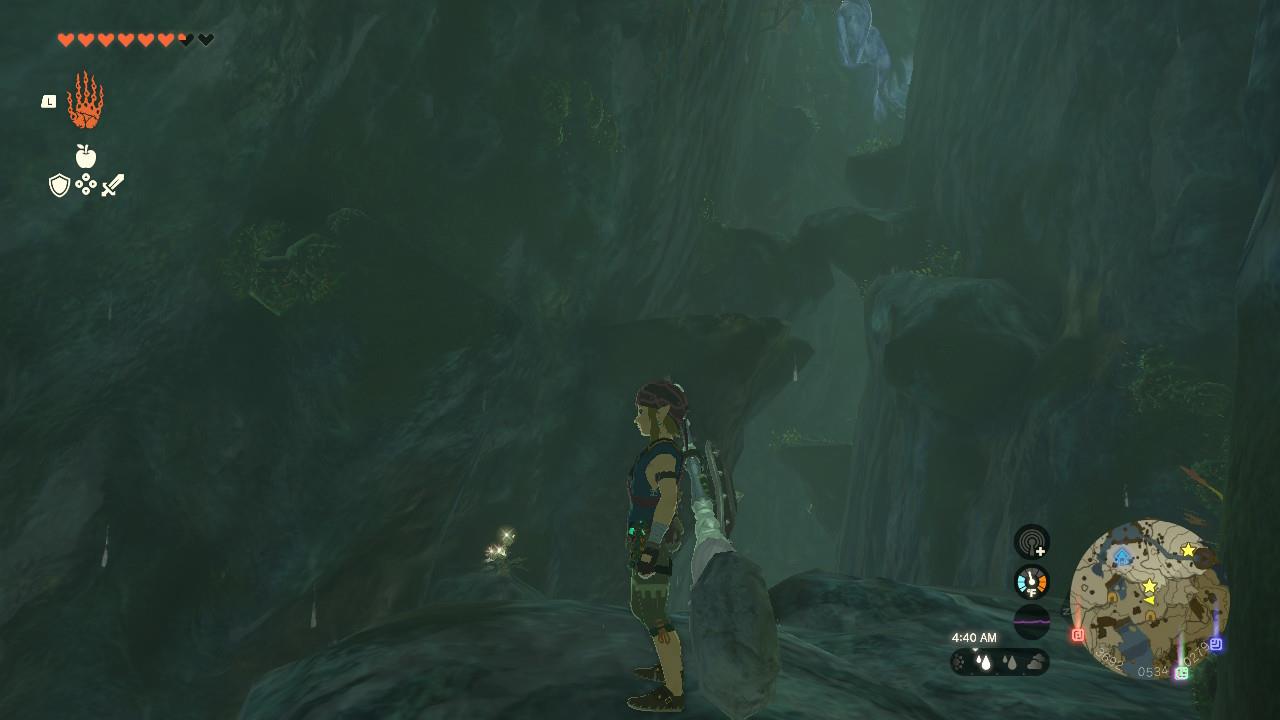
I recommend starting on the left side of the cave, grabbing onto walls, climbing for a bit, and immediately jumping to the side of the next ledge. There are a few times where you’ll see a rock that you can stand on in between ledges. If one of the ledges seems far away, try the one on the opposite side, which is a rule of thumb that saved me a few times in this cave.
When you can, move to the right side of the cave, and then paraglide to the left side once more. As you’re approaching the farther end, you’ll see a larger ledge than usual. You can climb to the wall that’s to the left of it, and then jump to the ledge from there.
After the last climb, you’ll be on high ground. All that is left to do is to get through an open passage to your right, which leads straight into the treasure room. The chest inside has the Climber’s Bandana. This armor piece has 3 defense, and increases your climbing speed. That’s the entire Climbing Armor set!
Climbing Gear upgrade costs, effect, and set bonus
Upgrading the Climbing Gear set increases its defense and enhances the climbing speed bonus. Each piece-Tunic, Boots, and Bandana-can be improved at Great Fairies using materials such as Keese Wings, Electric Keese Wings, or Lynel Hooves, depending on the upgrade level. When all three pieces are worn together, the set bonus grants faster stamina recovery while climbing, making scaling cliffs and surfaces quicker and less tiring.
Each piece of the Climbing Gear set gives you some climb speed up, which does exactly what it says – it makes you climb cliffs faster. When you have all three upgraded to two-star or higher and equipped, you get Climbing Jump Stamina Up set bonus, which reduces the amount of stamina it takes to jump while you climb cliffs.
You’ll be able to upgrade the Climbing Gear set at a Great Fairy using the following:
- 1-star (5 defense): 3 Keese wings, 3 rushrooms, 10 rupees
- 2-star (8 defense): 5 Electric Keese wings, 5 hightail lizards, 50 rupees
- 3-star (12 defense): 8 Ice Keese wings, 10 hot-footed frogs, 200 rupees
- 4-star (20 defense): 10 Fire Keese wings, 20 swift violets, 500 rupees
In total, to upgrade all three pieces of Climbing Gear, you’ll need 9 rushrooms, 15 hightail lizards, 30 hot-footed frogs, 60 swift violets, 9 Keese wings, 15 Electric Keese wings, 24 Ice Keese wings, 30 Fire Keese wings, and 2,280 rupees.
Where to find each Climbing Set piece by map coordinates
Climbing Gear Set pieces in Zelda: Tears of the Kingdom are located in specific caves, each with precise map coordinates for the treasure chests containing them.
Climbing Gear (Chest Piece)
Found in North Hyrule Plain Cave east of New Serenne Stable and Sinakawak Shrine. The chest is at coordinates -1232, 0771, 0100 (entrance hole nearby) or more precisely -1212, 0774, 0069 inside.
Climbing Boots (Leg Piece)
Located in Upland Zorana Byroad cave, southwest of Zora’s Domain and northwest of Ralis Pond. Chest coordinates are 2863, 0343, 0228 or 2823, 0522, 0188 at the end after vines and water.
Climbing Bandana (Head Piece)
Inside Ploymus Mountain Cave east of Zora’s Domain below Ihen-a Shrine. The chest sits at 3655, 0538, 0271 or 3726, 0492, 0309 after climbing wet platforms.
Coordinates for Climbing Gear Top in Tears of the Kingdom
The Climbing Gear Top (chest piece) in Zelda: Tears of the Kingdom is found inside North Hyrule Plain Cave.
Various guides pinpoint the treasure chest’s precise location at coordinates around **