Hidden deep beneath Hyrule’s surface, the Mayahisik Shrine challenges players with precision timing and clever use of Zonai devices. This guide pinpoints its exact location and walks you through every puzzle so you can master its tricky mechanics and claim your reward.
Our guide will help you find the [shrine name] shrine location, solve its puzzles, and walk you through the “Retsam Forest Cave” puzzle (all rolled into the Hateno Village Research Lab side adventure) to collect the chest and Light of Blessing.
When you’re done, our shrine locations page or interactive Hyrule map can direct you toward something else to do.
Mayahisik Shrine and Retsam Forest Cave location
Mayahisik Shrine is found inside the Retsam Forest Cave, located east of Mount Lanayru and directly north of Hateno Village. The cave entrance sits on the hillside near the forest, partially hidden by foliage and rock formations. Players can spot it around the coordinates (3732, -2060, 0189). Inside, the path leads through a short tunnel where players must clear rocks or defeat a few enemies before reaching the shrine chamber. The area often contains ore deposits and brightbloom seeds, making it useful for gathering materials along the way.
The Mayahisik Shrine is found within the East Necluda region in the hidden Retsam Forest Cave. In fact, it’s right outside the Hateno Village Research Lab. This shrine is closely tied to the quest line required for getting a Shrine Sensor on your Purah Pad.
Mayahisik Shrine walkthrough
The Mayahisik Shrine features a puzzle centered around precise movement and timing. Players must manipulate floating platforms and use the Ultrahand ability to create stable paths across gaps. Pay attention to the rhythm of moving parts and switch mechanisms to progress safely. The final chamber rewards careful observation, as the solution relies on combining multiple mechanics introduced earlier in the shrine.
Mayahisik Shrine takes almost zero work, but a bunch of legwork. You need to first talk to Robbie in Lookout Landing and complete the “Camera Work in the Depths” quest. Then, after completing one of the Regional Phenomena Quests (helping out the Rito, Zora, Goron, or Gerudo with their weather issues) you’ll have to return to Robbie and Josha to embark on the A Mystery in the Depths quest. After allllll that, Robbie will unlock the Hateno Village Research Lab and have a new set of quests for you – one that will lead you to the Mayahisik Shrine.
1. After doing the legwork, head to Hateno Village Research Lab to find Robbie, who will initiate the Hateno Village Research Lab side adventure. (Triggering this quest activates the Shrine Sensor.)
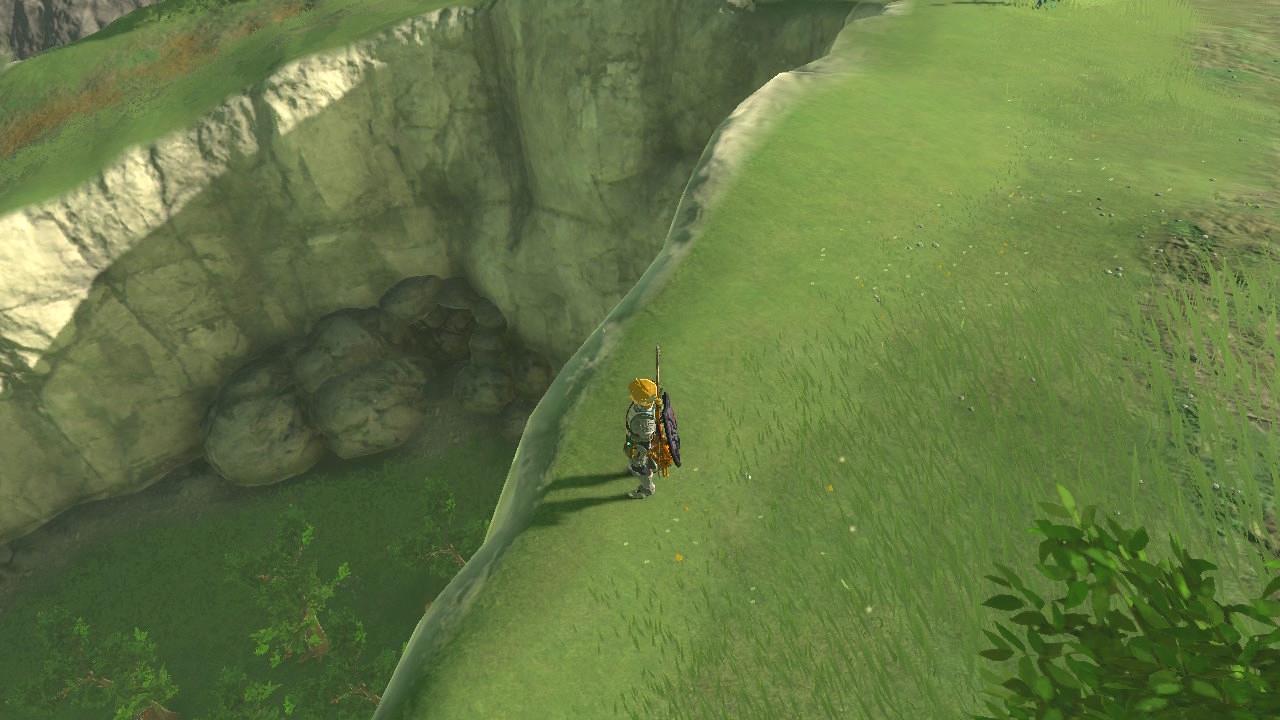
2. Exit Hateno Village Research Lab and walk to the edge of the bendy road’s first cliff, where you see the patch of apple trees. (Around coordinates 3769, -2104, 0249.) Look to the left and you’ll see a pile of rocks – they’re breakable. Go break ’em.
How do I trigger the Hateno Village Research Lab questline
To trigger the Hateno Village Research Lab side adventure questline in The Legend of Zelda: Tears of the Kingdom, complete prerequisite main quests first, then speak to specific NPCs.
Prerequisites
Complete the main quest “A Mystery in the Depths,” which requires entering the Depths at least once (after at least one temple) and unlocking the Autobuild ability from Robbie. Repair Robbie’s hot air balloon at Lookout Landing by talking to Josha after returning from the Depths-this advances the conversation and prompts Robbie to head to Hateno.
Starting the Quest
Travel to the Hateno Ancient Tech Lab (coordinates around 3730, -2058, 0189, northeast of Hateno Village-fast travel via Mount Lanayru Skyview Tower and glide south). Speak to Robbie inside; he’ll upgrade your Purah Pad with the Shrine Sensor and start the “Hateno Village Research Lab” side adventure, directing you to test it nearby.
Next Steps in Questline
Use the sensor outside near the lab window-it beeps toward the Retsam Forest Cave downhill. Bomb rocks to enter the cave, find Mayahisik Shrine, then return to Robbie to complete it and unlock follow-up quests like “Presenting: Sensor +!”, “Presenting: Hero’s Path Mode!”, and “Presenting: The Travel Medallion!”.
Where is Lookout Landing to start Robbie’s side adventure
Lookout Landing serves as the central hub in Central Hyrule where Robbie’s side adventure begins early in The Legend of Zelda: Tears of the Kingdom. It is located directly south of Hyrule Castle, serving as your first major landing point after diving from the Great Sky Island.
Exact Location
Lookout Landing sits at coordinates approximately ,,0454, 0020, 0035,, in Central Hyrule, marked by a large Skyview Tower and makeshift camp with shops, a cooking pot, and an Emergency Shelter below. Fast travel to the Central Hyrule Skyview Tower (after activating it) or approach from the south post-Great Sky Island dive into the nearby pond.
Starting Robbie’s Adventure
Climb the stairs on the north side to find Josha, then speak to Robbie nearby-he tasks you with investigating a chasm to the south for “A Mystery in the Depths,” unlocking the camera and advancing toward Hateno. Repair his broken hot air balloon first by gathering wood and a fan via Josha’s prompt.