Hidden deep beneath the rising currents of Lanayru Great Spring, the Jirutagumac Shrine challenges players with shifting water mechanics and clever platform puzzles. This guide shows how to reach its submerged entrance and solve every step of its ingenious “A Flying Device” trial.
When you’re done, our shrine locations page or interactive Hyrule map can direct you toward something else to do.
Jirutagumac Shrine location
Jirutagumac Shrine is found beneath the Great Fish Island in the Lanayru Great Spring region. You can reach it by gliding down from the high cliffs near Zora’s Domain or by diving into the waterfall leading to the cave underneath the island. The shrine’s entrance sits within a small cavern surrounded by water, making the paraglider or Zora Armor helpful for easier access. Activate the nearby travel point to return quickly during later exploration.
The Jirutagumac Shrine can be found in the Lanayru Sky Archipelago, right above the Upland Zorana Skyview Tower. The exact coordinates of the Jirutagumac Shrine are approximately (2916, 0533, 0951).
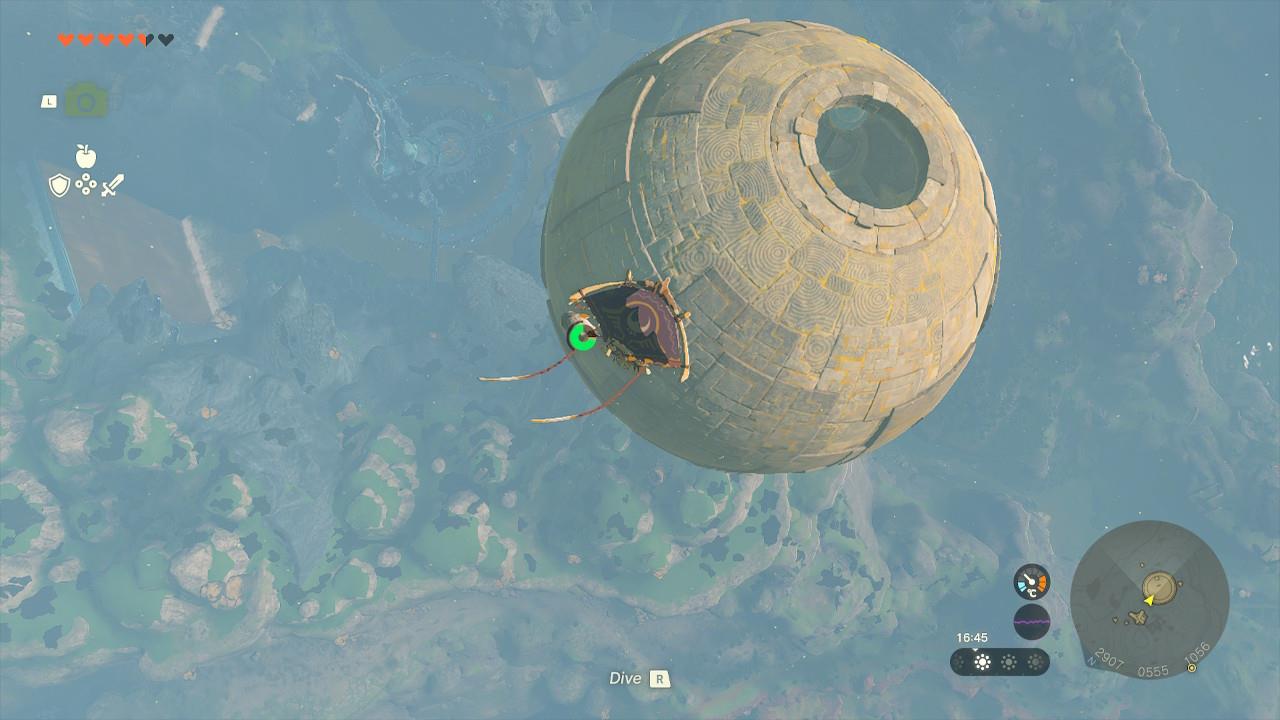
This is a fun shrine, and one of the trickier to enter since you need not only to get airborne, but to land inside a spinning rock sphere.
First, make your way to the Skyview Tower and launch yourself. Once you begin your descent, look for the definitely-not-a-Death-Star due southeast (it’s really hard to miss) and make your way over to it. There is a hole directly on top of it, leading to the shrine. Don’t worry if you mistime your landing – as long as you stay right on top, you can jump in the hole when it’s there.
Jirutagumac Shrine walkthrough
Enter Jirutagumac Shrine on the western edge of the Gerudo Highlands at coordinates (-1637, -1530, 0383). Activate the nearby stone slab with Recall to reveal a hidden passage across the gap, then drop down to the main chamber. Glide to the lower platform and use Ultrahand to attach the loose metal block to the rail, riding it upward to strike the target switch. This opens the path forward; repeat the process with the second rail block to access the final room. Fuse a stone slab onto your shield or arrow to hit the glowing switch, claim the chest with a Large Zonaite, and touch the altar for the Ascend ability.
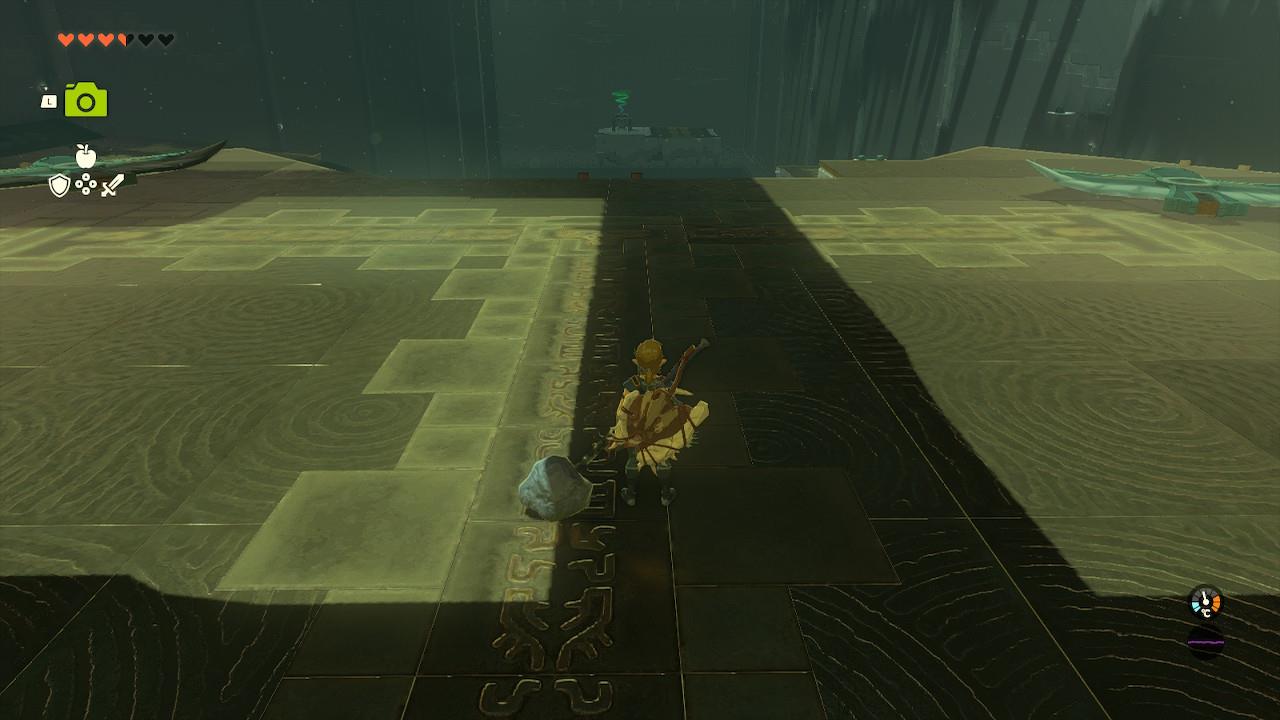
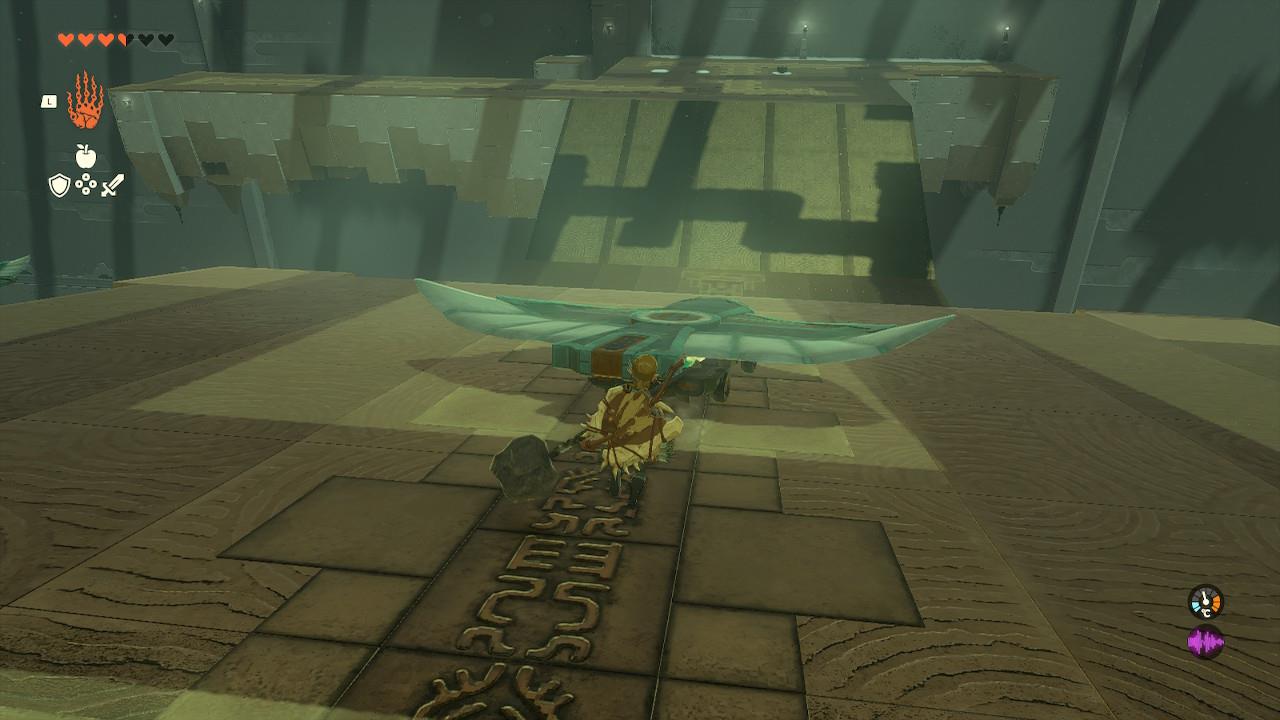
1. Walk in and you’ll immediately spot two wings in front of a chasm. At the other end, in the distance, you can make out the green-blue trail of wisps that indicates your goal. As the puzzle name suggests, you need to find a way to fly across the chasm.
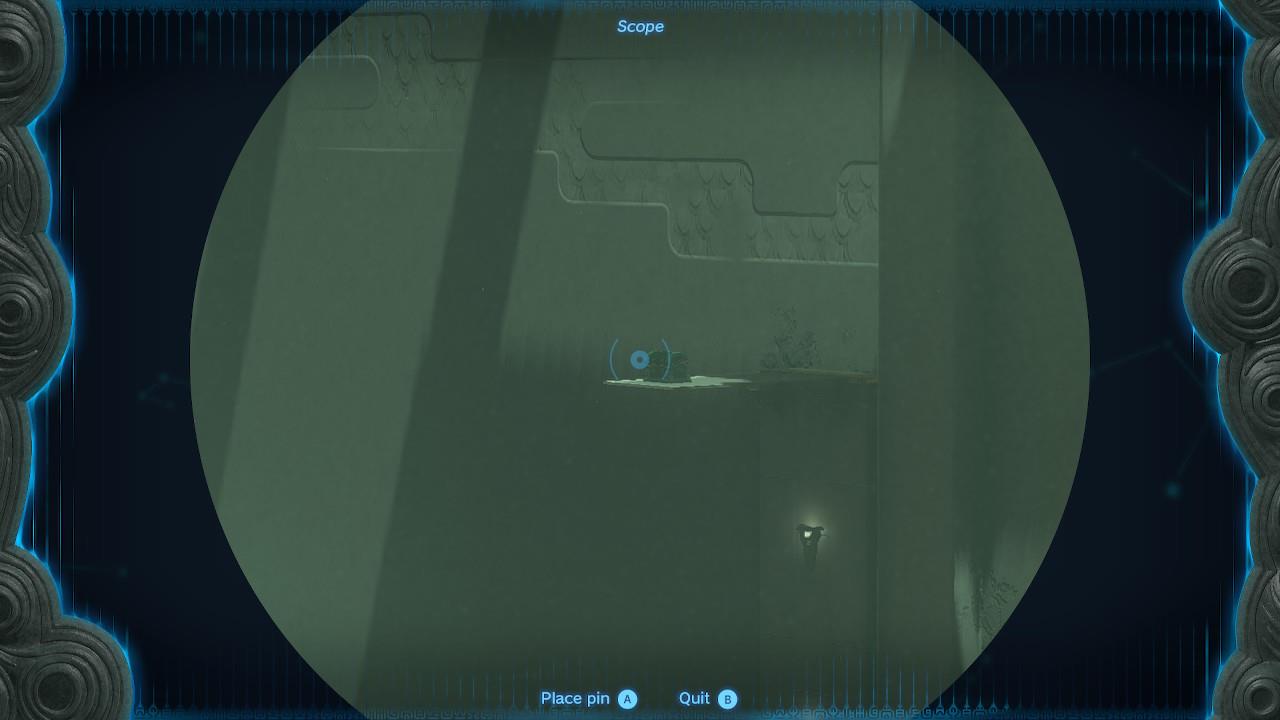
2. Before you proceed, however, you can spot the chest from this first platform. You’ll be able to reach it en route to the end of the shrine; for now, take a second to clock where it is.
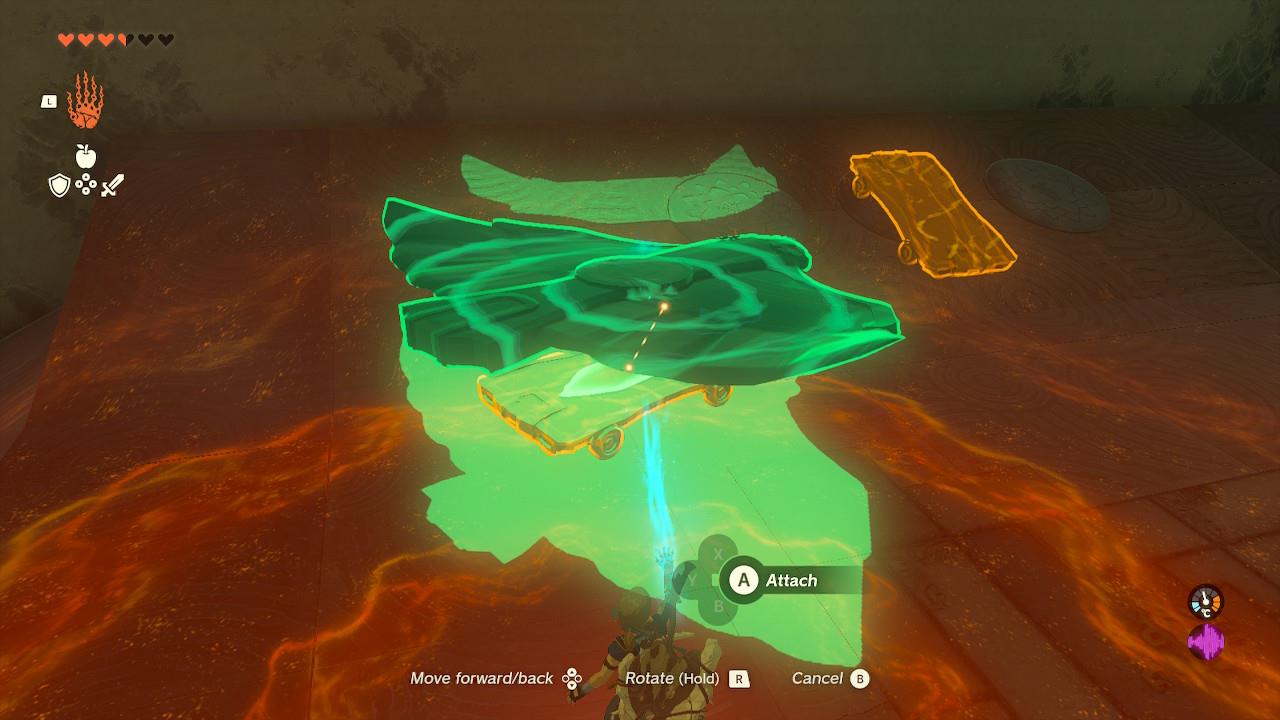
3. Start by grabbing the left-hand wing with Ultrahand (the right-hand wing is a red Herring-Burgess). Send it down the slope as in the picture below, then glide down after it to land on the platform.

4. Here you’ll see three spawning carts – two will immediately roll away, and the third will stay put as it’s perpendicular to the slope. Carry the wing up to the carts and affix it to the one that’s not going anywhere.
5. Once you’re ready, roll the wing down the slope to fire it across to the right side of the room. Glide down after it.
6. Take a sec to grab the treasure chest while you’re at the right platform. Pick up the wing and carefully position it as you see below to form a bridge. If you drop it, you need to turn around and climb up the ladder to start again – so don’t drop it!

7. Standing in the middle of your makeshift bridge, Ascend to get the chest with a piece of large Zonaite. Jump down when you’re ready to carry on with the puzzle.
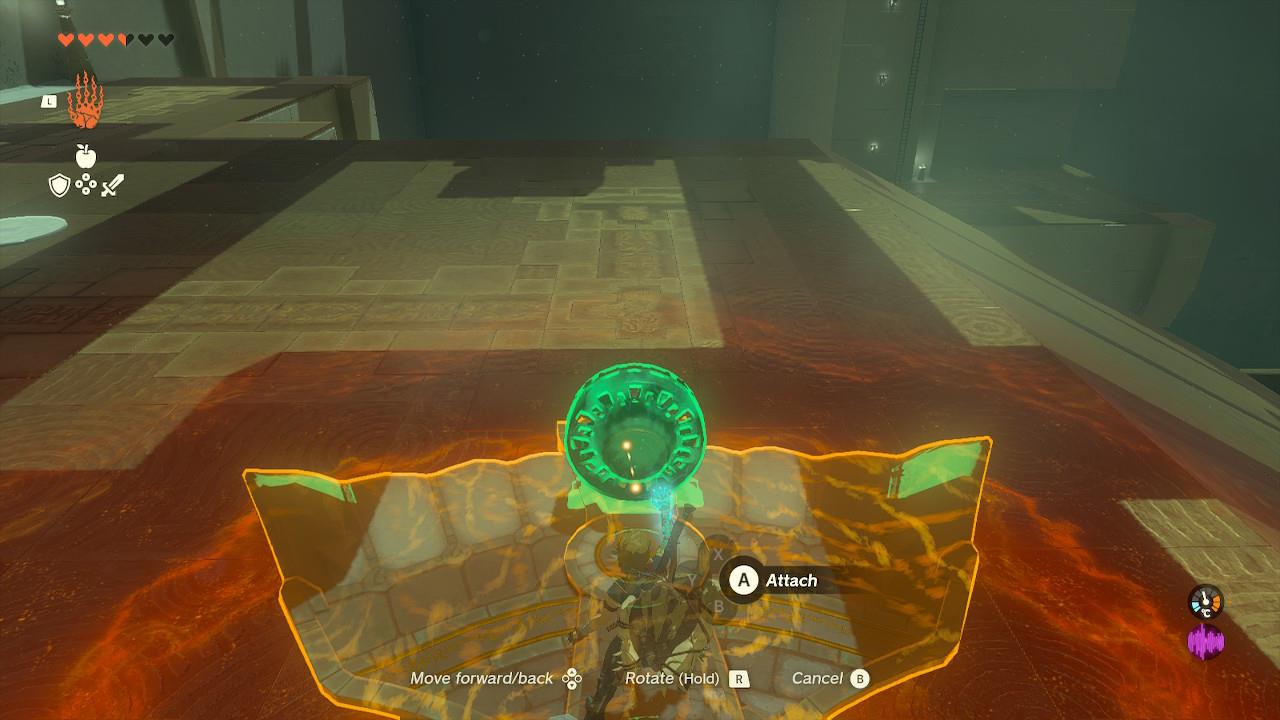
8. Grab your wing, position it on the runway, lined up like in the picture below. Carefully place it and then grab the fan from behind you.
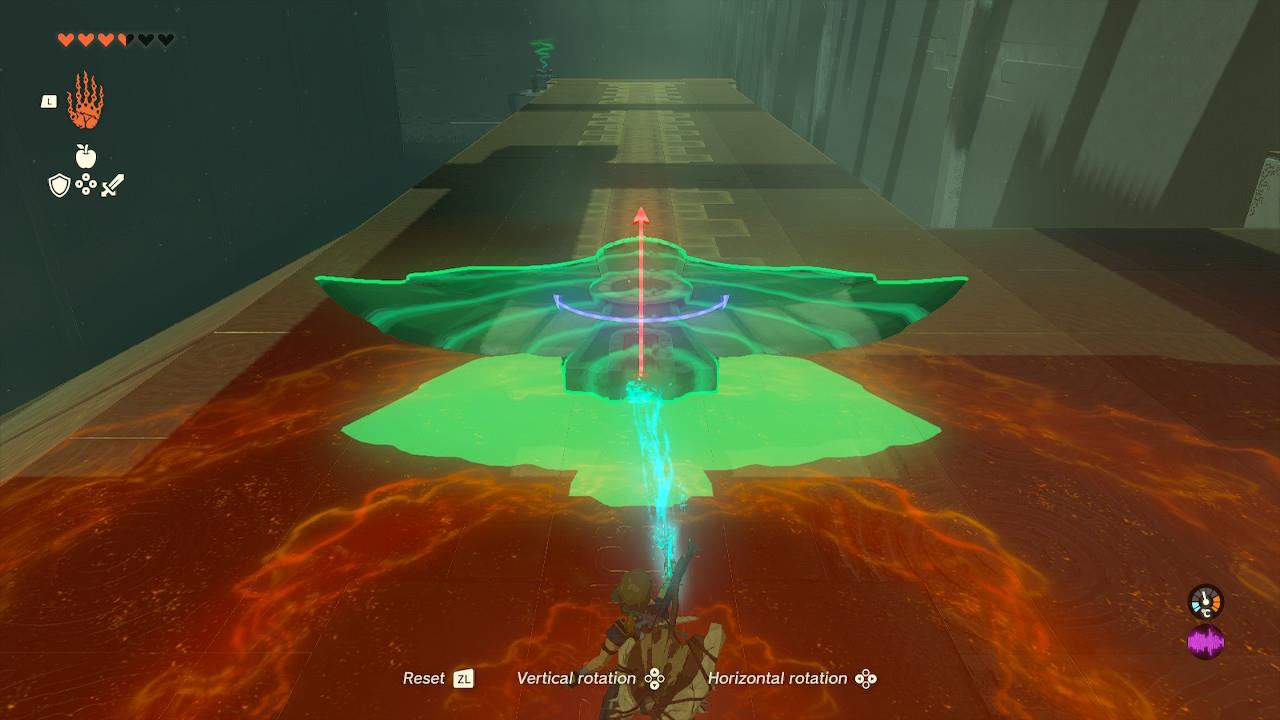
9. Attach the fan to the back of the wing, as far back as it will go. This will help offset the weight of the fan, keeping the tail down and nose up. It’s a video game and a lesson in aerodynamics.
10. Once you’re ready for take off, give that fan a tap with your weapon. This next bit is fun, so enjoy it.
11. Take a second to appreciate how cool you look. Also, adjust your flight path with the wing as you need to.
How to reach the Lanayru Great Spring Sky skyview tower fast travel point
Upland Zorana Skyview Tower Access
The Lanayru Great Spring Sky region connects to the Upland Zorana Skyview Tower, the key fast travel point for reaching sky islands like Jirutagumac Shrine. Launch from this tower at coordinates around (2780, 0373, 0900) to glide directly into the rotating orb housing the shrine.
Surface Starting Point
Travel east from Zora’s Domain along Lanayru Road or fast travel to the Upland Zorana Byroad Shrine (-0053, 3573, 0118). Head north through the cave system or climb the cliffs with cold resistance gear to avoid freezing enemies and weather.
Fastest Climbing Route
From the tower base, watch for falling Sky Island ruins marked by blue trails (often near 3770, -1180, 0411); use Recall to ride them upward, then paraglide to the summit. Alternatively, build a fan-powered Zonai Wing glider with batteries for a quick aerial ascent. Activate the terminal inside to unlock fast travel and sky launches.
Fastest route from Hateno Village to Lanayru Great Spring Sky tower
Hateno Village lies south of the Mount Lanayru Skyview Tower, the primary fast travel point overlooking the Lanayru Great Spring Sky region in The Legend of Zelda: Tears of the Kingdom. The fastest surface route follows established roads northeast, minimizing climbing until the final ascent. Travel on horseback or by vehicle cuts time significantly over walking.
Step-by-Step Route
Start at Hateno Village (3541, -2088, 0147) and head northeast via Sahasra Slope Skyview Tower (launch for a glide boost if unlocked). Follow Lanayru Road East Gate north, passing Zakusu Shrine (3525, -1482, 0167) as a midpoint fast travel. Continue snaking east along the path around Mount Lanayru’s base to the tower at (3846, -1307, 0539), avoiding icy cliffs by sticking to dry slopes.
Quick Alternatives
Launch from Rabella Wetlands Skyview Tower southwest of Hateno and paraglide northeast to skip roads. Build a Zonai Wing with fans and batteries for aerial travel directly to the summit, or use Recall on falling sky ruins near (3770, -1180, 0411) during the climb. Equip cold resistance elixirs or armor for snowy areas.