Tricky machinery, shifting platforms, and clever use of electricity await inside the Turakamik Shrine – a clever puzzle that tests both timing and precision in The Legend of Zelda: Tears of the Kingdom.
When you’re done, our shrine locations page and interactive Hyrule map can direct you toward something else to do.
Turakamik Shrine location
Turakamik Shrine is located on the upper level of the Thunderhead Isles in the Faron region, southeast of Hyrule. The exact coordinates are approximately (-2520, -3560, 0720), placing it high above the clouds near the Dragonhead Island area. To reach it, players must navigate the nearby sky islands, using gliders and Zonai devices to cross gaps and ascend the floating platforms leading to the shrine.
The Turakamik Shrine is found within the Gerudo Highlands region. The shine is easily accessible by gliding from the Gerudo Canyon Skyview Tower. The exact coordinates are (-2655, -2236, 0067).
Turakamik Shrine puzzle solution
Attach the electrified metal ball to the unpowered one with Ultrahand to spin the first large cog, then ride it up to the next level. In the second room, swing one hanging ball and, as it passes close, connect it to the other so electricity flows and the wall platforms extend, then use Ascend to reach the higher ledge. For the final section, use Recall on the big cog to reach the chest with the Strong Zonaite Shield, then remove the metal rod from the cog mechanism, fuse it to the charged ball, and rest the rod across the wall pins so power runs to the exit gate.
This shrine uses a series of electrical puzzles that can be solved with Ultrahand.
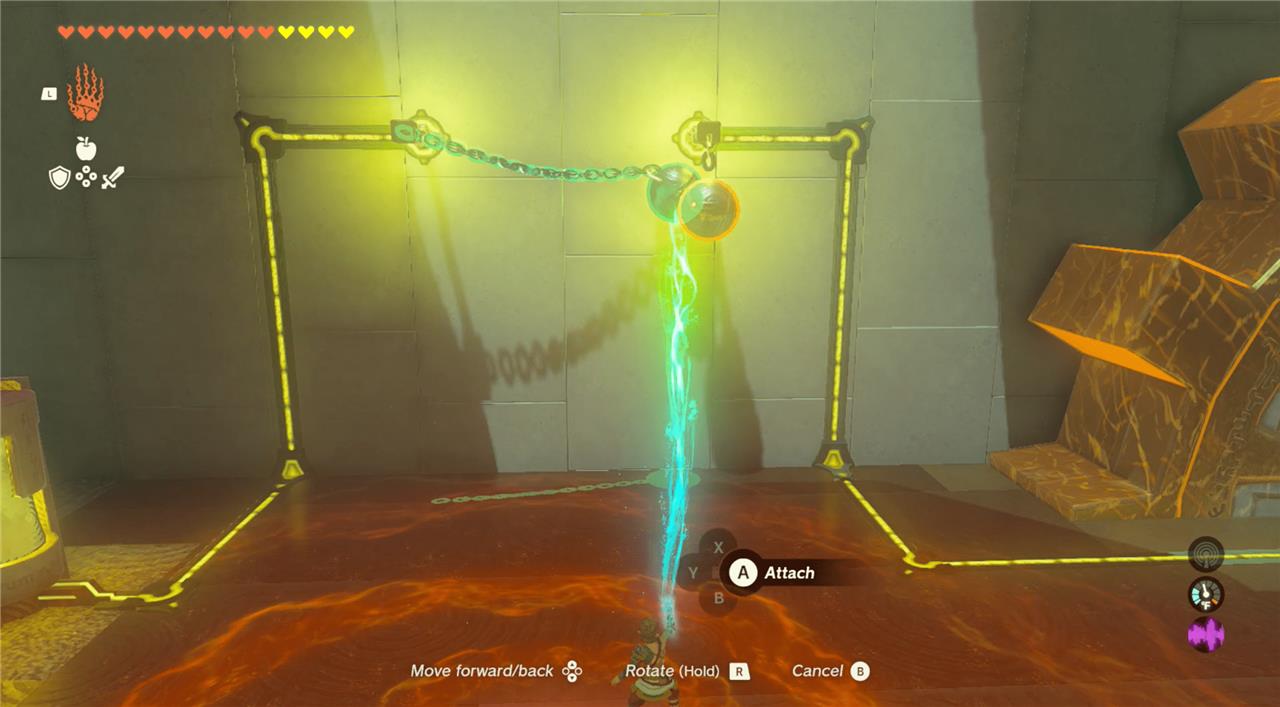
1. Enter the shrine and you’ll find yourself in a room with a large cog and two metal balls. The ball on the left is hanging by a long chain and has electricity running through it. Use Ultrahand to grab the metal ball and adhere it to the ball to the right of it.
2. Electricity will start running through both of them and turn the giant cog. Once it’s turning, jump up and hitch a ride up to the next floor. As you ride up, make sure you jump on the protruding part of the gear so it’s easier to walk onto the floor of the next level.
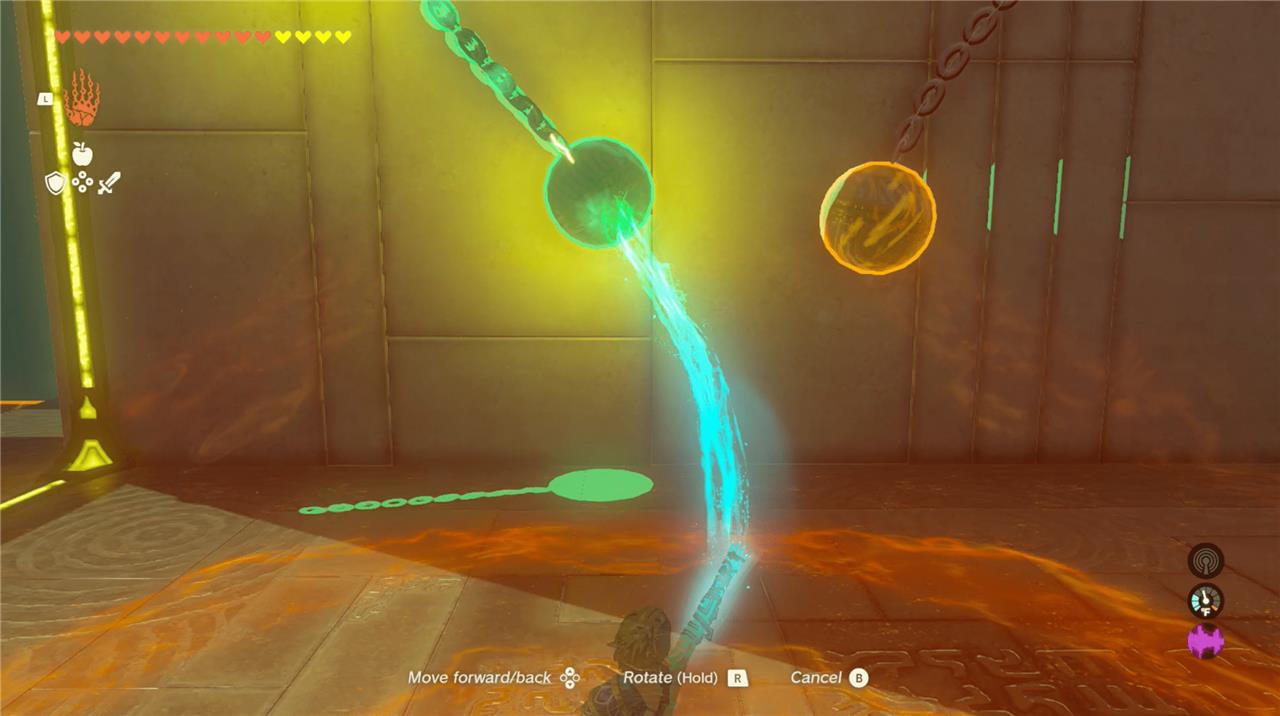
3. Once again, you will see two metal hanging balls in the next room. Like last time, use Ultrahand to adhere the two together and restore the flow of electricity.
4. This is a bit tricky since the two balls barely touch and you can’t grab two at once. Use Ultrahand to move one of the balls to get it swinging. Then use Ultrahand on the other ball and glue them together as the original swings back and forth.
5. After you do that, platforms will move in and out and protrude from the wall. Walk under one while it’s out and use Ascend.
6. The platform you just Ascended to is still moving in and out. Time your walk so that you move to the next platform as one is receding the other is moving outward, and walk across.
7. The next room has more electrical components and another giant cog. Use Recall on the cog to ride the cog up to another level and grab a chest with a strong Zonaite shield.
8. Jump back down. There are two smaller cogs connected by a long pillar. Use Ultrahand to remove the pillar between them.
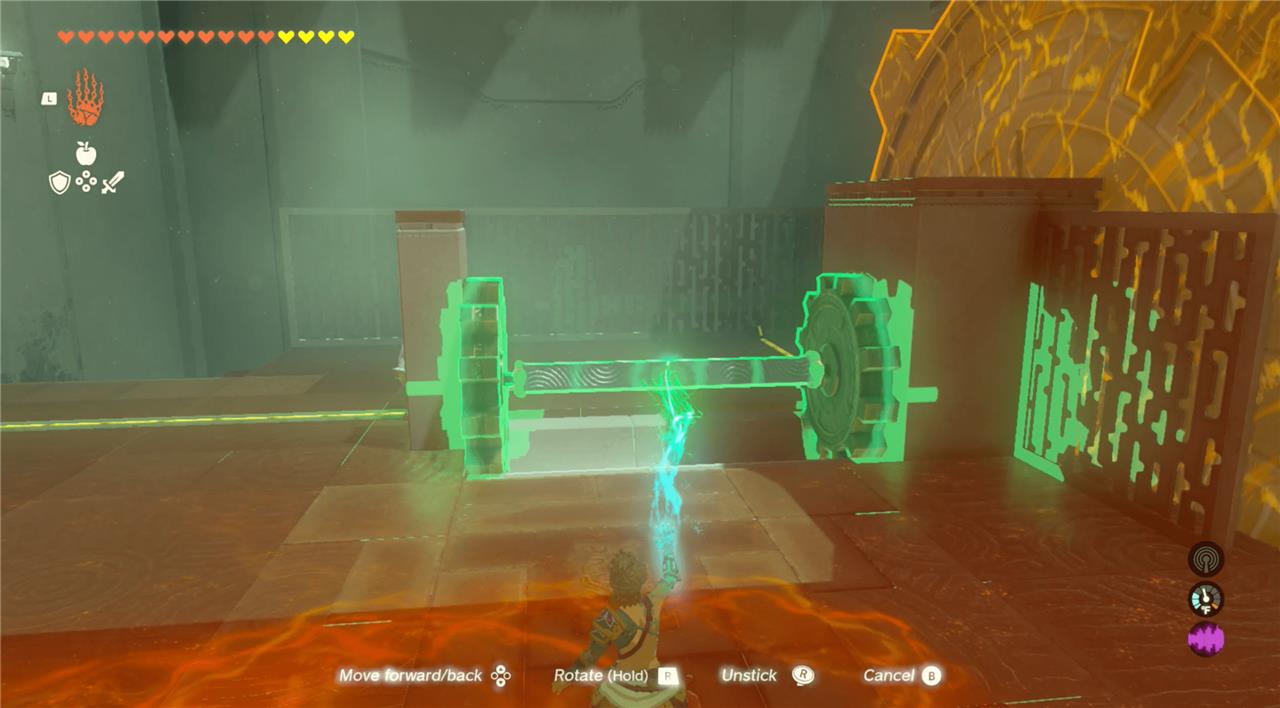
9. Walk the removed pillar over to the hanging ball in the room. Using Ultrahand, lay the pillar on top of the two jutting pillars to complete the flow of electricity.
Show step-by-step actions for the first room puzzle
First Room Puzzle Overview
The first room of Turakamik Shrine features an electrified metal ball hanging next to a non-powered metal ball, with a large cogwheel nearby that needs power to rotate.
Step-by-Step Actions
-
Equip Ultrahand and grab the electrified (glowing) metal ball from its hanging position.
-
Position the electrified ball directly against or attached to the non-powered metal ball to transfer electricity between them.
-
Release the balls; the electricity now powers the large cog, causing it to spin.
Next Move
Once the cog spins, jump onto it and ride it upward to reach the higher platform leading to the second room.
Start the first room puzzle walkthrough from the beginning
Entering Turakamik Shrine First Room
Upon entering Turakamik Shrine, face the setup with two hanging metal balls: one electrified (glowing with electricity) and one neutral, positioned near a large stationary cogwheel that needs power to rotate.
Step 1: Equip Ultrahand
Activate the Ultrahand ability from your Fuse menu or quick access. This tool allows grabbing and manipulating objects like the metal balls.
Step 2: Grab Electrified Ball
Aim Ultrahand at the glowing, electrified metal ball hanging by a chain. Grip and pull it free from its suspension point without touching water or other conductors.
Step 3: Attach to Neutral Ball
Maneuver the electrified ball directly against the neutral metal ball still hanging nearby. Use Ultrahand to hold them in contact until electricity transfers, often by releasing to let them connect naturally.
Step 4: Activate Cogwheel
With electricity now flowing to the neutral ball, the large cogwheel beside them begins spinning continuously. Confirm the power transfer by observing sparks or glow on the second ball.
Step 5: Ride to Next Area
Time your jump onto the spinning cogwheel’s edge. Ride it upward as it rotates to reach the elevated platform ahead, leading to the second room.