Hidden deep within Hyrule Castle lies the elusive Royal Guard Armor set-once worn by the kingdom’s finest protectors, now waiting for brave adventurers to claim it. Here’s how to brave the castle’s dangers and secure this powerful gear for yourself.
Every piece of the set – which comprises a head, chest, and legs gear – is located inside Hyrule Castle. The floating castle takes some work to reach, but collecting the set also gives you a chance to pick up some soldier’s and royal guard weapons, which are far more powerful than anything you can get in or around Hyrule Field.
Royal Guard Armor set location
The Royal Guard Armor set is hidden within Hyrule Castle, spread across several rooms that require careful exploration. The chest piece can be found in the Guards’ Chamber, while the boots rest in the Second Gatehouse. The cap is located in Zelda’s Study, which can be reached through the upper sections of the castle. Each piece is guarded by enemies and hazards, so prepare with strong weapons and stamina before entering the castle’s depths.
All three pieces of the Royal Guard Armor are located in Hyrule Castle. You can see the locations of each piece in the map above. But reaching the castle itself – not to mention navigating its byzantine and puzzle-packed hallways – can be confusing. If you’re stuck, the following sections will how to reach Hyrule Castle and how to track down every piece of the Royal Guard Armor.
How to get to Hyrule Castle in Tears of the Kingdom
Reaching Hyrule Castle requires careful planning, as the area is filled with gloom and powerful enemies. The easiest way is to glide in from one of the nearby sky islands, using your paraglider and stamina elixirs to stay airborne. You can also approach from the north by climbing the cliffs or using Recall on floating debris to create a safe path upward. Once inside the castle grounds, be prepared for combat and make use of stealth to avoid Guardians and Phantom Ganon’s troops.
You can get to Hyrule Castle without even expanding your stamina wheel, though you will need some stamina elixirs or stamina-replenishing meals. Cook at least three recipes that restore half or more of your stamina wheel or two that restore the entire thing.
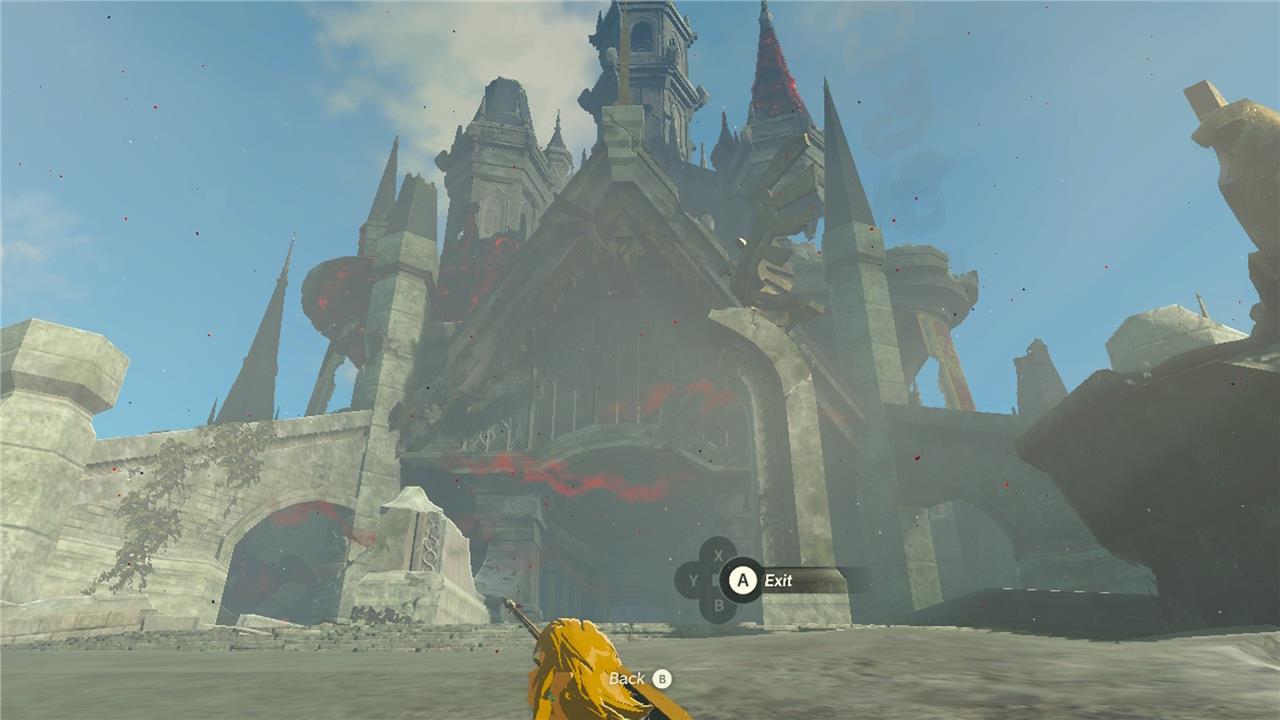
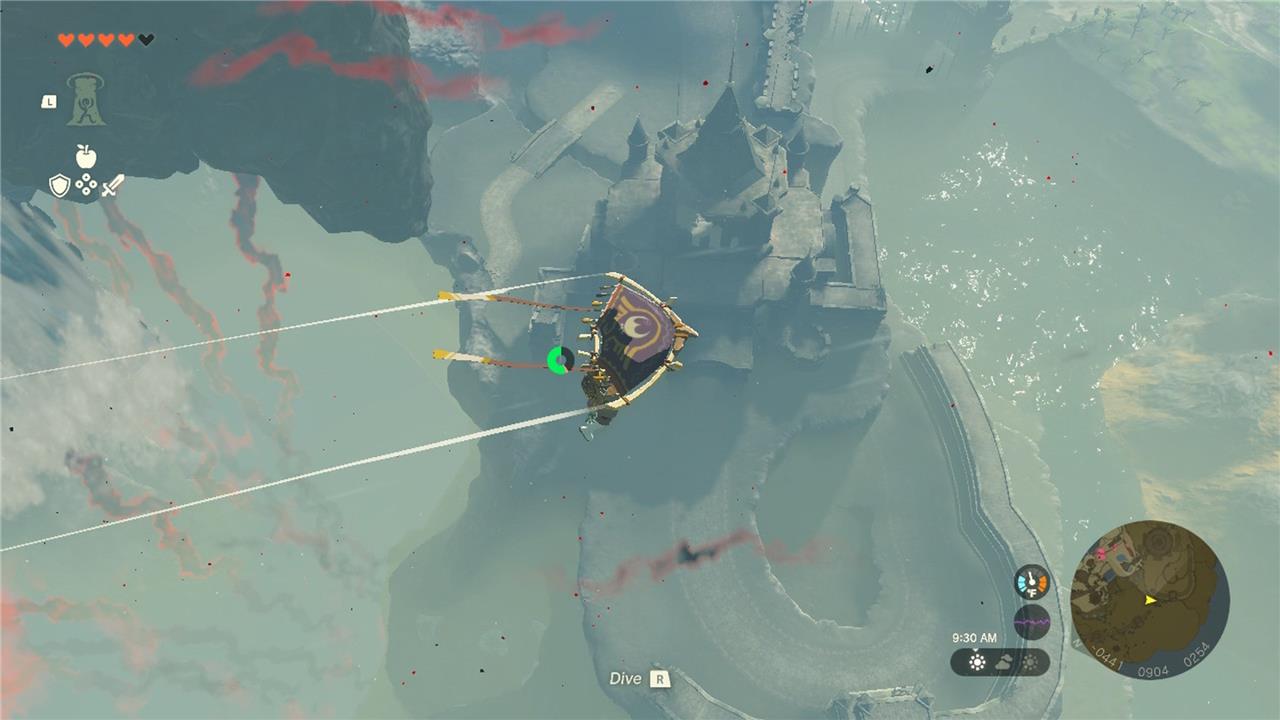
Travel to the Lookout Landing Skyview Tower, and launch yourself into the air. Turn north as soon as you regain control of Link, and immediately deploy your paraglider. Glide toward the castle until you reach a safe landing place, which will probably be the path right outside the Sanctum.
Head northeast, avoiding or jumping through gloom puddles as you go, and make your way to the castle’s backside, by Serutabomac Shrine.
Royal Guard Boots Location
Head to the Serutabomac Shrine on Hyrule Castle’s northeast side at coordinates (-0180, 1170, 0280). Drop to the northern edge, enter the stone doorway below, and descend the stairs to the Library on B2. Jump off the balcony, turn around, shift the bookcase with Ultrahand to access the King’s Study, and open the chest at (-0174, 1122, 0214) for the Royal Guard Boots.
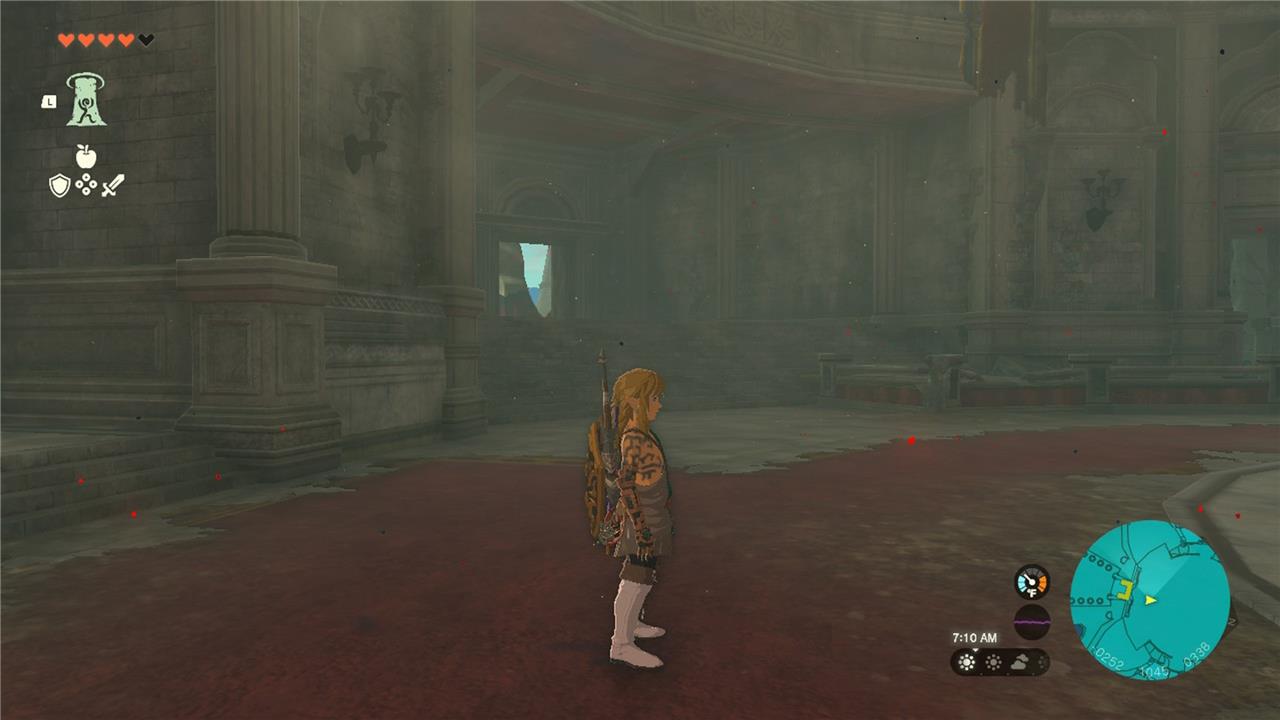
The Royal Guard legs piece is in the King’s Study, a hidden room in the Hyrule Castle library. Hop down from the platform where the shrine is, and turn around. Enter the doorway, and descend the staircase.

It opens out into the library, and unlike in Breath of the Wild, there are no enemies here this time.
Hop down onto the ground level, and turn around. Use Ultrahand to move the bookcase and reveal a small doorway into the King’s Study, where you’ll find the Royal Guard Boots, which grant 4 defense. Grab the weapon and shield before you leave, too. If you’re early in the game, these are likely much more powerful than anything you have already.
Royal Guard Cap Location
The Royal Guard Cap is hidden inside Hyrule Castle, found on an upper floor of the Sanctum. You can glide into the Sanctum from a nearby tower or approach through the interior halls if you’ve cleared out enemies. Search the upper balconies or chambers leading off from the main throne area to locate the chest. Watch out for Gloom spots and patrolling foes while exploring, as they can make the search more dangerous.
The next piece is in Zelda’s Room, and the easiest way to get there is via the sanctum. You can fast travel back to the shrine and travel to the sanctum that way, or use your Ascend ability for a little shortcut. Exit the study, head to the other end of the library, and use Ascend in front of the gloom pool. You’ll pop up near a rocky rise.
Climb that, glide to a small ledge under a stone arch, and use Ascend again. You’ll end up right in front of the sanctum. Head inside the sanctum, and turn left. Exit the window.
The tower in front of you is Zelda’s study, which has a strong royal guard sword inside.
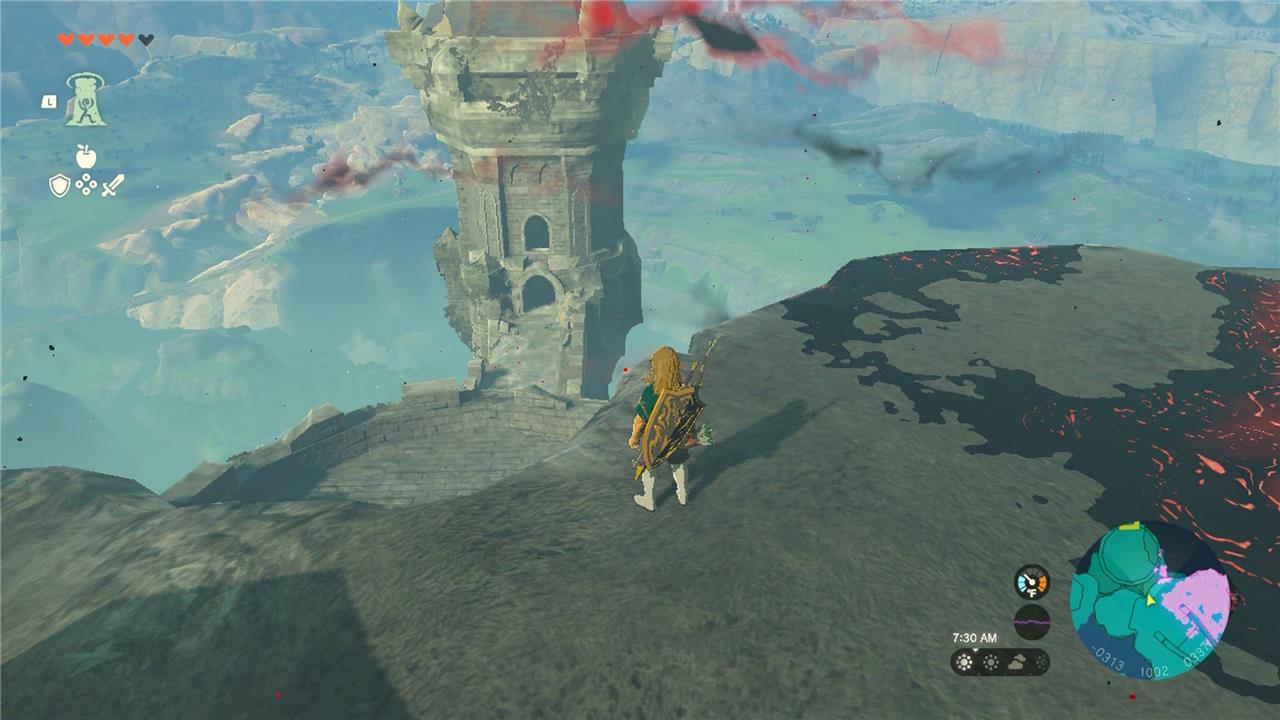
At the other end of the walkway connected to the study is Zelda’s Room.
The section of stone in front of the room’s entrance will crumble and fall away when you set foot on it, so move quickly to stay safe. The Royal Guard Cap, which grants 4 defense, is in a chest behind the screen that’s immediately to your left when you enter the room.
Royal Guard Uniform Location
The Royal Guard Uniform can be found inside Hyrule Castle, specifically in the Guards’ Chamber on the western side of the castle’s interior. To reach it, head inside through the Library or the upper corridors, avoiding or defeating enemies along the way. The chest containing the uniform is placed near broken furniture and shelves, making it somewhat hidden in the cluttered room. Keep an eye on your stamina and watch for lurking Gloom as you explore the area.
The Royal Guard chest piece is in the Guard’s Chamber, which is underneath the First Gatehouse. Exit Zelda’s room the same way you entered, jump off the ledge in front of you, and deploy your glider.
Glide forward and to your left, around a rocky outcrop, and you’ll see the gatehouse down below.
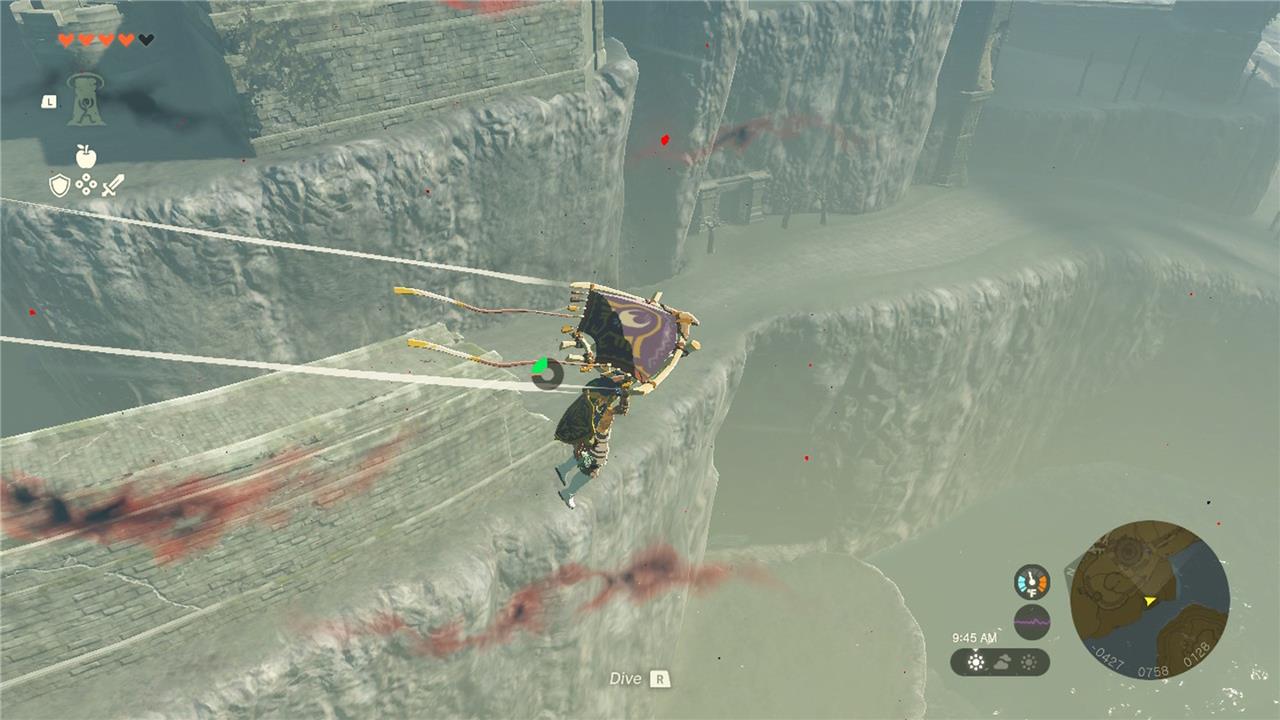
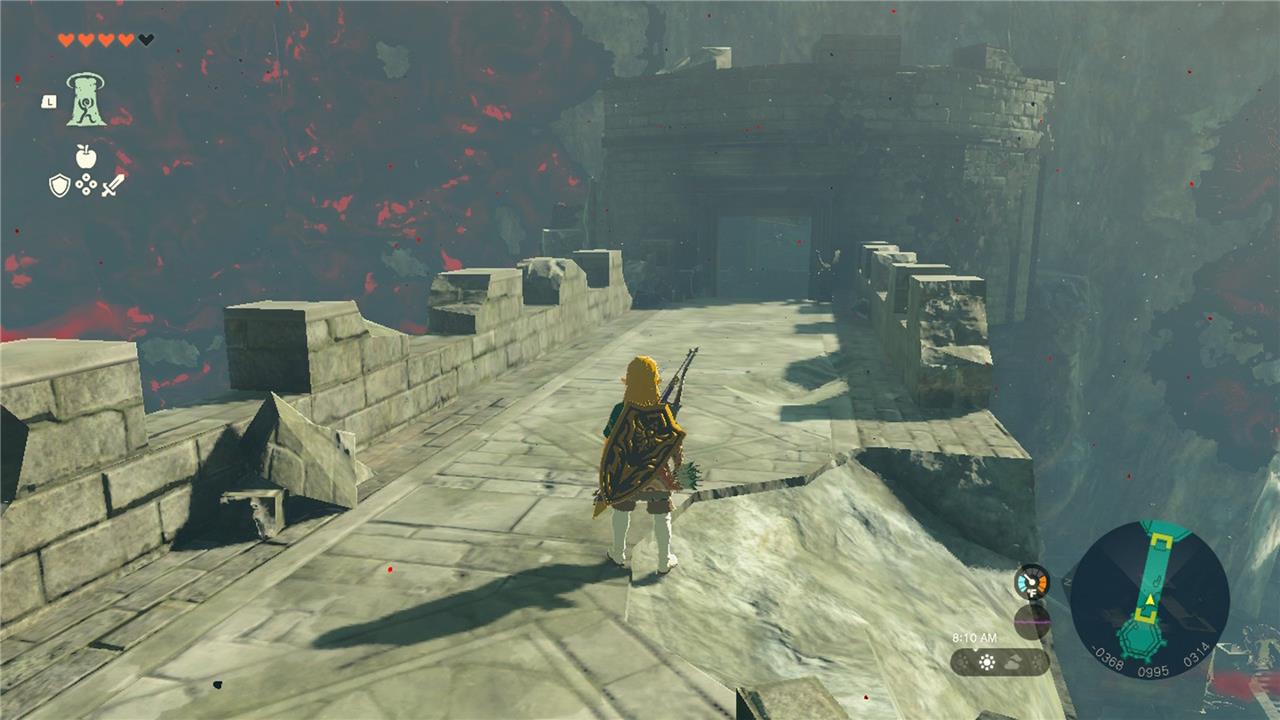
Glide around it, land on or near the path underneath, and enter the door. Use Ultrahand to lift the gates. Keep the ability active while you pass under them.
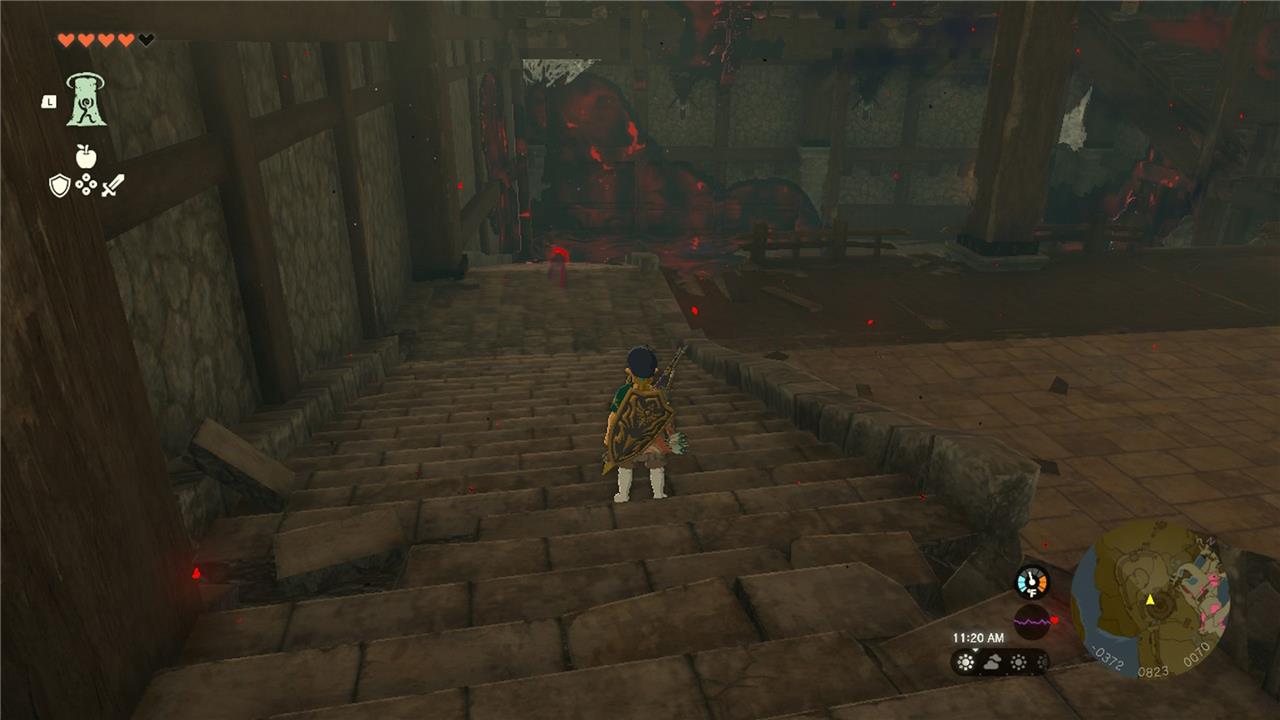
Walk up the stairs, take a left, and then turn left again once you reach the massive gloom pool. This staircase takes you down into the Guard’s Chamber.
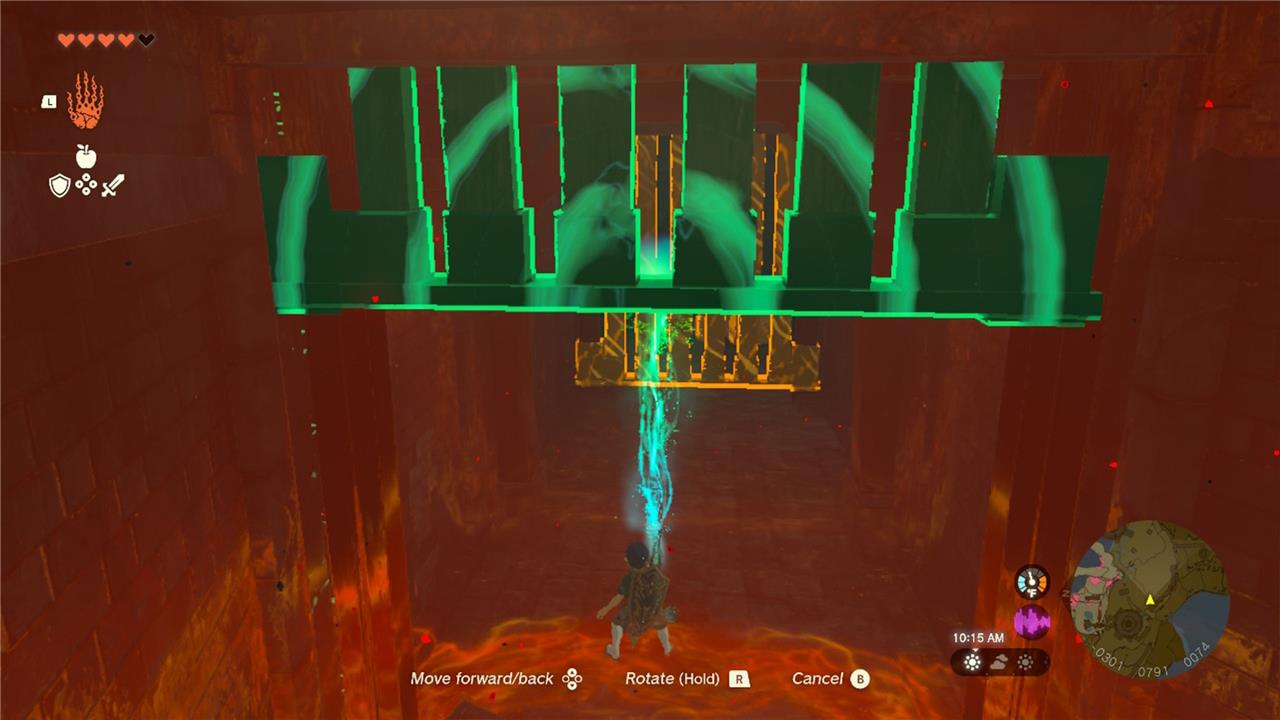
The chest with the armor is on a wooden platform above a giant gloom puddle. You could risk walking through it and using Ascend to reach the chest quickly, but there’s a safer way. Turn right and sneak along the platform until you reach the wall. The staircase is broken, but you can climb the wall anyway.
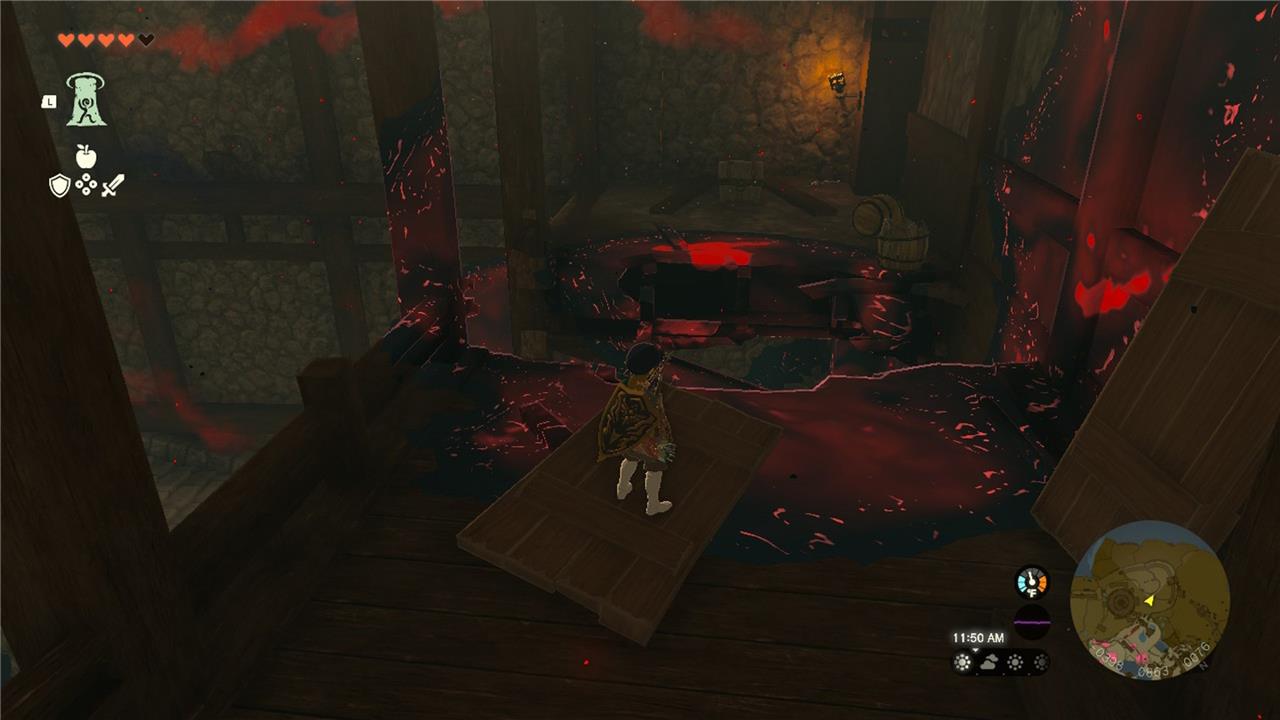
Once you reach the gap separating you from the chest, use Ultrahand to make a bridge with the two wooden boards. Cross over, and the Royal Guard Uniform, which grants 4 defense, is yours.
Royal Guard Armor set upgrade costs, effect, and set bonus
Upgrading the Royal Guard Armor set at Great Fairy Fountains requires rupees and specific monster parts for each piece-Cap, Uniform, and Boots. Base defense stands at 4 per piece, rising to 6 at ★ (10 rupees, 9 Boss Bokoblin Horns, 9 Bokoblin Guts), 10 at ★★ (50 rupees, 9 Blue Boss Bokoblin Horns, 9 Boss Bokoblin Guts), 12 at ★★★ (200 rupees, 9 Black Boss Bokoblin Horns, 9 Hinox Guts), and 20 at ★★★★ (500 rupees, 9 Silver Boss Bokoblin Horns, 9 Molduga Guts, 9 Gleeok Guts). Pieces carry no individual effects, but the full set at ★★ or higher activates Charge Attack Stamina Up, which cuts stamina costs for charged attacks.
The Royal Guard Armor has no base effects, but when the full set is equipped and upgraded to at least two stars, you’ll get a Charge Attack Stamina Up set bonus, lowering the stamina requirement for a charge attack.
You’ll be able to upgrade the armor at a Great Fairy Fountain in exchange for the following materials:
- 1-star (6 defense): 3 Boss Bokoblin horns, 3 Bokoblin guts, 10 rupees
- 2-star (10 defense): 3 Blue Boss Bokoblin horns, 3 Boss Bokoblin guts, 50 rupees
- 3-star (15 defense): 3 Black Boss Bokoblin horns, 3 Hinox guts, 200 rupees
- 4-star (24 defense): 3 Silver Boss Bokoblin horns, 3 Molduga guts, 3 Gleeok guts, 500 rupees
In order to upgrade all the Royal Guard Uniform, you’ll have to collect 9 Boss Bokoblin horns, 9 Bokoblin guts, 9 Blue Boss Bokoblin horns, 9 Boss Bokoblin guts, 9 Black Boss Bokoblin horns, 9 Hinox guts, 9 Silver Boss Bokoblin horns, 9 Molduga guts, 3 Gleeok guts, and 2,280 rupees.
Best route to reach Hyrule Castle early game
Paragliding from the Lookout Landing Skyview Tower offers the best early-game route to Hyrule Castle in The Legend of Zelda: Tears of the Kingdom, as it bypasses ground enemies and requires minimal gear after obtaining the paraglider. Cook stamina-restoring meals (like stamina-restoring elixirs from staminoka bass) or use Tulin’s gust if available to cover the distance with one or two stamina wheels.
Preparation Steps
Start by completing the Great Sky Island to unlock the paraglider, then head to Lookout Landing. Activate the Skyview Tower there for the launch, and summon Tulin early if possible for wind assistance. Pack 1-2 stamina dishes for safety if you have under two wheels.
Flight Path
Launch from the tower and glide southeast toward the castle’s upper spires, aiming for the Serutabomac Shrine area on the roof (coordinates around 0000, 1000, 0300). Use Tulin’s ability repeatedly to conserve stamina, and eat meals mid-air if needed. Land on the highest accessible spire for strong weapons like the Dusk Bow, then descend carefully.
Alternative Entry
If stamina is limited, fast-travel to Simosiwak Shrine (sky island northeast) later and glide down, but Lookout Landing remains simplest early on. Avoid ground approaches or the chasm below until geared up, as they lead to tough foes like Lynels.
Which starting tower gives the easiest paraglide path
Lookout Landing Skyview Tower provides the easiest paraglide path to Hyrule Castle early in The Legend of Zelda: Tears of the Kingdom, as it’s the closest accessible tower southeast of the castle with a direct line of sight.
Why Lookout Landing
This tower activates right after descending from the Great Sky Island and obtaining the paraglider during the main quest. Its launch height and proximity (straight southeast glide) minimize stamina drain compared to distant alternatives like Simosiwak Shrine sky island.
Execution Tips
Launch facing the castle spires, angle toward Serutabomac Shrine on the roof (0000, 1000, 0300), and spam Tulin’s gust if recruited early. One full stamina wheel suffices with basic meals; land high to grab the Dusk Bow before descending.
Other Early Towers
Popla Foothills (south) requires northward gliding against wind, while Lindor’s Brow (northwest) demands excessive stamina-avoid both initially.