Unlock the Mikatagahara gate and reveal the hidden path that Nepalese legends whispered about-but tread carefully; every lever pull echoes in the shrine.
How to open the Mikatagahara locked gate in Nioh 3
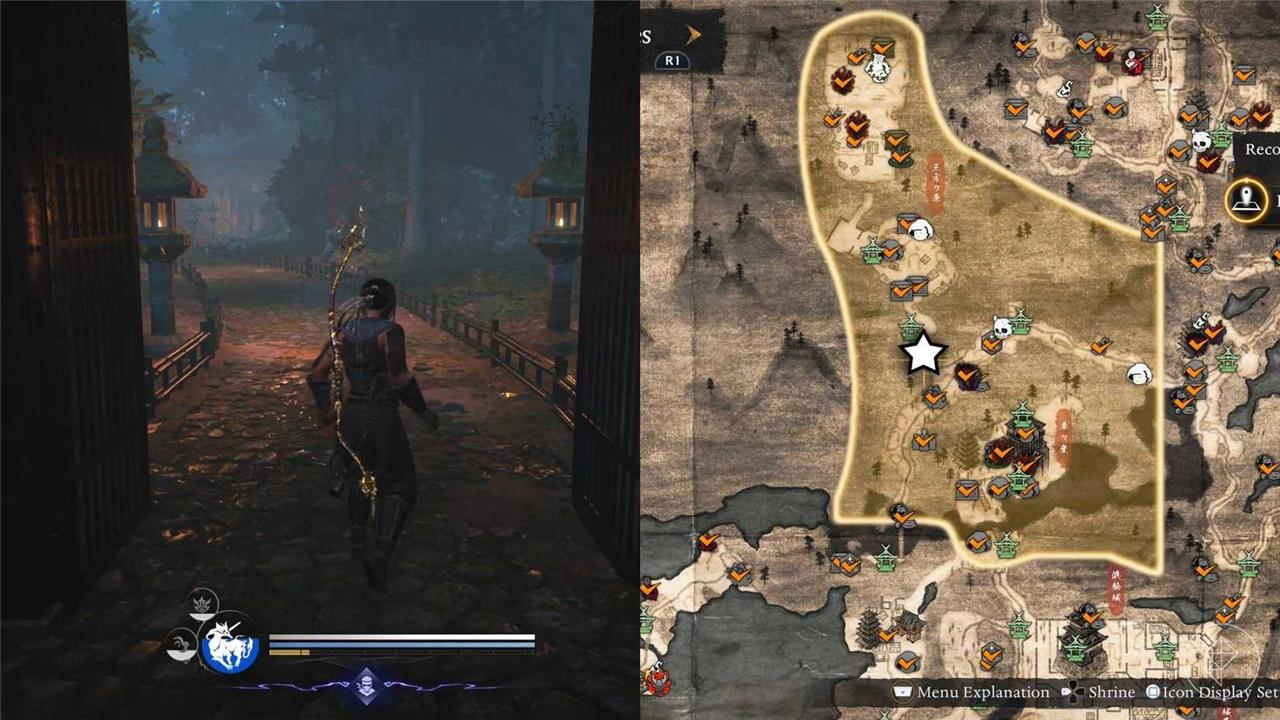
Unlock involves advancing the story: after completing The Battle of Futamata Castle and speaking with Hanzo at Hamatsu Castle, you return to the Mikatagahara gate and simply interact with it to open-no key is required. This area becomes accessible once you progress to the point where the Battle of Mikatagahara quest starts, then the gate will grant passage on interaction.
The long and short of it is that you need to keep progressing through the story to unlock the Mikatagahara locked gate. That’s the spoiler-free version, so if you still have story objectives to tick off in the Warring States period, crack on and come back to the locked gate in Mikatagahara later down the line.
For a more detailed explanation, this part of Mikatagahara is only accessible once you complete the quest called “The Battle of Futamata Castle,” which begins automatically once you’ve defeated Jakotsu-baba during “The Hamamatsu Incident” and the map opens up considerably. After speaking with Hattori Hanzo at Hamamatsu Castle, this will begin a quest titled “The Battle of Mikatagahara,” where you’ll join forces with Tokugawa Ieyasu to take down Takeda Shingen. Head back to the gate after you’ve spoken to Hanzo and you’ll push it open upon interacting with it; no key required.
POLY Report: Subscribe and never miss what matters
Enter your email to get the best of AELGAMES sent straight to your inbox, packed with news, reviews, and insights from the gaming world.
Subscribe By subscribing, you agree to receive newsletter and marketing emails, and accept our Terms of Use and Privacy Policy. You can unsubscribe anytime.
Battle of Futamata Castle walkthrough Nioh 3
Here’s a concise, step-by-step walkthrough for “The Battle of Futamata Castle” in Nioh 3, focused on getting through the mission efficiently and reaching the boss.
Mission basics
-
This is the fourth main mission, unlocked after “The Hamamatsu Incident.”
-
Futamata Castle lies to the far north of the region; the game recommends roughly level 39, so it helps to be around that before pushing in.
1. Make your way to Futamata Castle
-
Head north from the starting point until you meet Hattori Hanzo on the road; talk to him, then continue past the wooden bridge to the first shrine.
-
From that shrine, follow the road along the water; there is a fake rock wall just before the incline into enemy lines that hides a path and shortcut opportunity.
Example: When you reach a ruined house behind the false wall, go through it and open the gate on the other side to create a future shortcut back outside the castle.
2. Through the trenches and first mini-boss
-
Go past the empty stables and descend two ladders into the trench system, following it upward to the next settlement area.
-
Work through the houses until you find a ladder leading up onto the walls/roofs; from there you drop into a stone building and reach a shrine in its courtyard.
-
Continue out of the settlement, down more ladders and through trenches where an enemy triggers rolling boulders-watch the hill and time your movement between rolls.
-
At the end of this stretch, you reach a courtyard full of enemies and the mini-boss Anayama Nobutada; clear the mobs and then defeat him to proceed.
3. New shrine, hot spring, and upper castle path
-
After that fight, go inside the small house near where Anayama stood, then through the hole on the left to find a new path and another shrine.
-
From this shrine, climb the stone steps into a small yard, then follow more stairs and paths to another courtyard with a shrine.
-
Near this area there is a false wall leading to a hot spring if you go down one set of stairs and check the right-hand wall.
4. Approaching Baba Nobuharu
-
From the courtyard shrine, take the left entrance, then go past an enemy on horseback and up the stairs on the right into a hole in the outer wall.
-
Immediately left from that hole is a door you can open as another shortcut.
-
Follow the corridor to the end and open the large doors to start the boss encounter with Baba Nobuharu.
Basic boss tips: Watch for tail sweeps and illusion attacks, punish after combo whiffs, and stay ready to dodge his feint follow-ups rather than over-committing.
5. Finishing the mission
-
When Baba Nobuharu falls, a short scene plays and Hattori Hanzo plus Nakane Masateru appear at the doorway; speak to them to move things along.
-
Then fast-travel back to Hamamatsu Castle, go to the top floor, and talk to Hanzo again to complete the mission and claim rewards like Samurai’s Locks and new weapons.
If you say where you’re stuck (trenches, rolling boulders, Anayama, or Baba Nobuharu), I can give more specific combat or routing tips for that section.
Takeda Shingen boss fight strategy Nioh 3
Takeda Shingen is very punishable if you play patiently and only attack after his strings; the fight gets dangerous when you rush or trade hits.
General approach
-
Stay mid-range so his combos whiff or end just out of reach, then step in for a few hits during his long recovery.
-
Use a defensive stance (like mid stance on samurai) and block or dodge through his basic strings, then counter with 1-3 quick attacks, not full combos.
-
Heavy weapons (axe/odachi) can stagger him if you hit during recovery, letting you drain Ki quickly and sometimes stunlock him.
Key moves to punish
-
Basic slash → stab: He does a short combo ending in a straight thrust; dodge the stab sideways and punish while he recovers.
-
Jump slam: He hops, hangs in the air, then drives the weapon down; roll to the side at the last moment and get several free hits while he’s stuck in the ground.
-
Red Burst attack: He often does a forward-focused Burst; if you’re comfortable, time your Burst Counter for big Ki and HP damage, otherwise just dodge back and punish after.
-
Grab: It’s very telegraphed, with a clear wind-up; sidestep at the last second, then do a short combo but don’t overcommit.
Elemental phases (fire and wind)
-
At roughly 2/3 health he summons his Guardian Spirit, throwing three fireballs with wind energy in a row; sprint sideways (not backwards) to make them miss.
-
He coats his naginata in flames: expect a ground-sweeping Burst and lines of fire pillars; roll through or away, then punish when the animation ends.
-
At about 1/3 health he switches to wind; his attacks speed up and he gains a longer 5-hit combo that can kill you if you eat all of it, so focus purely on dodging that string instead of trading.
A good pattern here is: bait a combo, dodge out, punish once or twice, then back off immediately and reset.
When to use Living Artifact / burst damage
-
Save your Living Artifact (or similar burst tool) for the final phase when he switches to wind, not at the start.
-
Once he’s in wind mode and you’ve just dodged a big move (jump attack, Burst, or missed combo), pop your Living Artifact, drain his Ki, and go for a critical hit; he doesn’t have a huge health pool, so this can nearly finish him.
Simple game plan to follow
-
Circle at mid-range and let him start the combo.
-
Dodge the last hit of the string (or the jump/strike), then get 1-3 hits and retreat.
-
Burst Counter only the easy, straight red attacks you’ve learned the timing for.
-
Run sideways from fireballs, don’t block them.
-
When he hits final (wind) phase, play ultra-safe until you see a big whiff, then trigger Living Artifact and burn him down.
If you tell me your weapon (e.g., dual swords, spear, axe, odachi), I can give you a short, weapon-specific move sequence to use after each opening.