Beneath the crumbling depths of Hyrule, Link’s final showdown awaits. This guide breaks down how to reach Ganondorf’s hidden throne, survive the depths teeming with danger, and face the Demon King himself in Zelda: Tears of the Kingdom’s climactic battle.
In this walkthrough, we will cover every step on your march to the final fight, from the Hyrule Castle Chasm through the Forgotten Foundation and the fight against the Demon King’s Army. If you’re solely looking for advice on coming out victorious in the final boss fight, our guide on defeating Demon King Ganondorf has you covered.
How to reach Ganondorf in Tears of the Kingdom
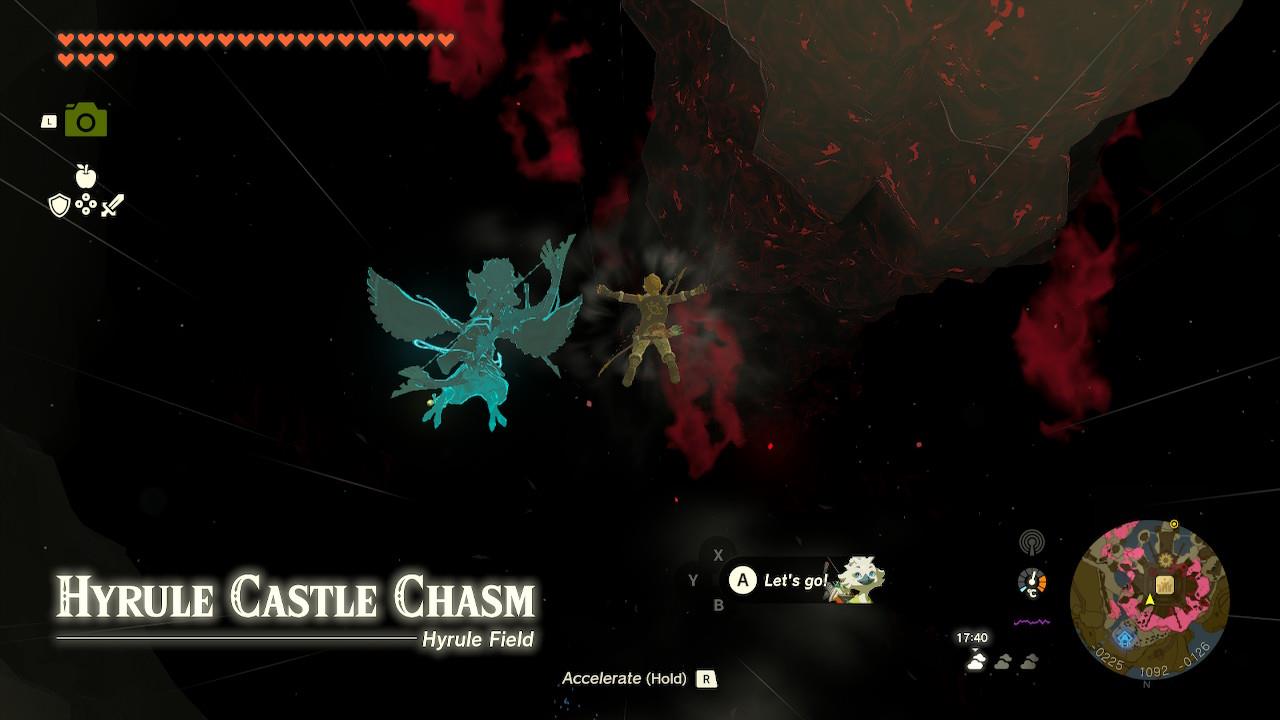
To reach Ganondorf, descend deep beneath Hyrule Castle through the chasm that opens in the castle’s center. Glide down carefully and follow the winding tunnels filled with gloom, monsters, and traps. Use brightbloom seeds to light your way and manage your hearts to avoid gloom damage. Continue through the depths until you reach the large chamber where the final confrontation with Ganondorf begins.
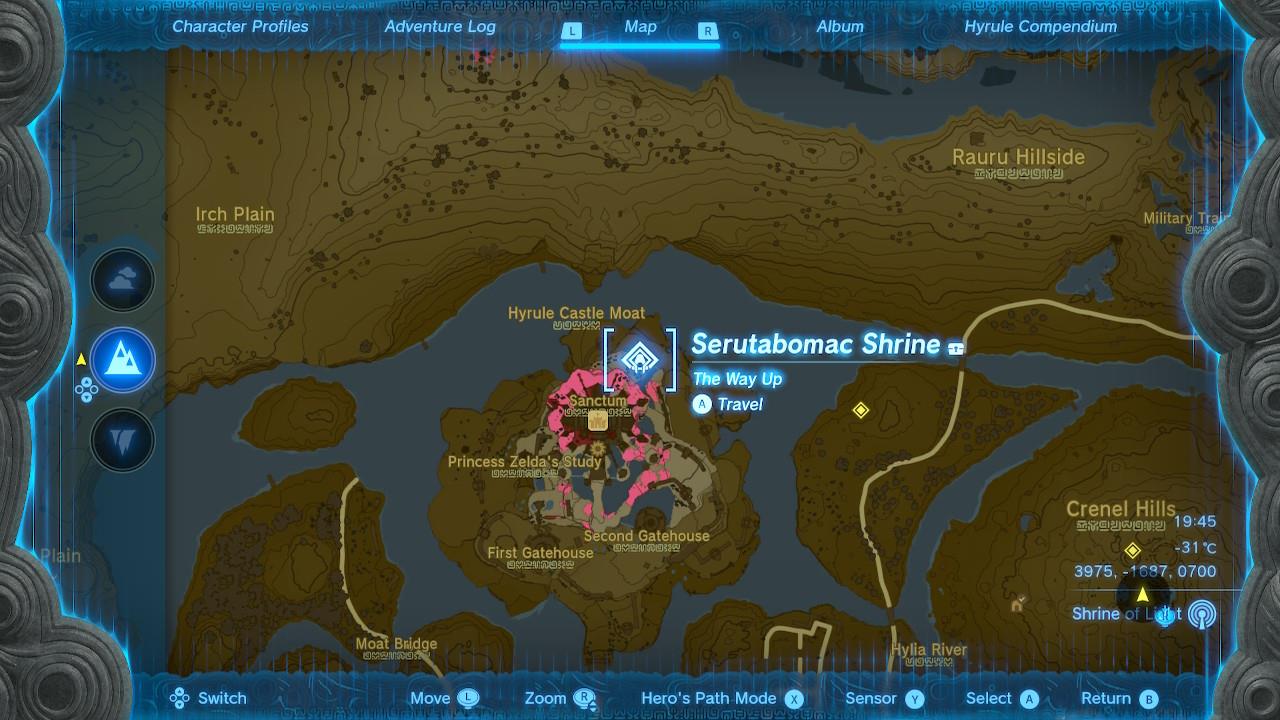
Your goal is to reach the chamber where the game started and put an end to the Demon King once and for all. If you’ve been to Hyrule Castle in the sky (which you may have done on your quest to get the Royal Guard Armor), start at the Serutabomac Shrine and jump down to ground level.
If not, start at Lookout Landing and head north toward Hyrule Castle. Open the gates with Ultrahand and press on northward until you reach the yawning chasm where the castle once stood.
Once there, save the game. We’re going to effectively speed run this, but you can stop and fight as many baddies as you like.
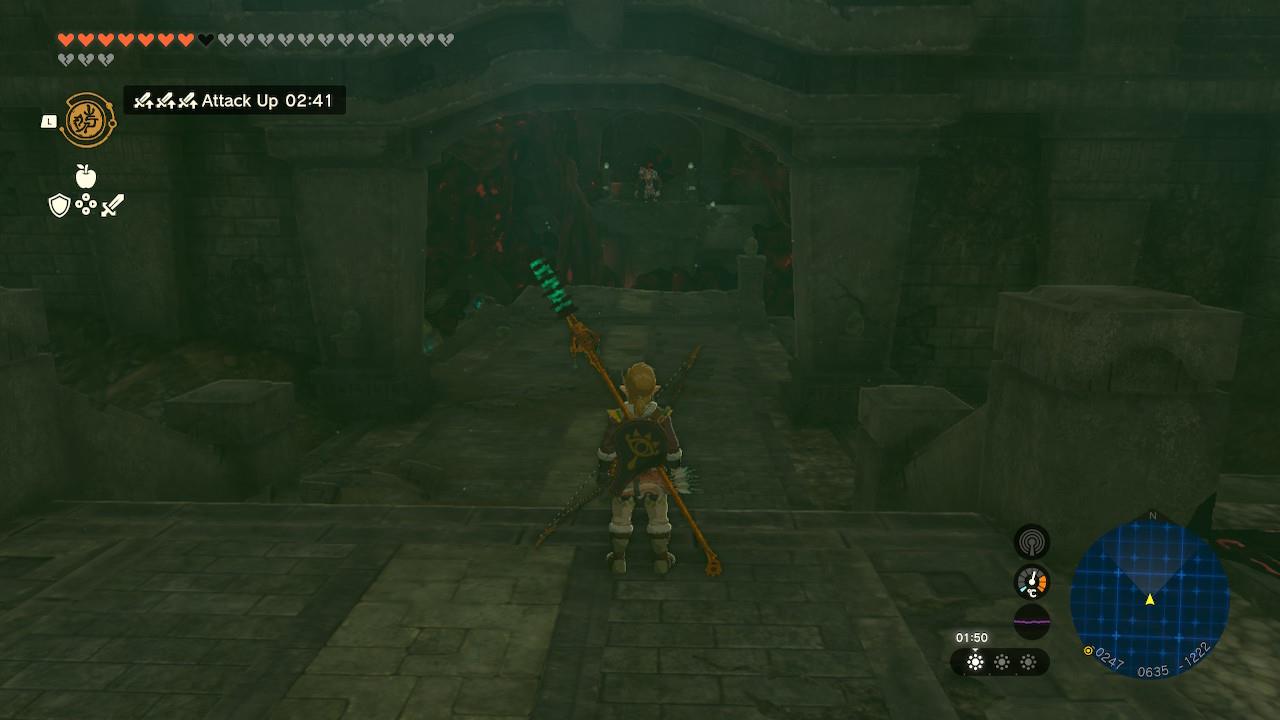
Hyrule Castle Chasm
Jump on in.
As you descend, you will see the Cambobatures Lightroot to the north (this is really easy to spot if you start at the Serutabomac Shrine, as it is immediately below it). Hit it to dispel the darkness from your map.
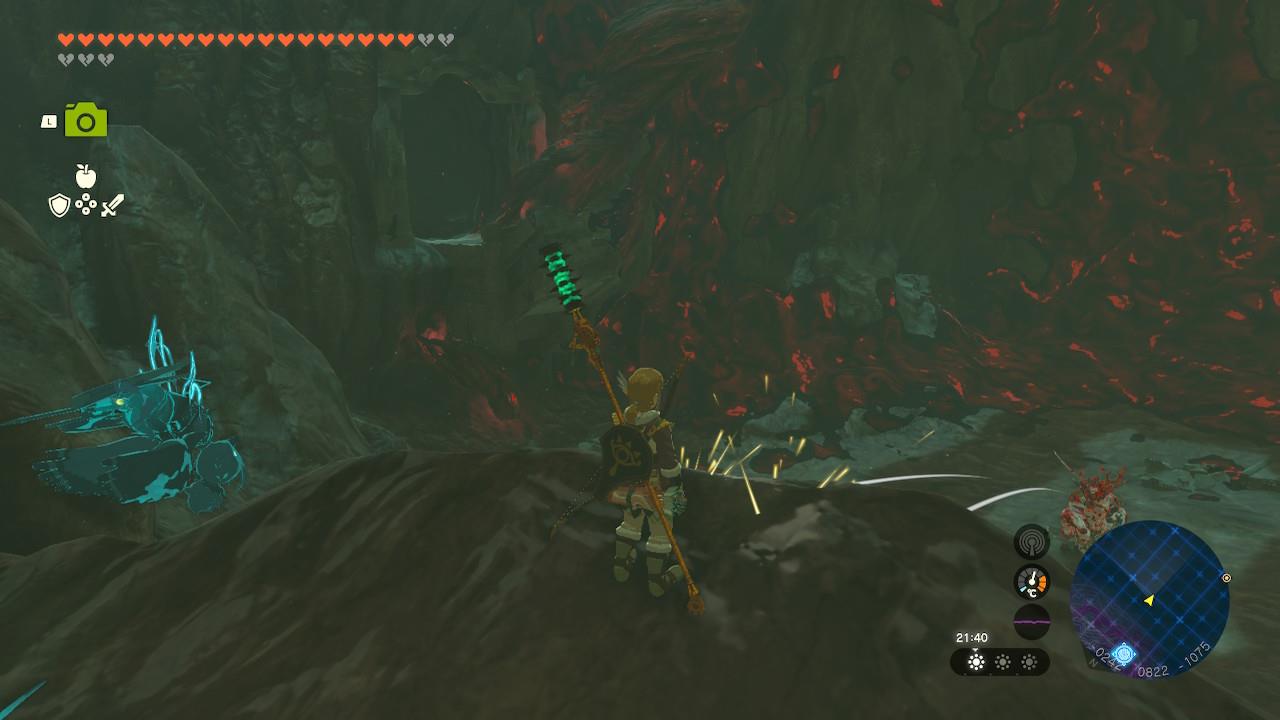
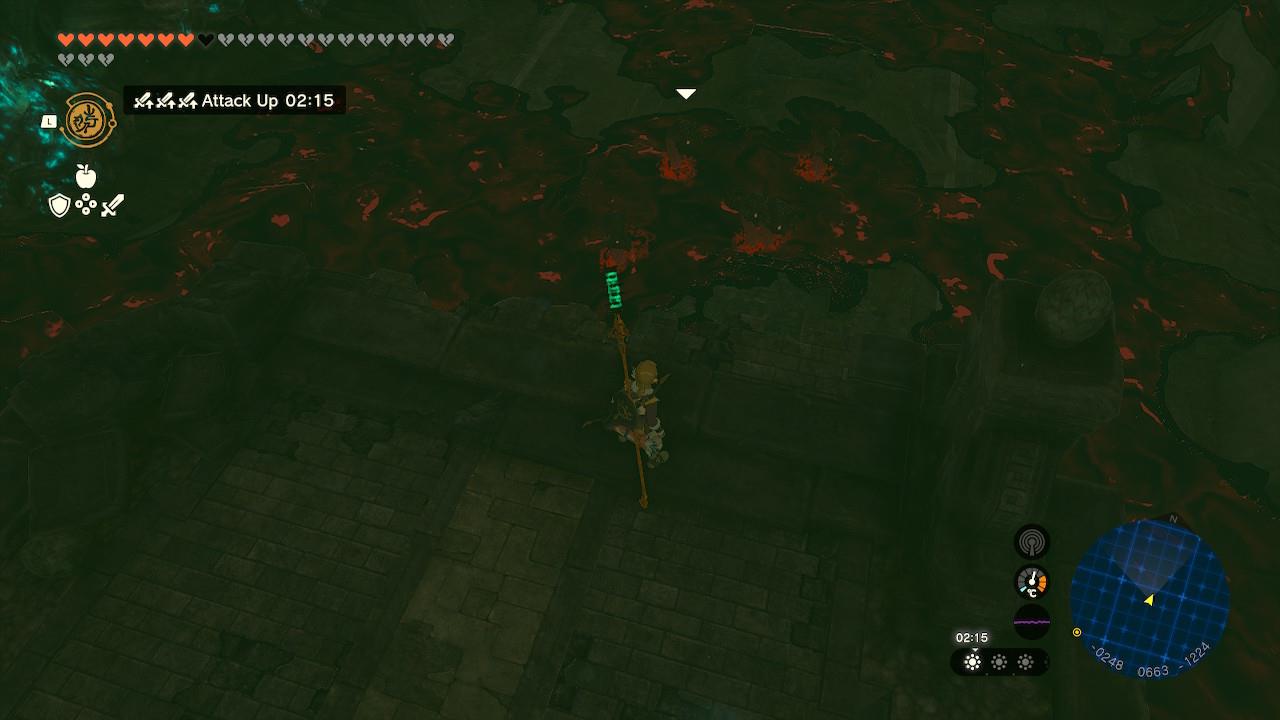
At the bottom of the chasm, turn south. There are three Shock Likes in this cavern. Run, jump, and glide past them to find a chamber with five Black Horroblins in – continue south, climb the wall (you can dyno it if you have two full stamina wheels).
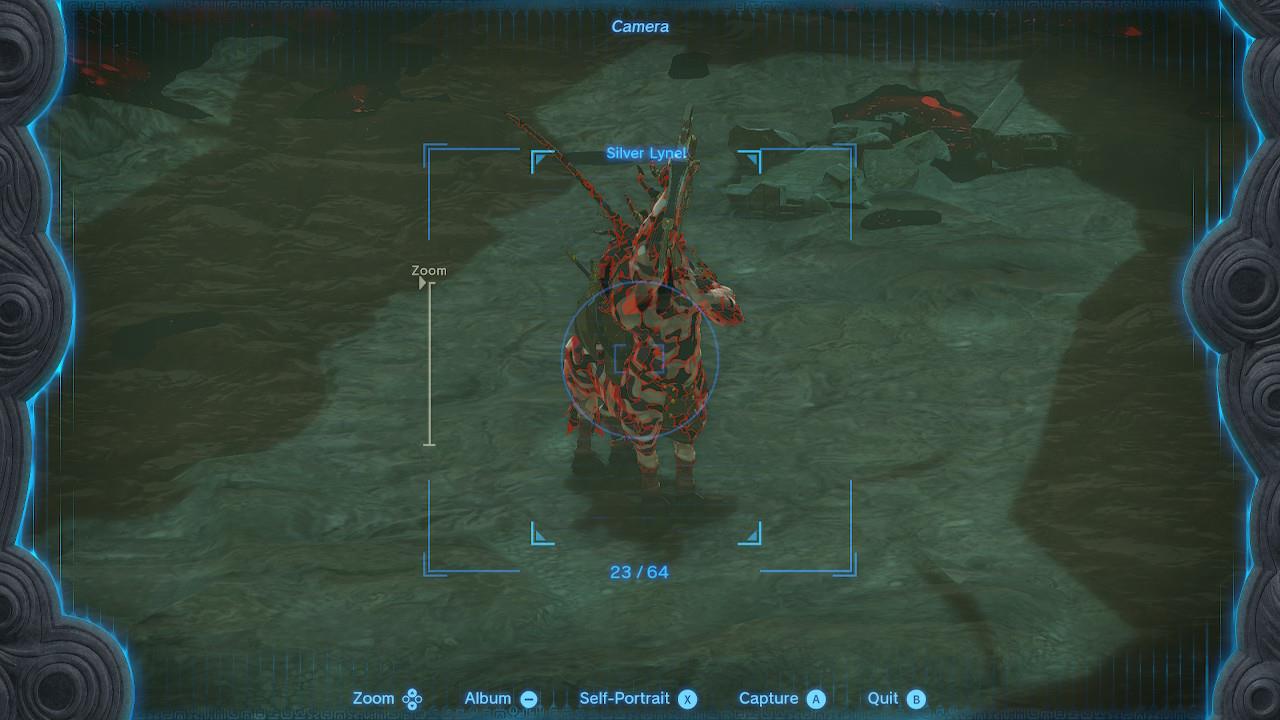
At the top you will find five Electric Keese – kill these quickly and then slowly approach the drop to the south to spot a Silver Lynel. These are really tough, even when they’re not Gloom-Wreathed.
So look to your left to see where the path continues, and glide on over.
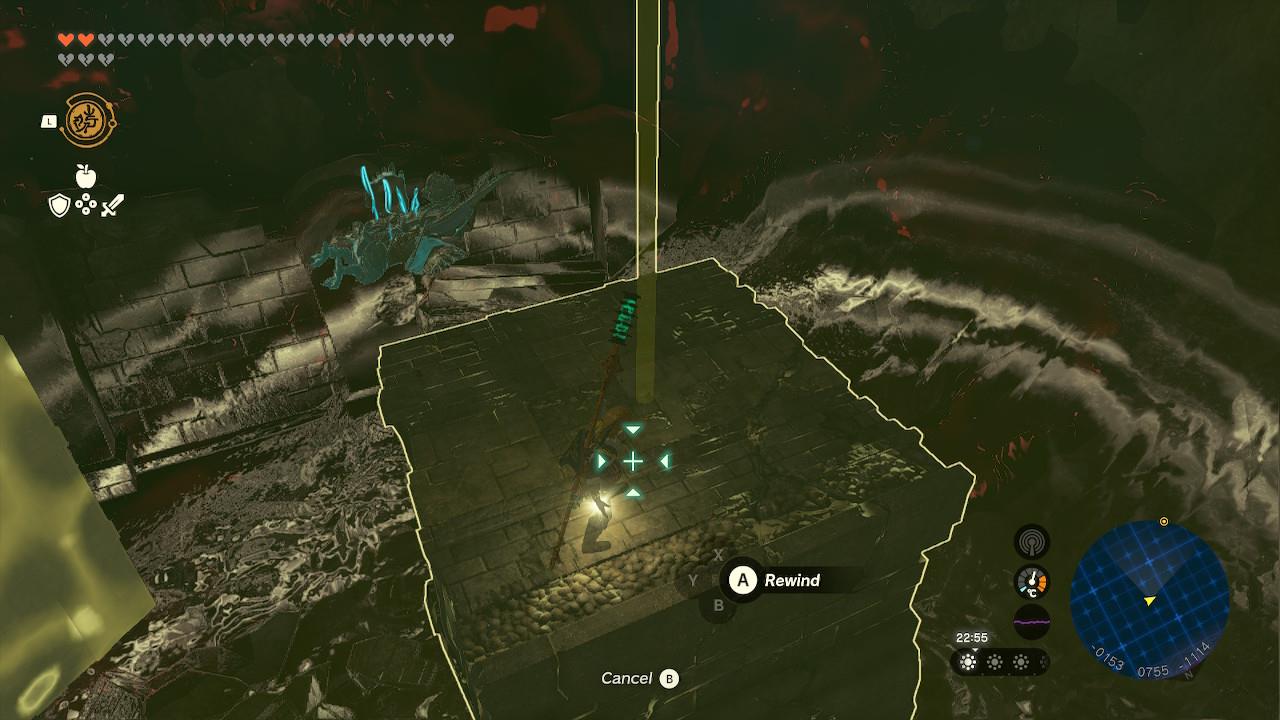
Proceed into the corridor and the ground beneath you will begin to drop. This is fine – fall on down. In the next chamber you’ll see a few falling blocks. Jump on one and Recall your way back up.
Your southbound march takes a turn west. Follow the corridor into another atrium. To your right is the Lynel you just avoided. To your left is a bunch of Frost Likes and Frost Keese. Again, dispatch or avoid at your leisure, but get past them and you’ll find yourself on another falling platform. (Just what has Ganon done to the place?!)
Plummet to the bottom and you’ll find yourself against a couple of Lizalfos, and this disheartening message saying the power of the sages is out of reach. Yes, you’re on your own, kid.
These two are worth taking out – start with the silver one, as it has an electric weapon that makes things needlessly difficult. Once you’re done, loot the eastern room for a bunch of mighty Zonaite weapons, a mighty Construct bow, and a mighty Zonai shield.
This is a good place to save the game, by the way.
Looking to the north, there is a Silver Moblin patrolling the other side of a broken bridge.
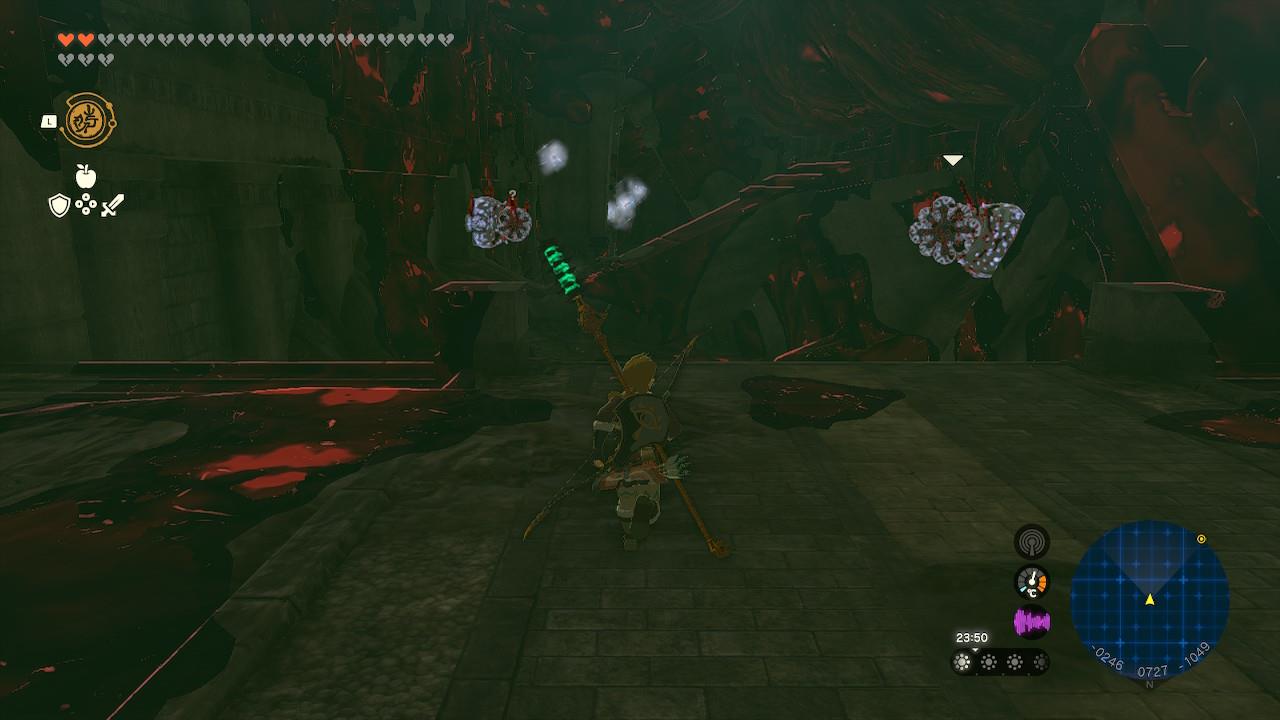
As you approach, two Chuchus will appear. Defeat them, but watch your step. The final portion of the passage will crumble if you step on it, spawning some Gloom Hands.
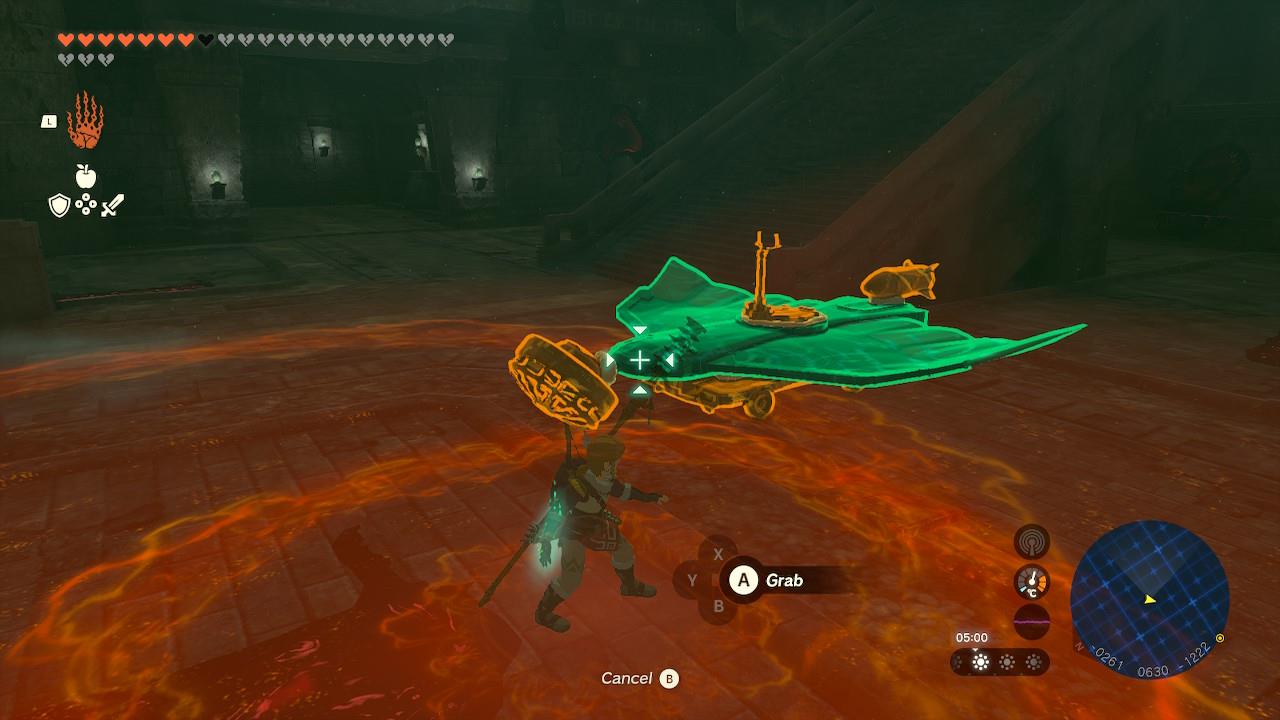
You do not want to fight them, so turn around and grab the wing in the west wing and use it to traverse the gap. If you struggle at building Zonai devices, a rocket on the back will certainly help.
Run past the Moblin and follow the path down to your left. This should all start looking mighty familiar.
Forgotten Foundation
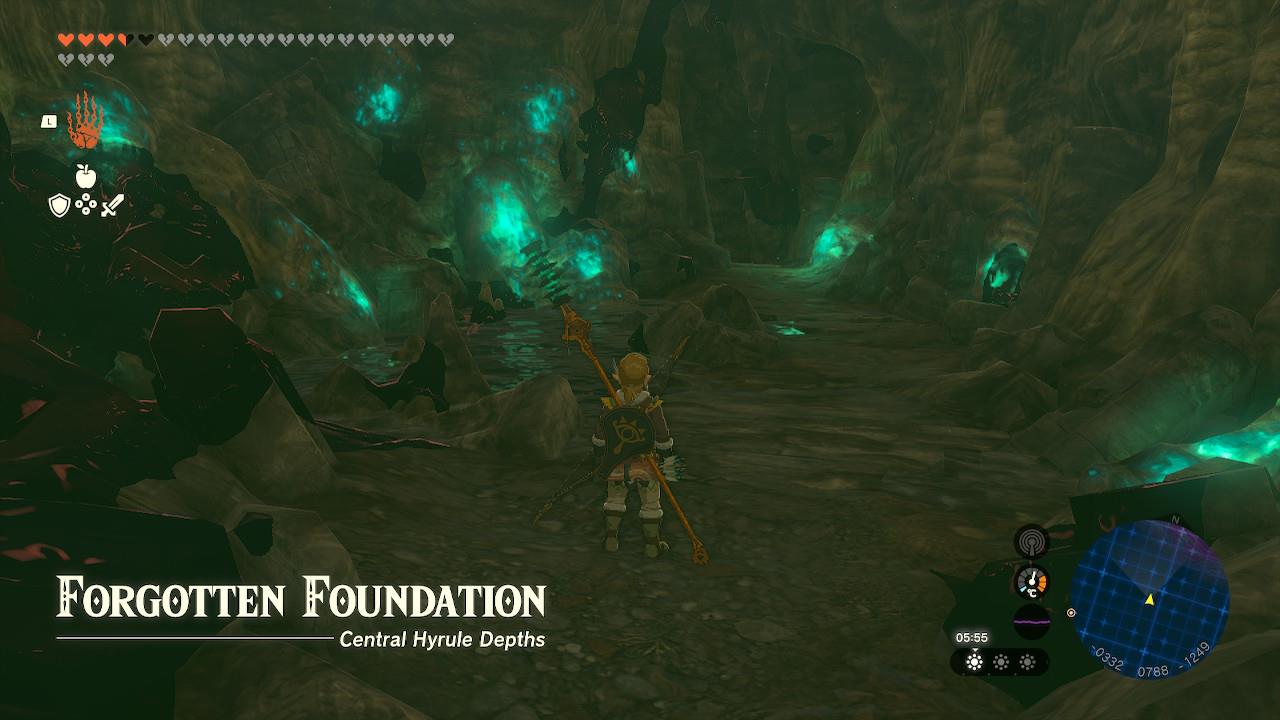
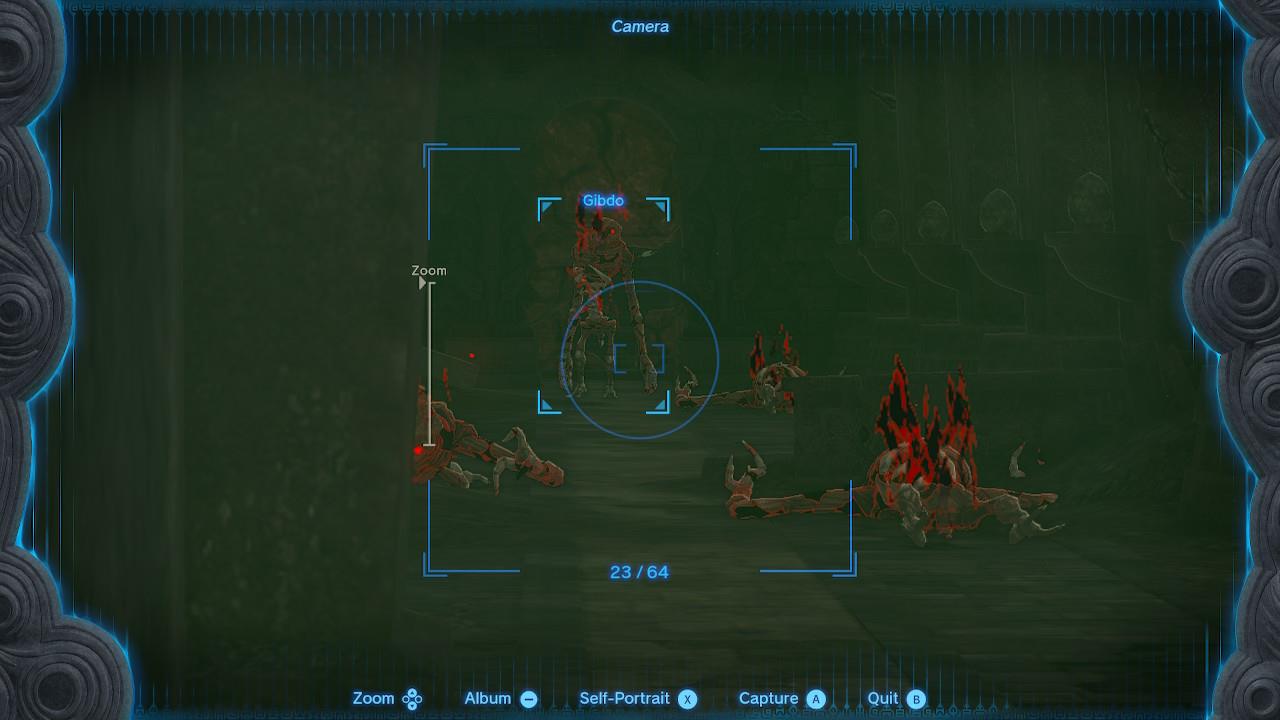
Head past the luminous stone to find a Silver Bokoblin waiting at the bottom of the stairs. Take it out because the corridor beyond holds four Gibdo and ends in a breakable wall.
Smash on through and run into the next room. This returns you not only to the visible map, but to a room you will remember from the beginning of the game.
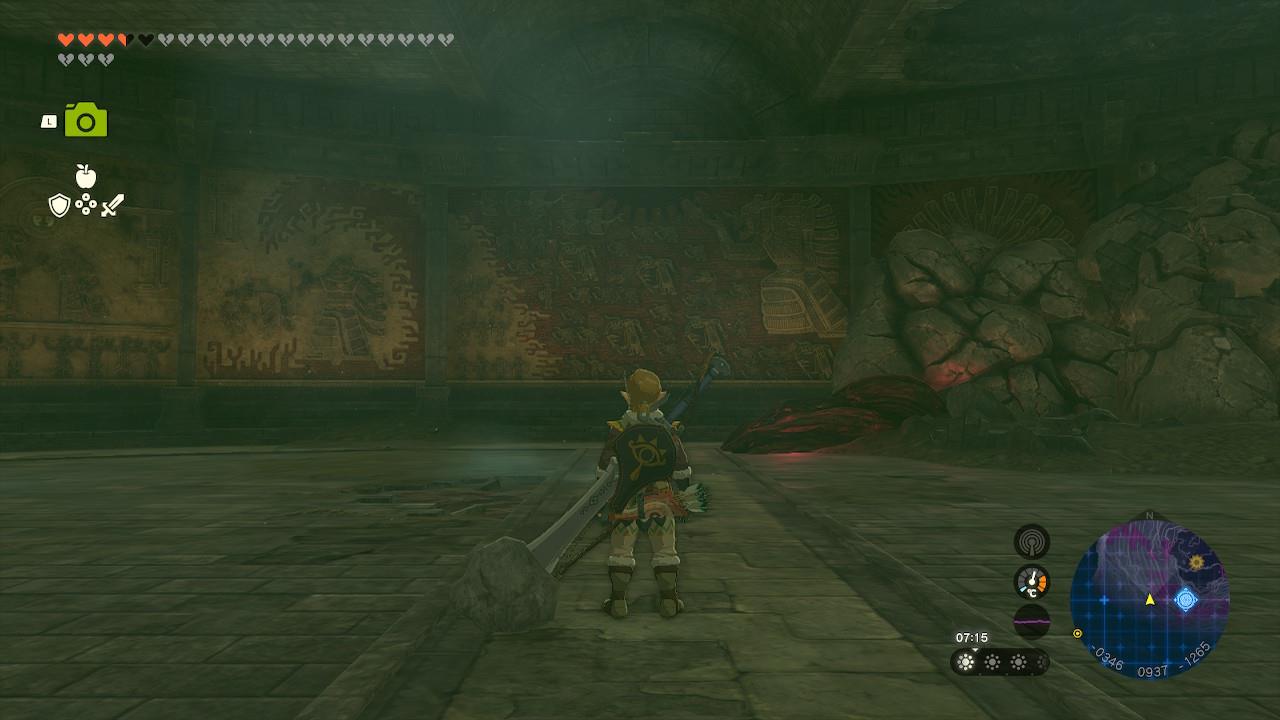
When ready, turn east, follow the corridor to the Imprisoning Chamber and jump on down into Glooms Lair. Pick up Zelda’s torch if, like us, you’re the sentimental type.
Heads up: When you get this location, you’ve reached the point of no return.
We strongly suggest you put down a Travel Medallion here, just in case things go south. It also means you can teleport away now to stock up on any restorative items you may have used on the way in, and restore any Gloom-stricken hearts you may have.
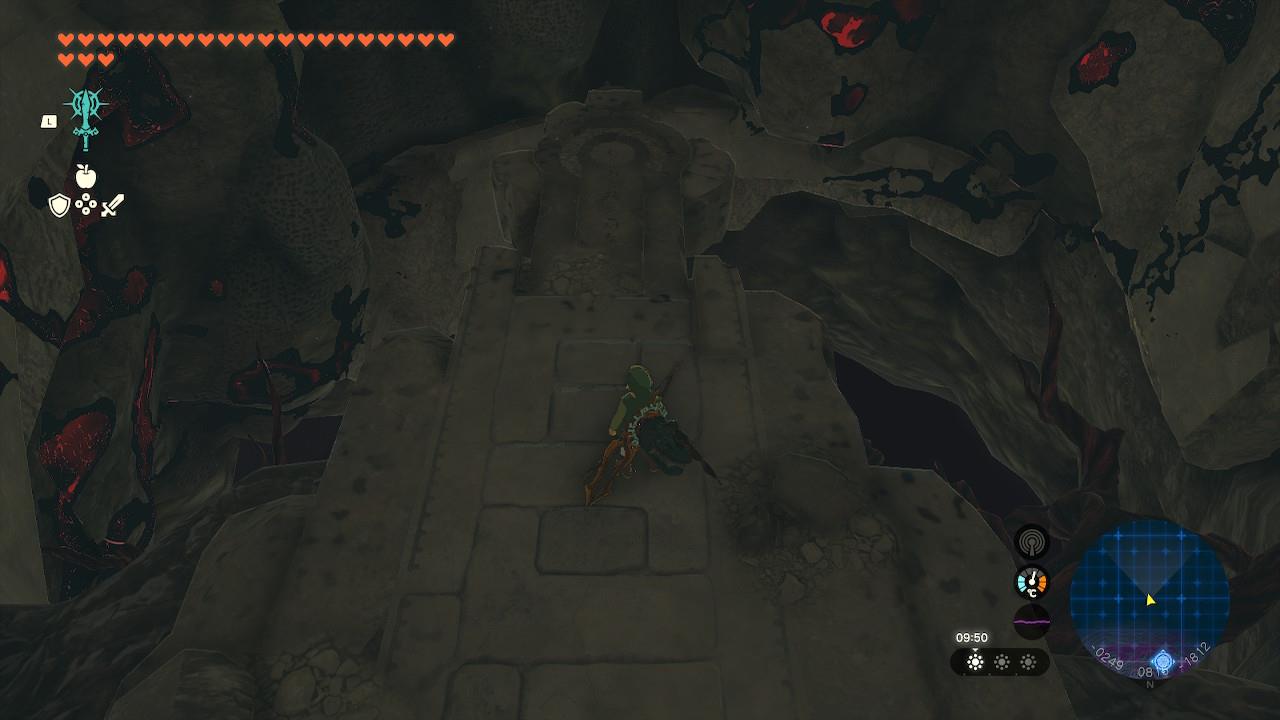
Hit the Jump prompt, glide on down and sit back.
An Audience with the Demon King
After a brief cutscene involving the Avengers of Hyrule (aka your Sages coming and making a showy entrance), the things will kick off.
There’s three stages to this, with each being broken down into several parts. It wouldn’t be a final level if there wasn’t a ton of different stages, would it?
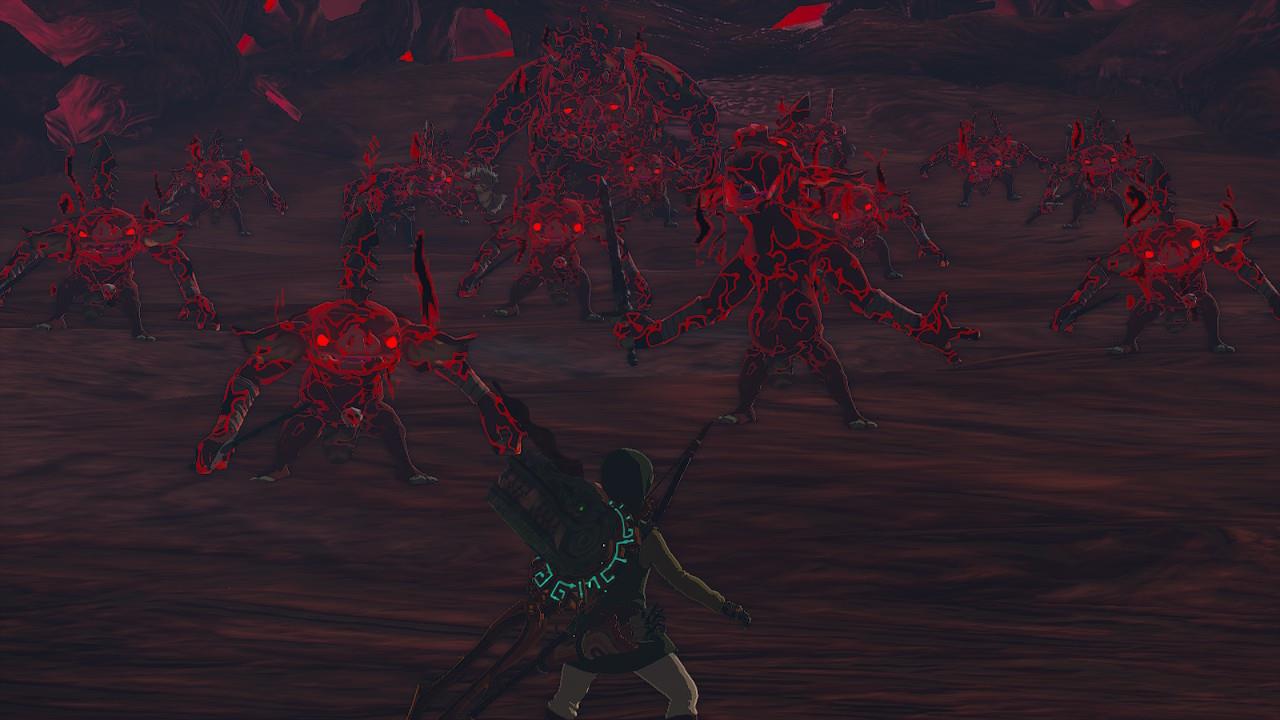
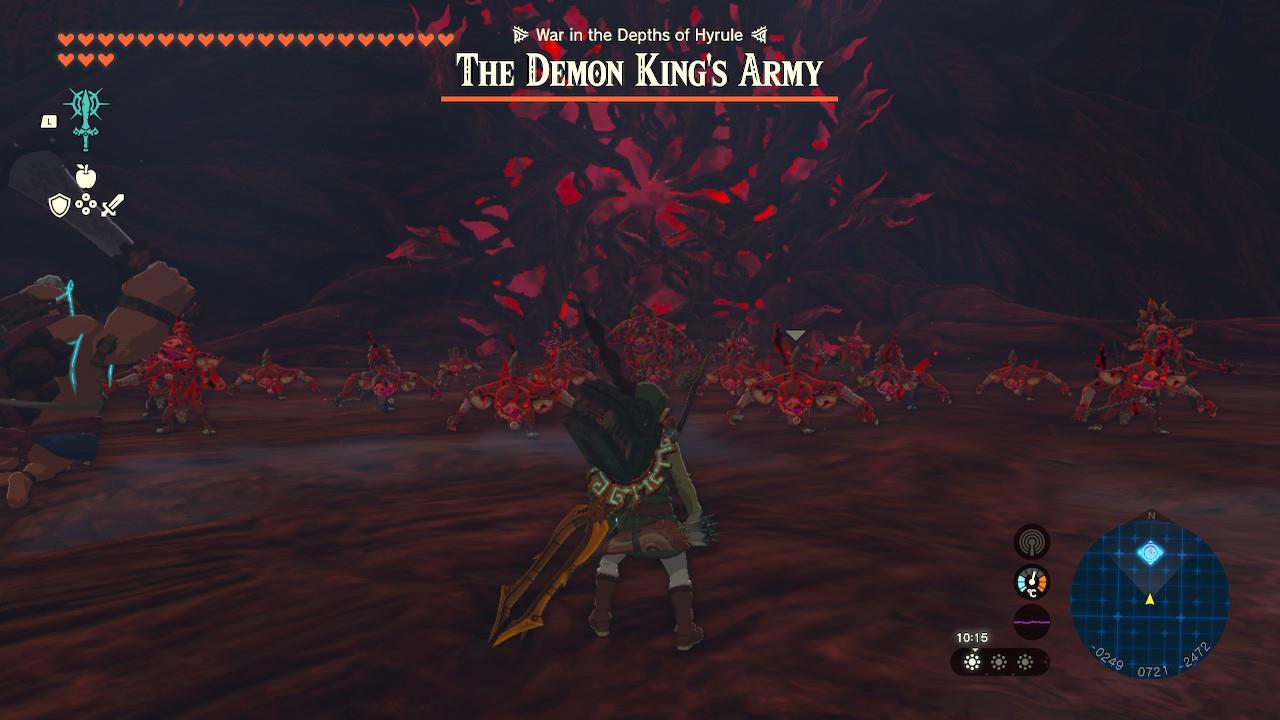
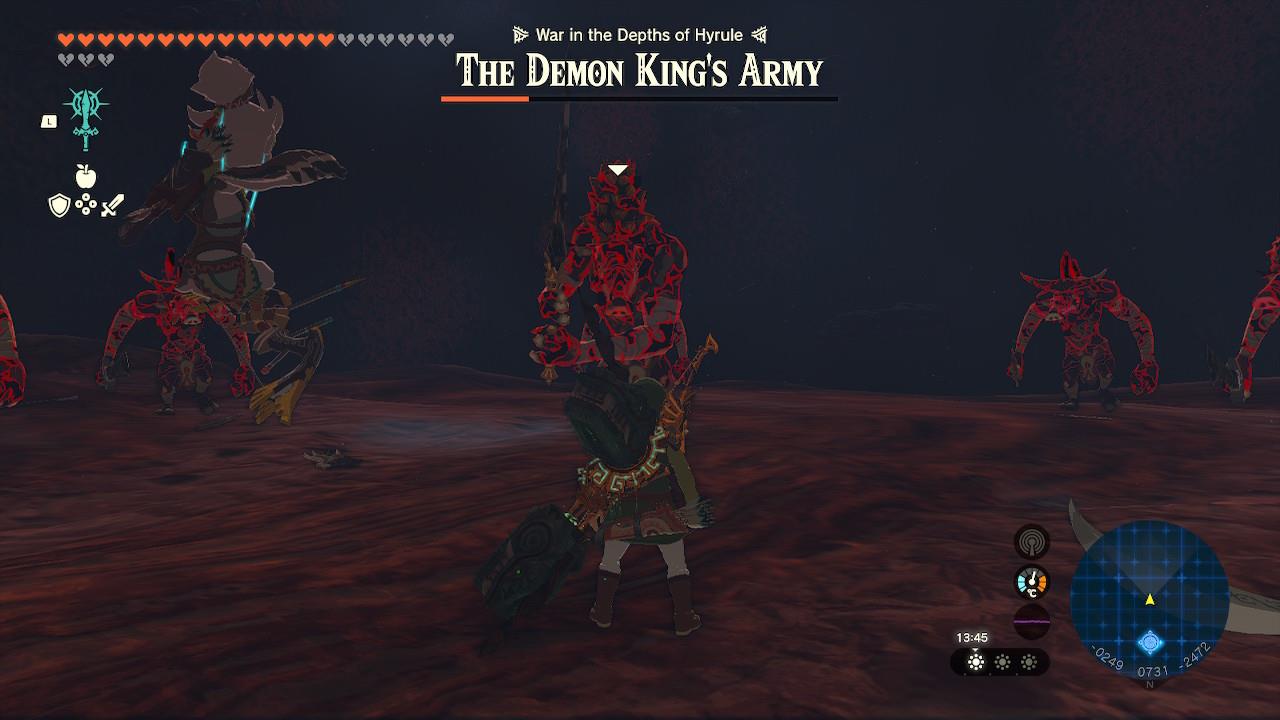
Defeat the Demon King’s Army
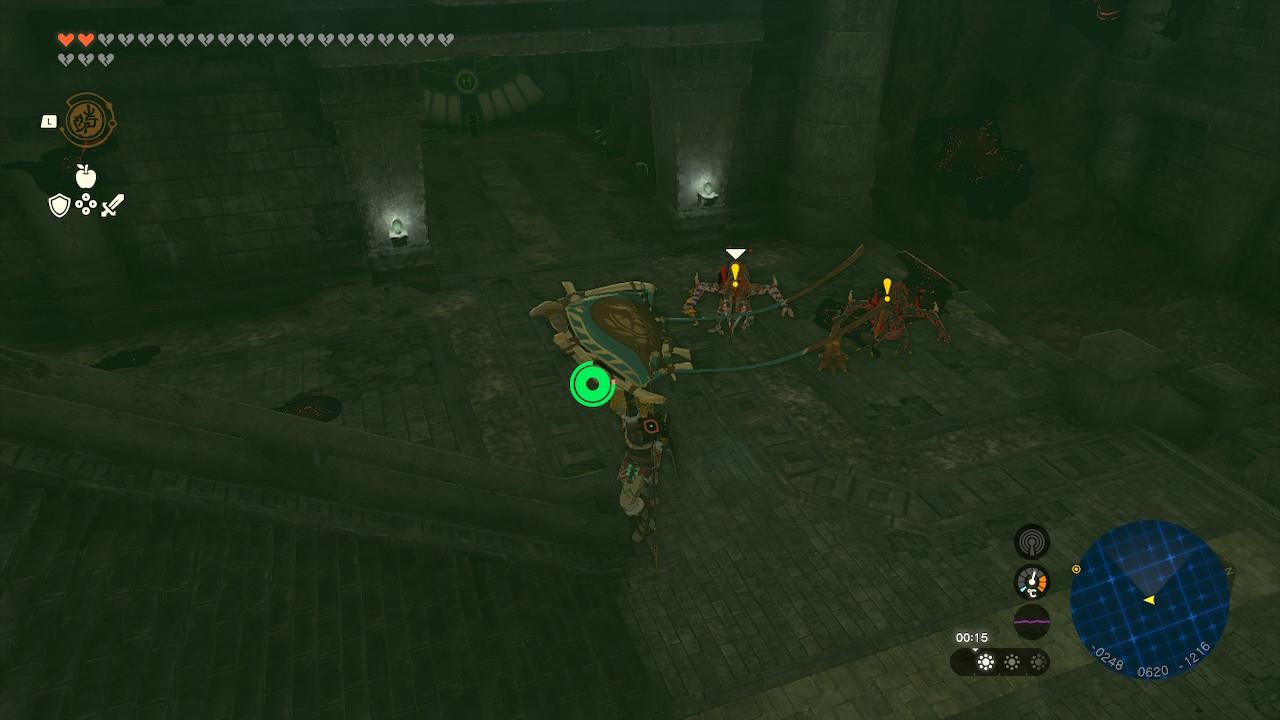
Before reaching Ganondorf, you must face the Demon King’s Army deep within the Depths. This battle pits you against waves of monsters led by the strongest foes from each region. Use your best gear, healing meals, and elemental weapons to break their assaults. Focus on defeating each group’s leader to stop reinforcements and give yourself breathing room. Once the army falls, a cutscene triggers, opening the path to your confrontation with Ganondorf himself.
Fortunately, as the Sage of Wind points out, you don’t have to fight alone, and the power of the sages is with you once more.
You’ll be facing a veritable army of Bokoblins of all shapes and sizes, up to and including a Boss Bokoblin. At the top of the screen is a joint health bar.
As you defeat enemies this bar will decrease in size. At certain increments, new enemies will spawn. Here’s a brief rundown:
- 100% army health – Bokoblin army
- 50% army health – Lizalfos army
- 25% army health – Gibdo army
- 20% army health – Moblin army
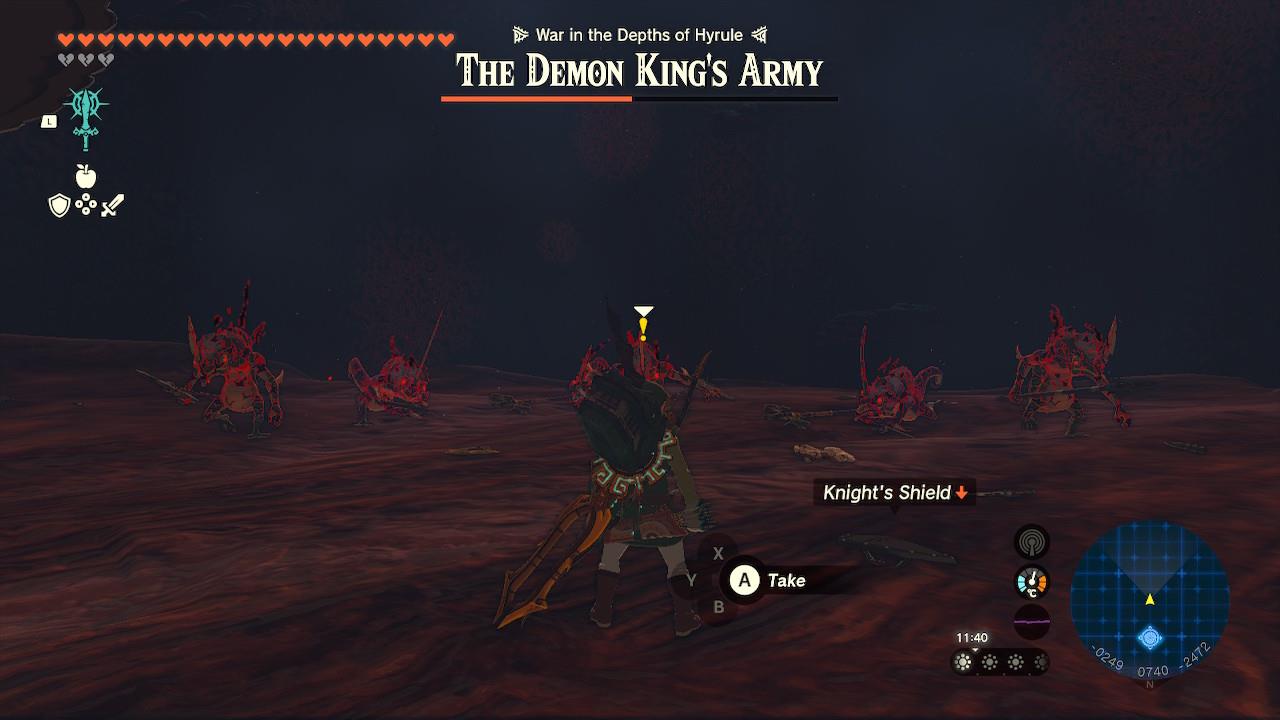
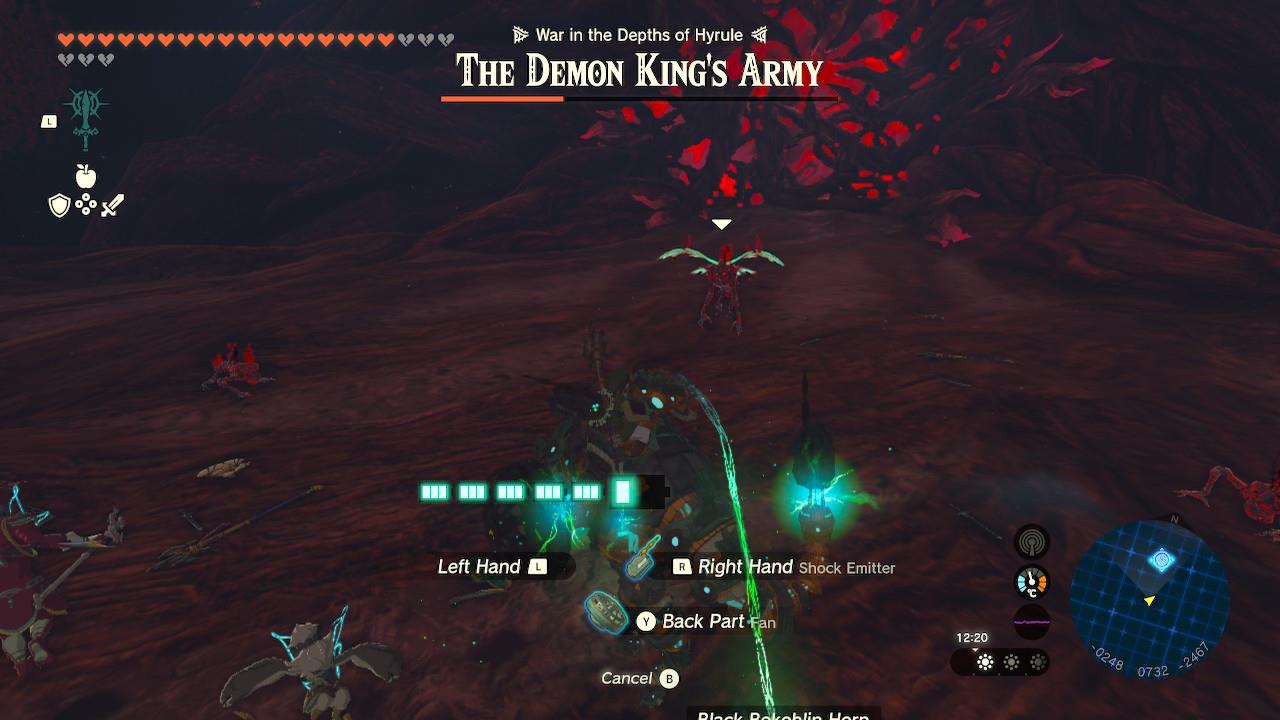
There’s no real tactics here other than fight things the way you usually fight them! Make good use of dodging and Flurry Rushes and you’ll be fine. If they have shields, hit them with a weapon with a shock-emitter attached.
After defeating the Demon King’s Army
We call this detention because it’s entirely avoidable if you do your homework.
If you have all five Sages, you won’t need to do this; however, if you skipped the Sages, you need to fight the bosses from each of their respective temples now, adding a huge amount of difficulty to an already tricky battle.
Yes, you have to fight them all in turn. No, your health does not recover, and your gloomy hearts do not restore. Oh, and you don’t have the back-up you’d have if you fought at the temple and secured the help of the sages.

If you have already defeated the bosses, you instead see a scene of them all appearing together; your Sages step up and take them out while you get walled off, ready for the final stage: actually fighting Ganon.
Best loadout for the Destroy Ganondorf final boss fight
The best loadout for the Destroy Ganondorf final boss fight in The Legend of Zelda: Tears of the Kingdom emphasizes gloom resistance, high attack power, and healing to counter permanent heart loss. Prioritize fully upgraded armor sets like Fierce Deity or Depths for attack boosts and gloom protection, paired with the fused Master Sword and strong ranged options. Stock Sundelion meals and elixirs for recovery.
Recommended Armor
Fierce Deity Set (fully upgraded) provides attack up and charge attack bonuses, ideal for Flurry Rushes and quick damage. Depths Set offers gloom resistance and attack resistance when complete, perfect for the underground fight. Hero’s Path or Soldier’s Set works as a budget high-defense alternative (upgrade at least once).
Weapons and Fusions
Fuse the Master Sword with Silver Lynel Saber Horn (+55 attack) or Light Dragon’s parts for healing during swings. Equip a Savage Lynel Bow or Great Eagle Bow fused with Gibdo Bones (+40 attack per arrow) for triple headshots. Carry Zonaite weapons fused with Phantom Ganon blades or Gleeok Horns for elemental utility, plus spares to avoid battery drain.
Consumables
Cook Sundelion meals (e.g., Sundelion + Monster Parts) to heal gloom-locked hearts. Prepare gloom-resistant elixirs (Sunny Meals or Sundelion + Dragon Horns). Bring 30+ Bomb Flowers or arrows for the Demon Army phase, and attack-up food if skipping attack armor.
Other Gear
Use a strong shield like Mighty Zonaite (fused with Rocket for mobility). Place a Travel Medallion near the chasm for retries. All five Sages activated for distractions.
Which armor set gives the best defensive uptime for the fight
Depths Set (fully upgraded) provides the best defensive uptime for the Destroy Ganondorf fight due to its set bonus granting gloom resistance, which remains active continuously without needing food or elixirs to maintain. This allows constant mitigation of gloom damage throughout all phases, unlike reliance on temporary consumables. Fierce Deity Set prioritizes attack over defense, making Depths superior for sustained survival.
Why Depths Excels
The 4-piece Depths Set bonus offers Gloom Resistance, fully negating heart drain from the arena’s gloom and Ganondorf’s attacks, ensuring 100% uptime without interruption. Fully upgraded, it reaches 52 base defense plus attack resistance, balancing tankiness with mobility under medium load. Miner’s Armor (single piece) gives partial gloom resist but lacks the full set’s reliability.
Alternatives
Radiant Armor provides high defense (up to 52 fully upgraded) with glow utility but no gloom protection, requiring Sundelion management. Soldier’s Set offers broad defense (48 max) at lower upgrade cost but zero gloom resist, dropping effective uptime against the boss’s core mechanic. Avoid unupgraded sets, as base defense won’t suffice for phase 2’s permanent heart loss.